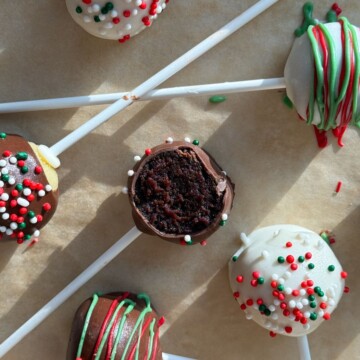
Festive Christmas Cake Pops Recipe
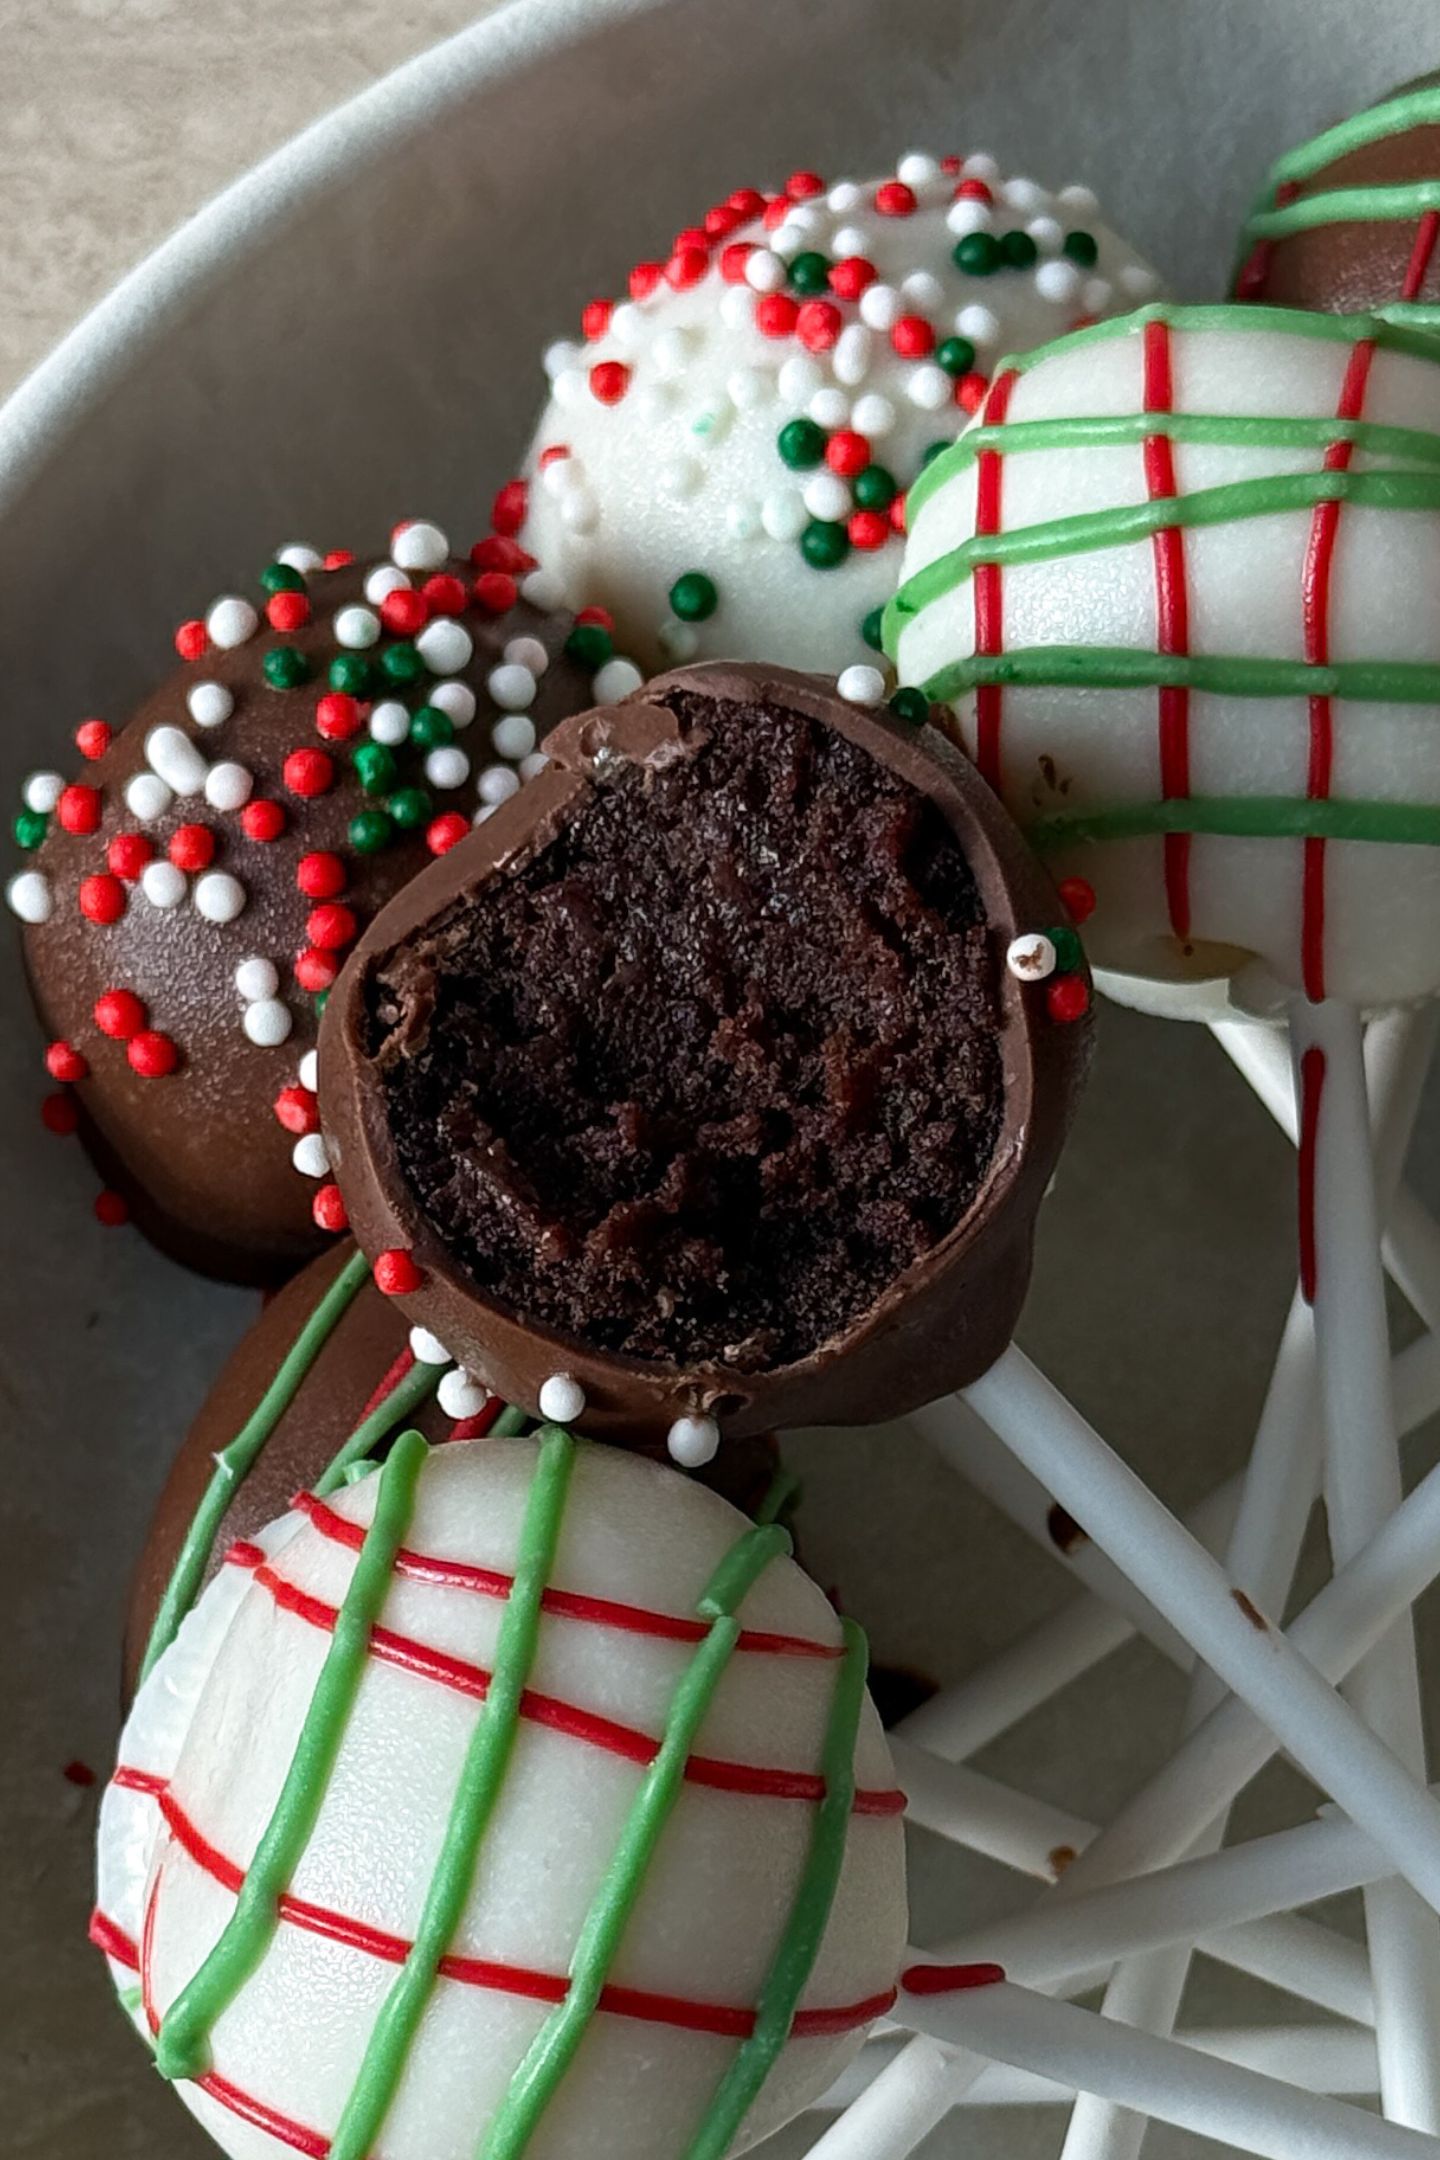
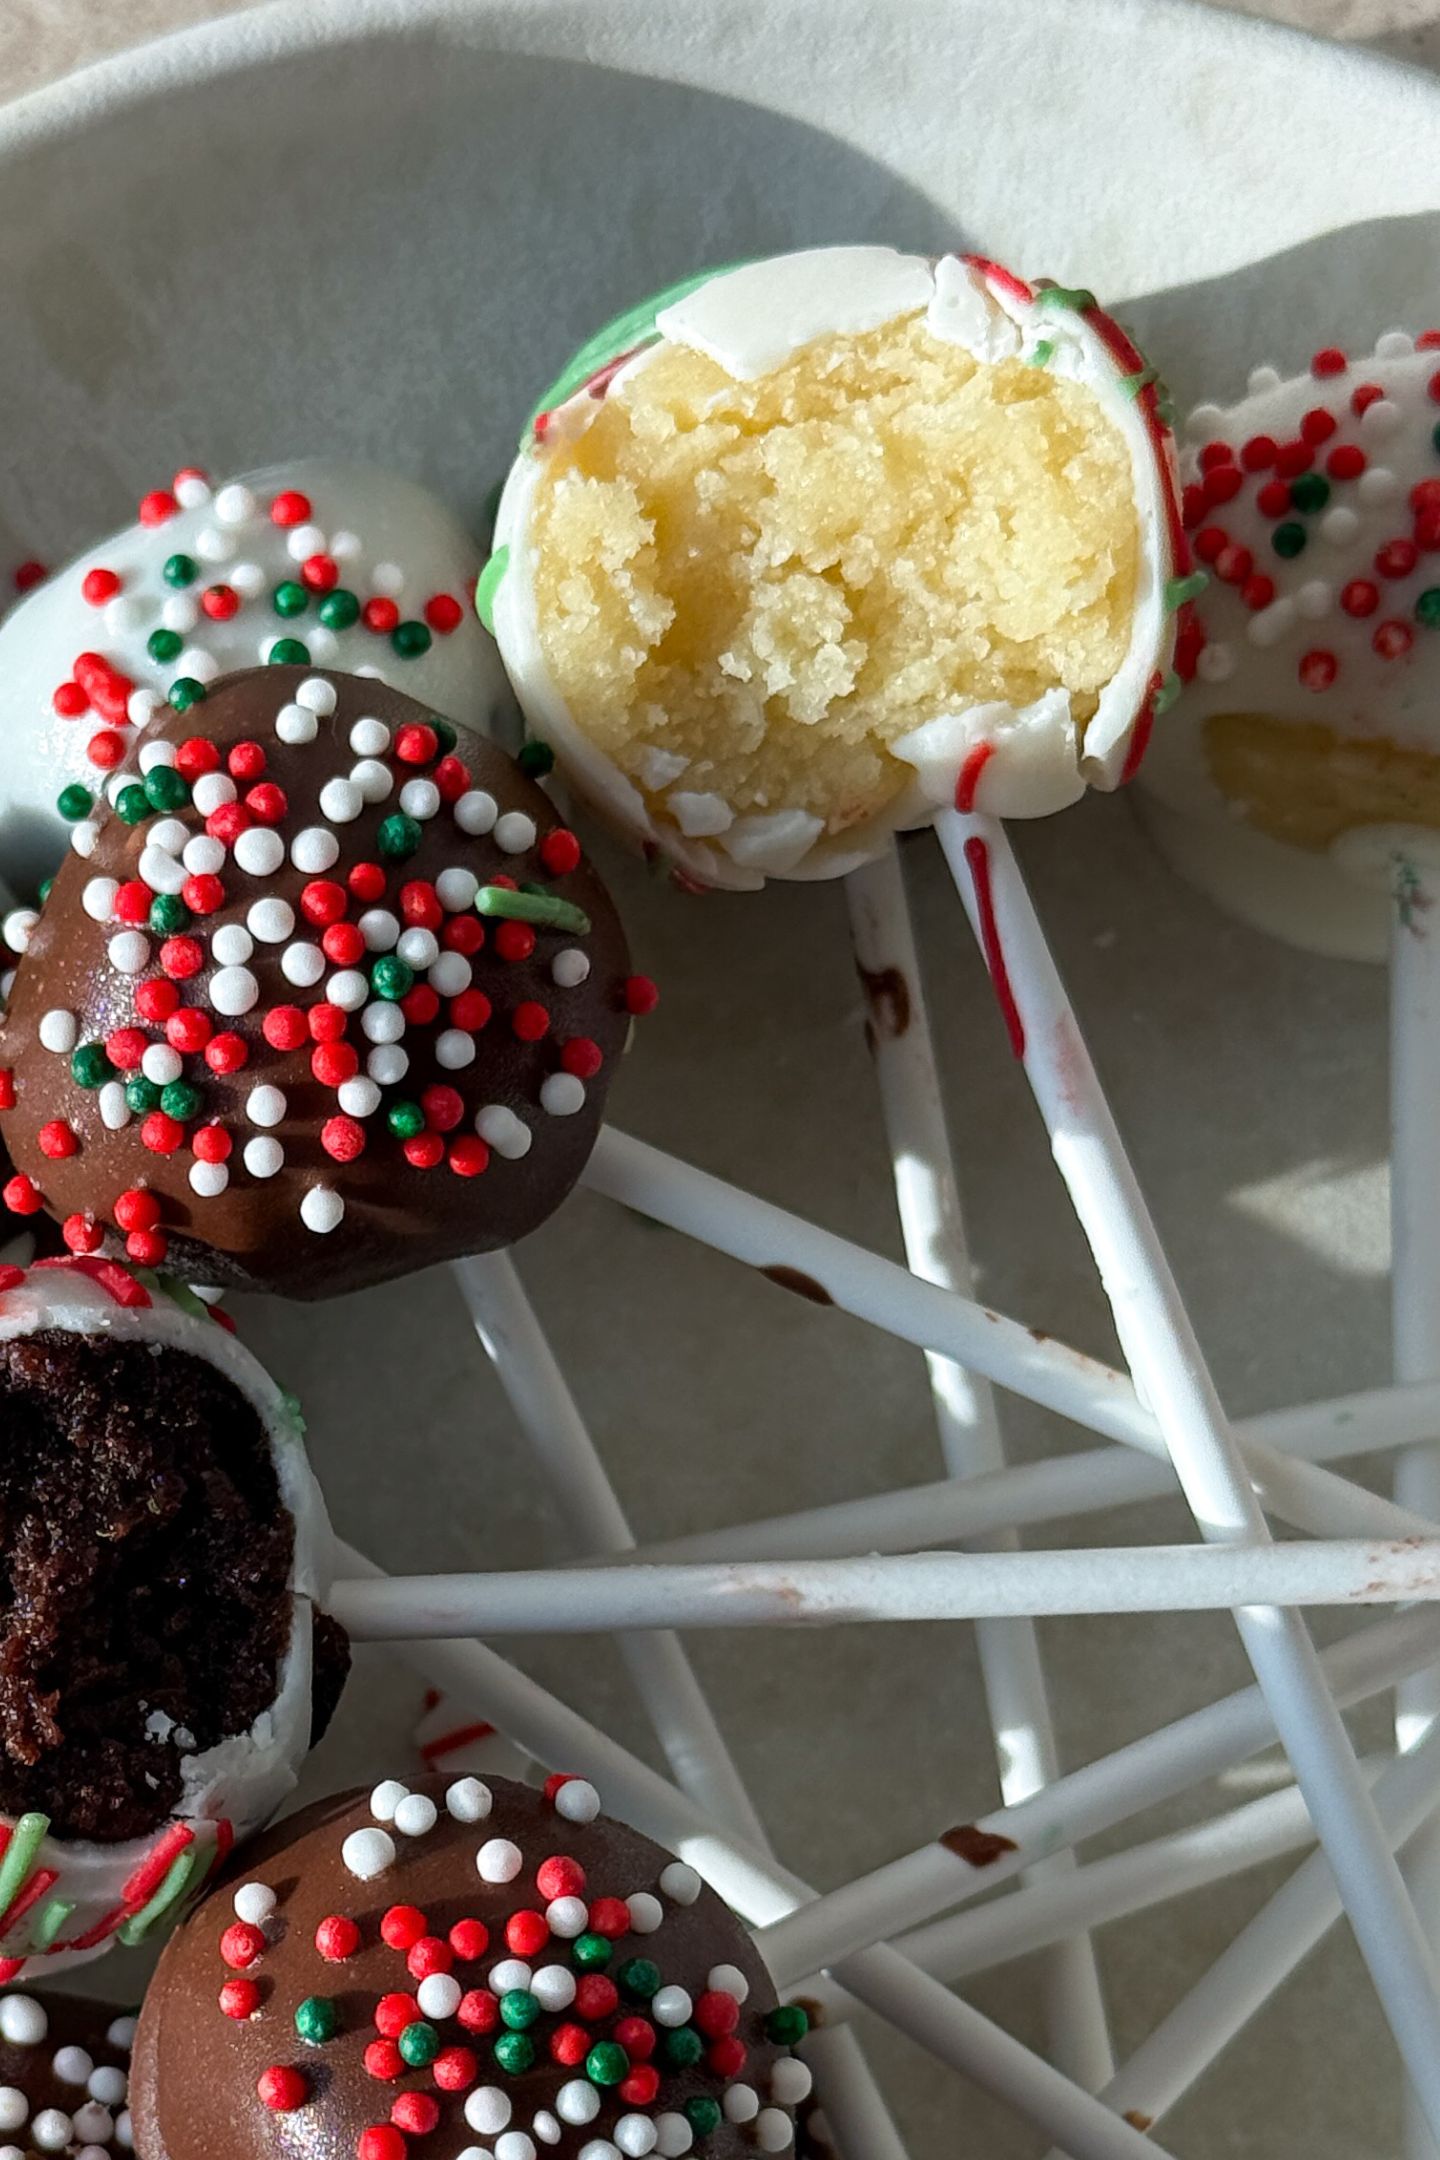
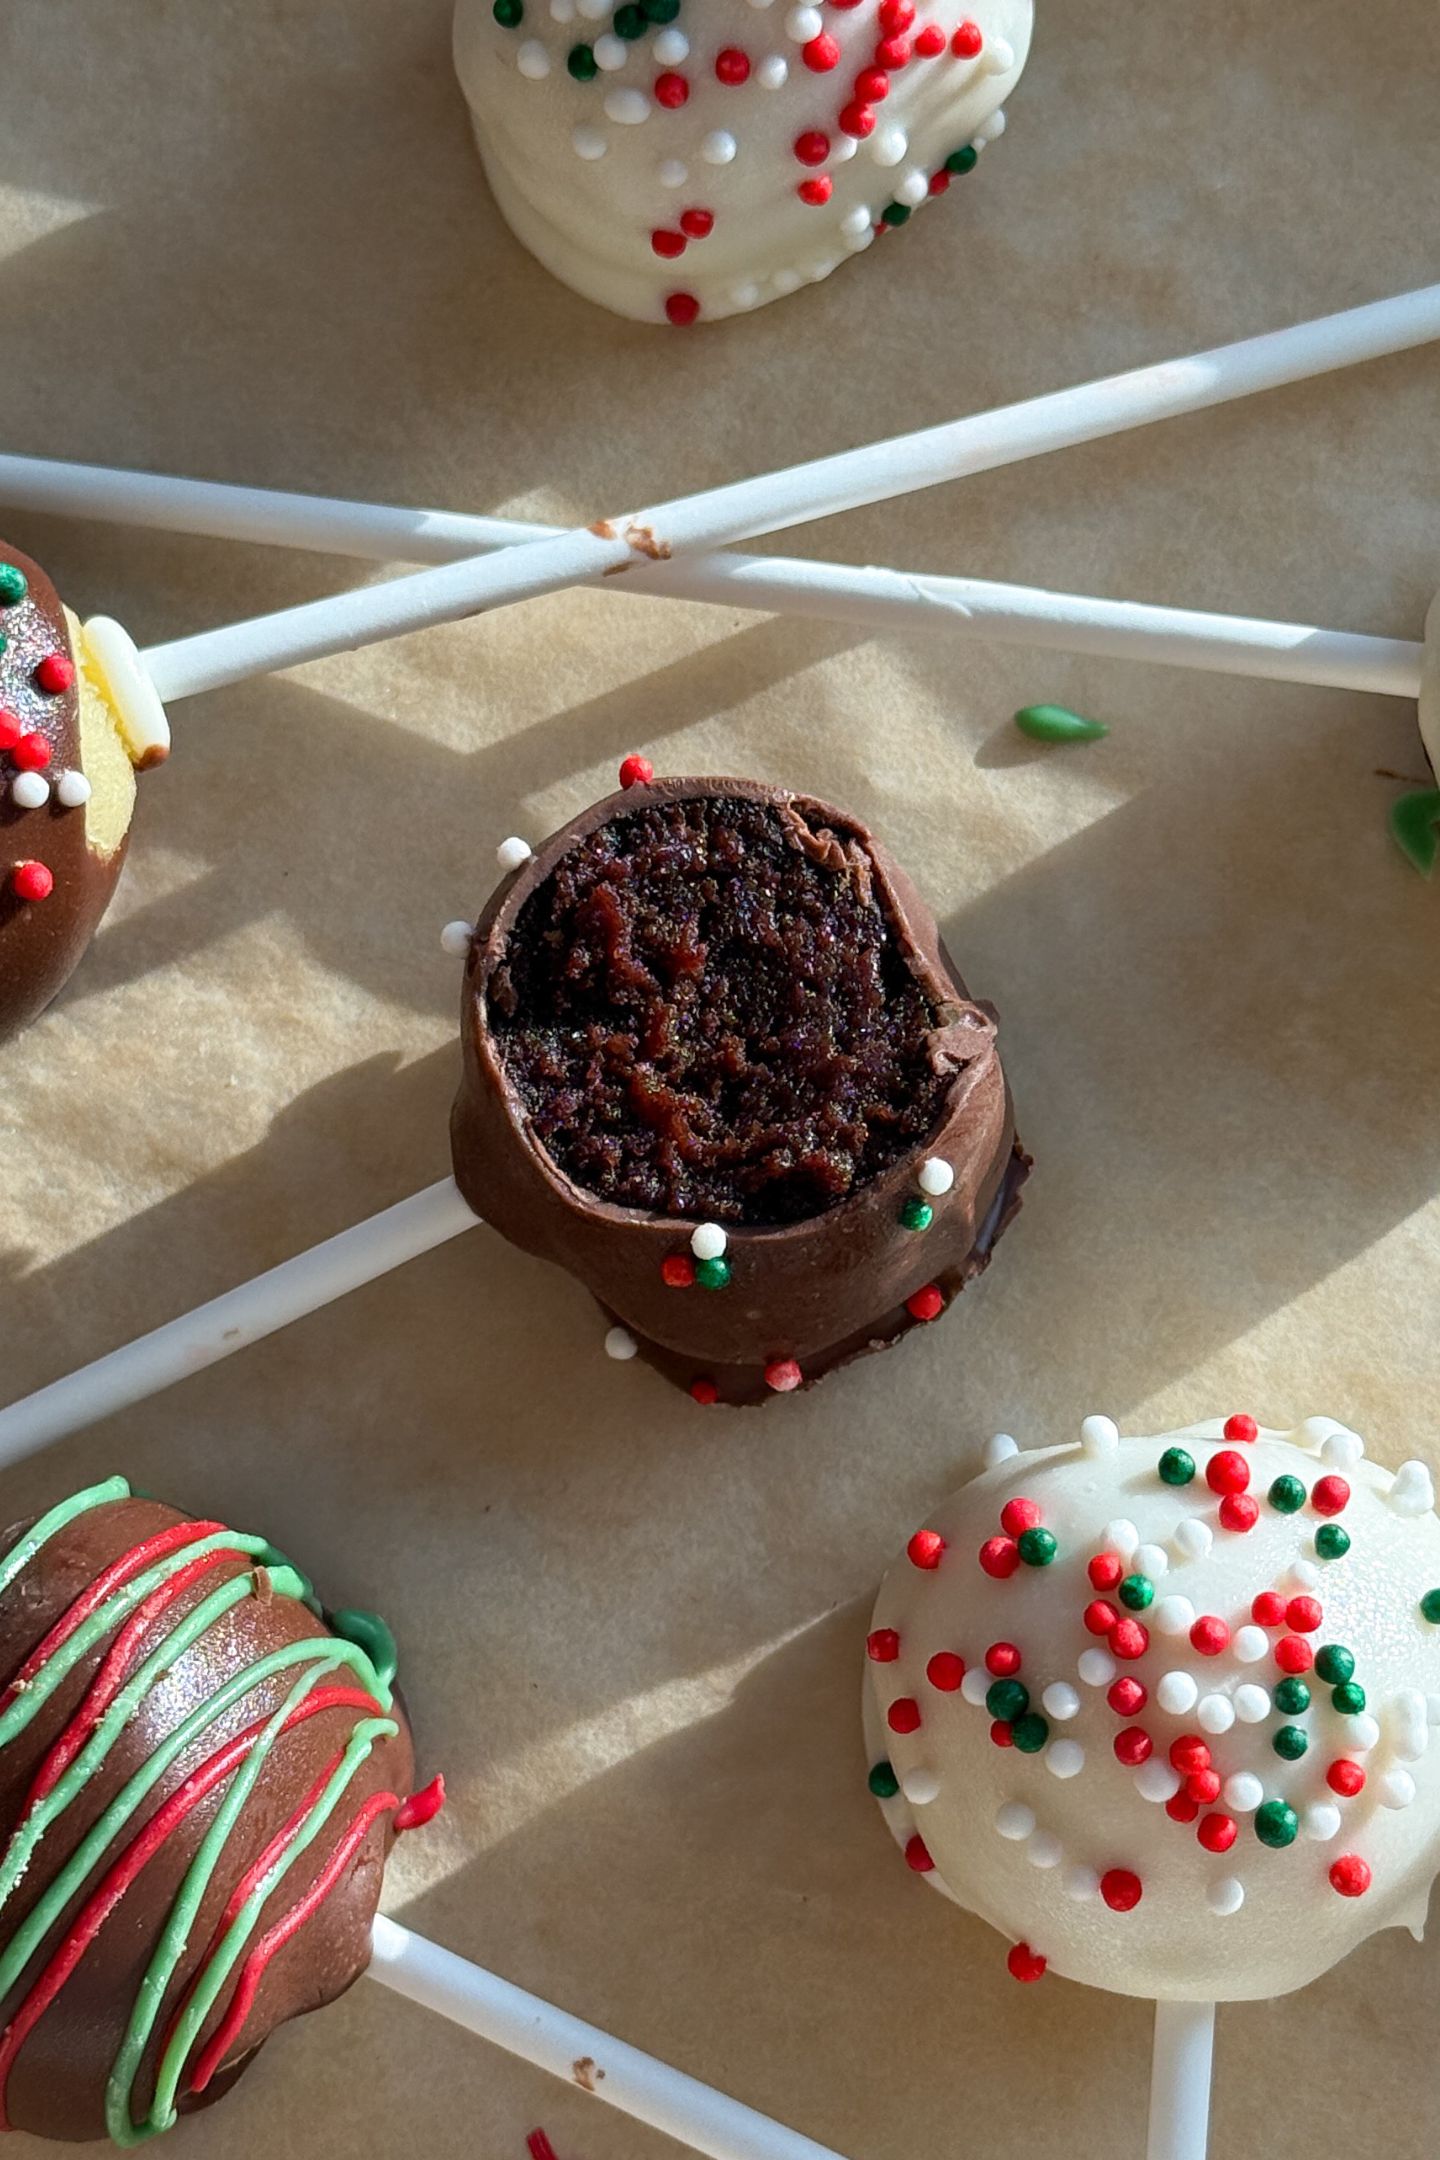
These Christmas Cake Pops are festive, delicious and easy to make. By using a cake mix, these cake pops come together quickly using minimal ingredients. The texture is moist on the inside which perfectly contrasts the chocolate shell coating.
Cute and festive recipes don’t have to be complicated! These Christmas Cake Pops are the perfect example of that.
With easy-to-follow instructions and simple ingredients, these cake pops are not only delicious but a recipe that anyone can make in their own home.
Ingredient Notes
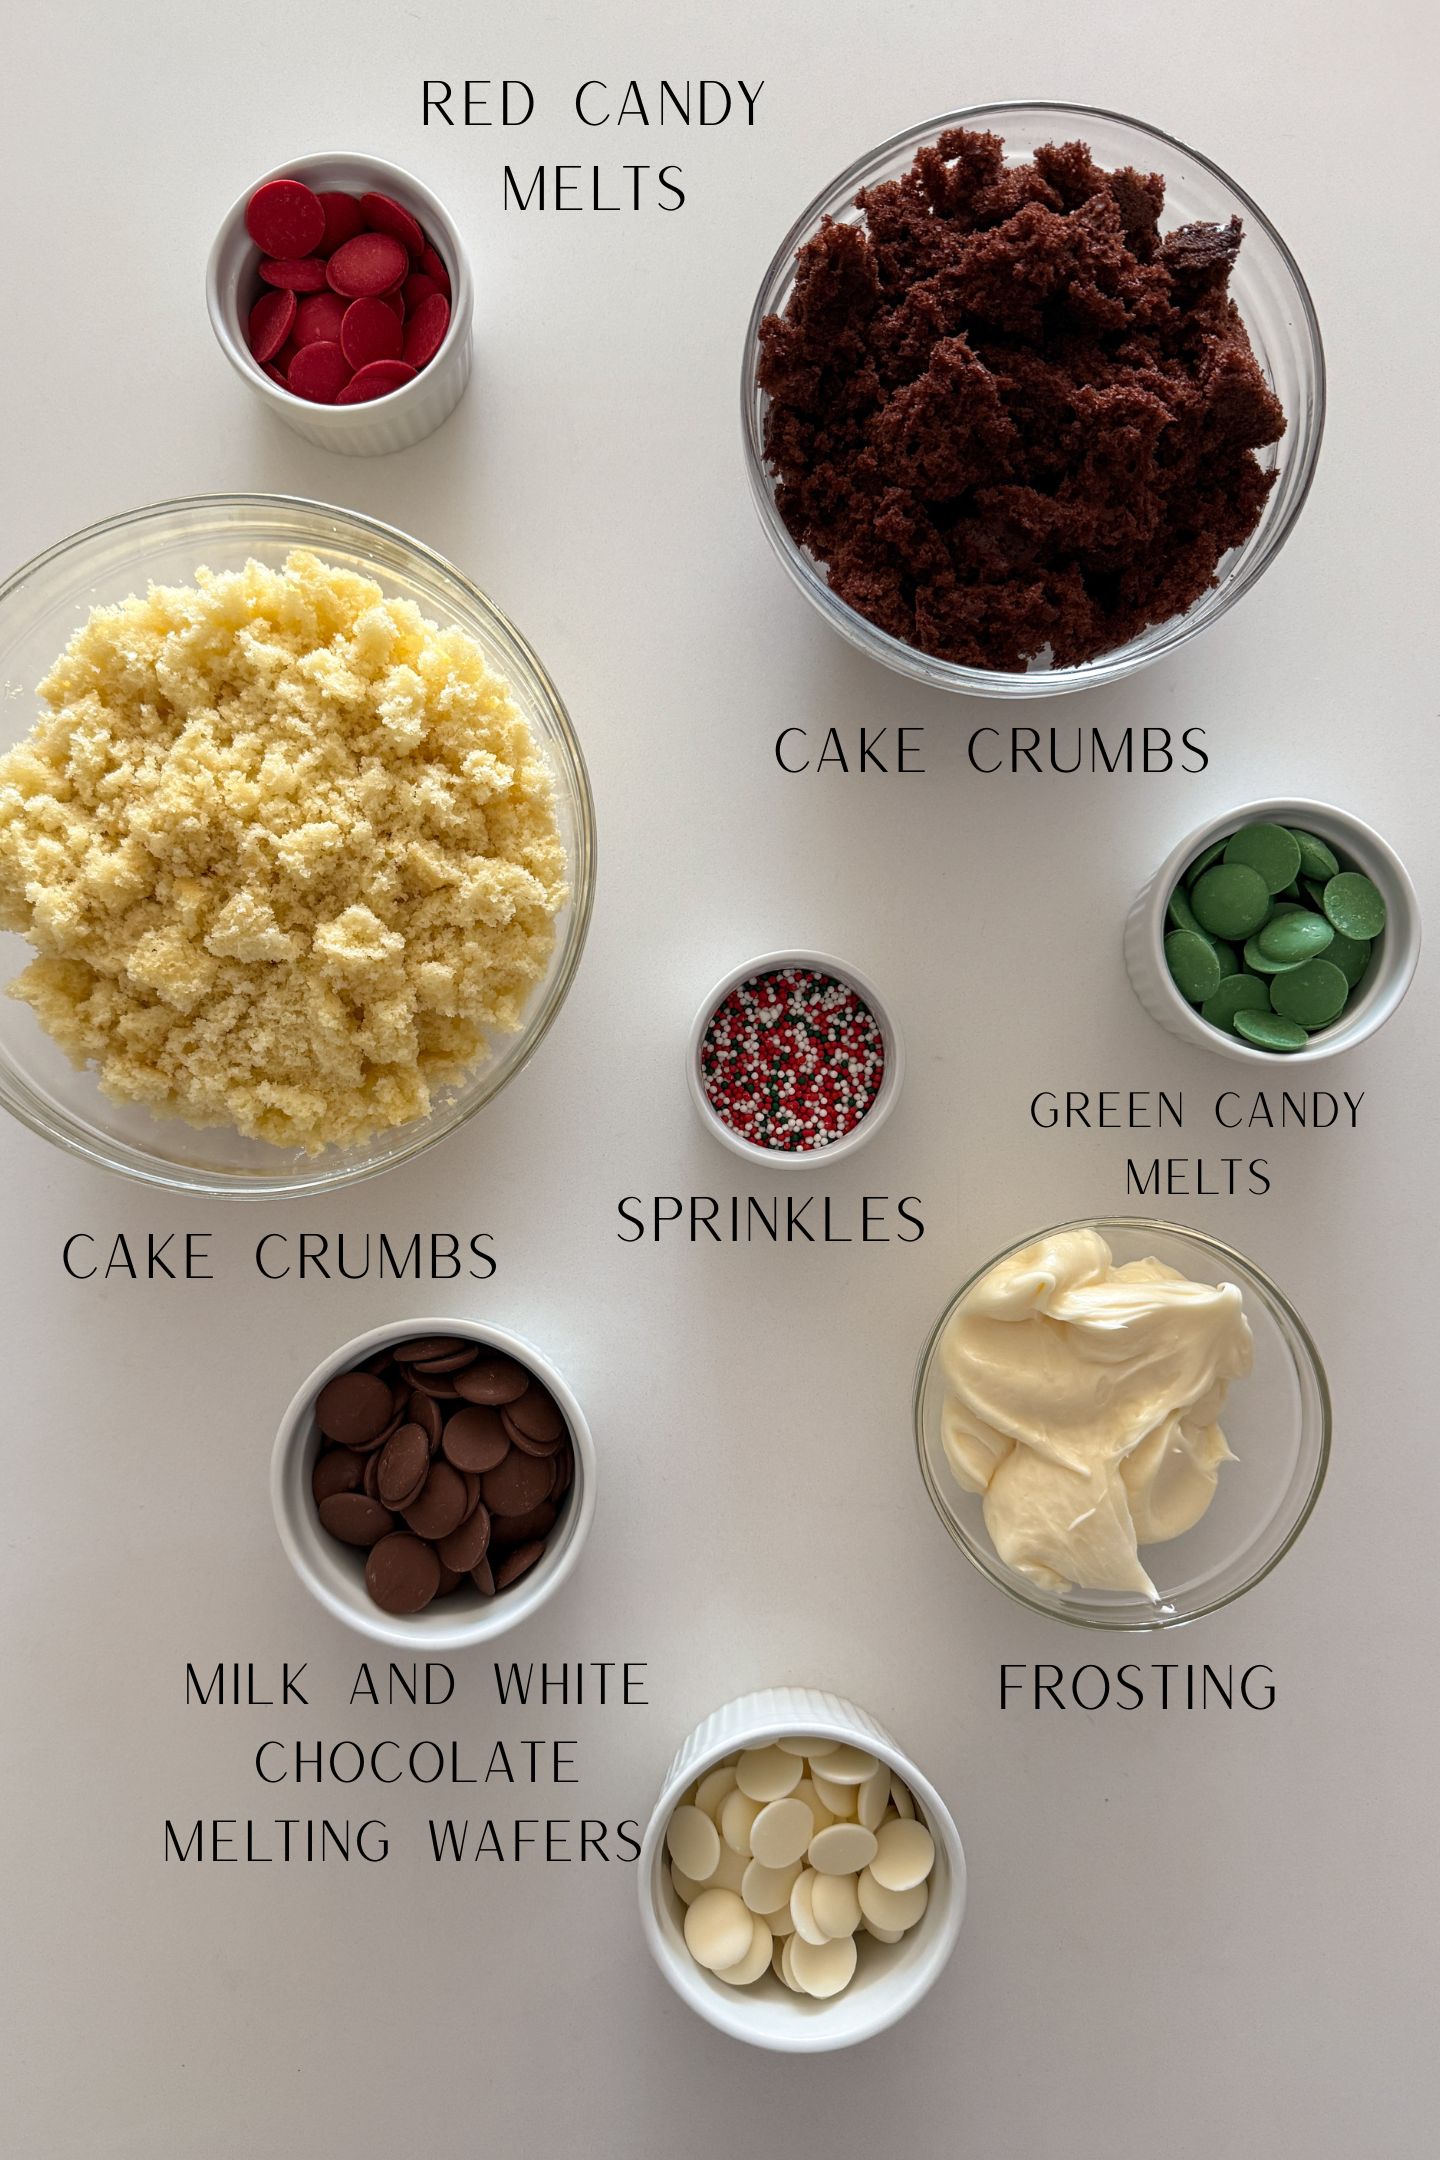
- Cake Mix – plus the required ingredients on the cake mix box. You can use any cake box mix for this recipe, however, the one I used was 13.25 oz.
- Frosting – Store-bought or homemade will work for this recipe, I have used both. For vanilla cake pops, I use a vanilla frosting and for the chocolate cake pops I use a chocolate buttercream.
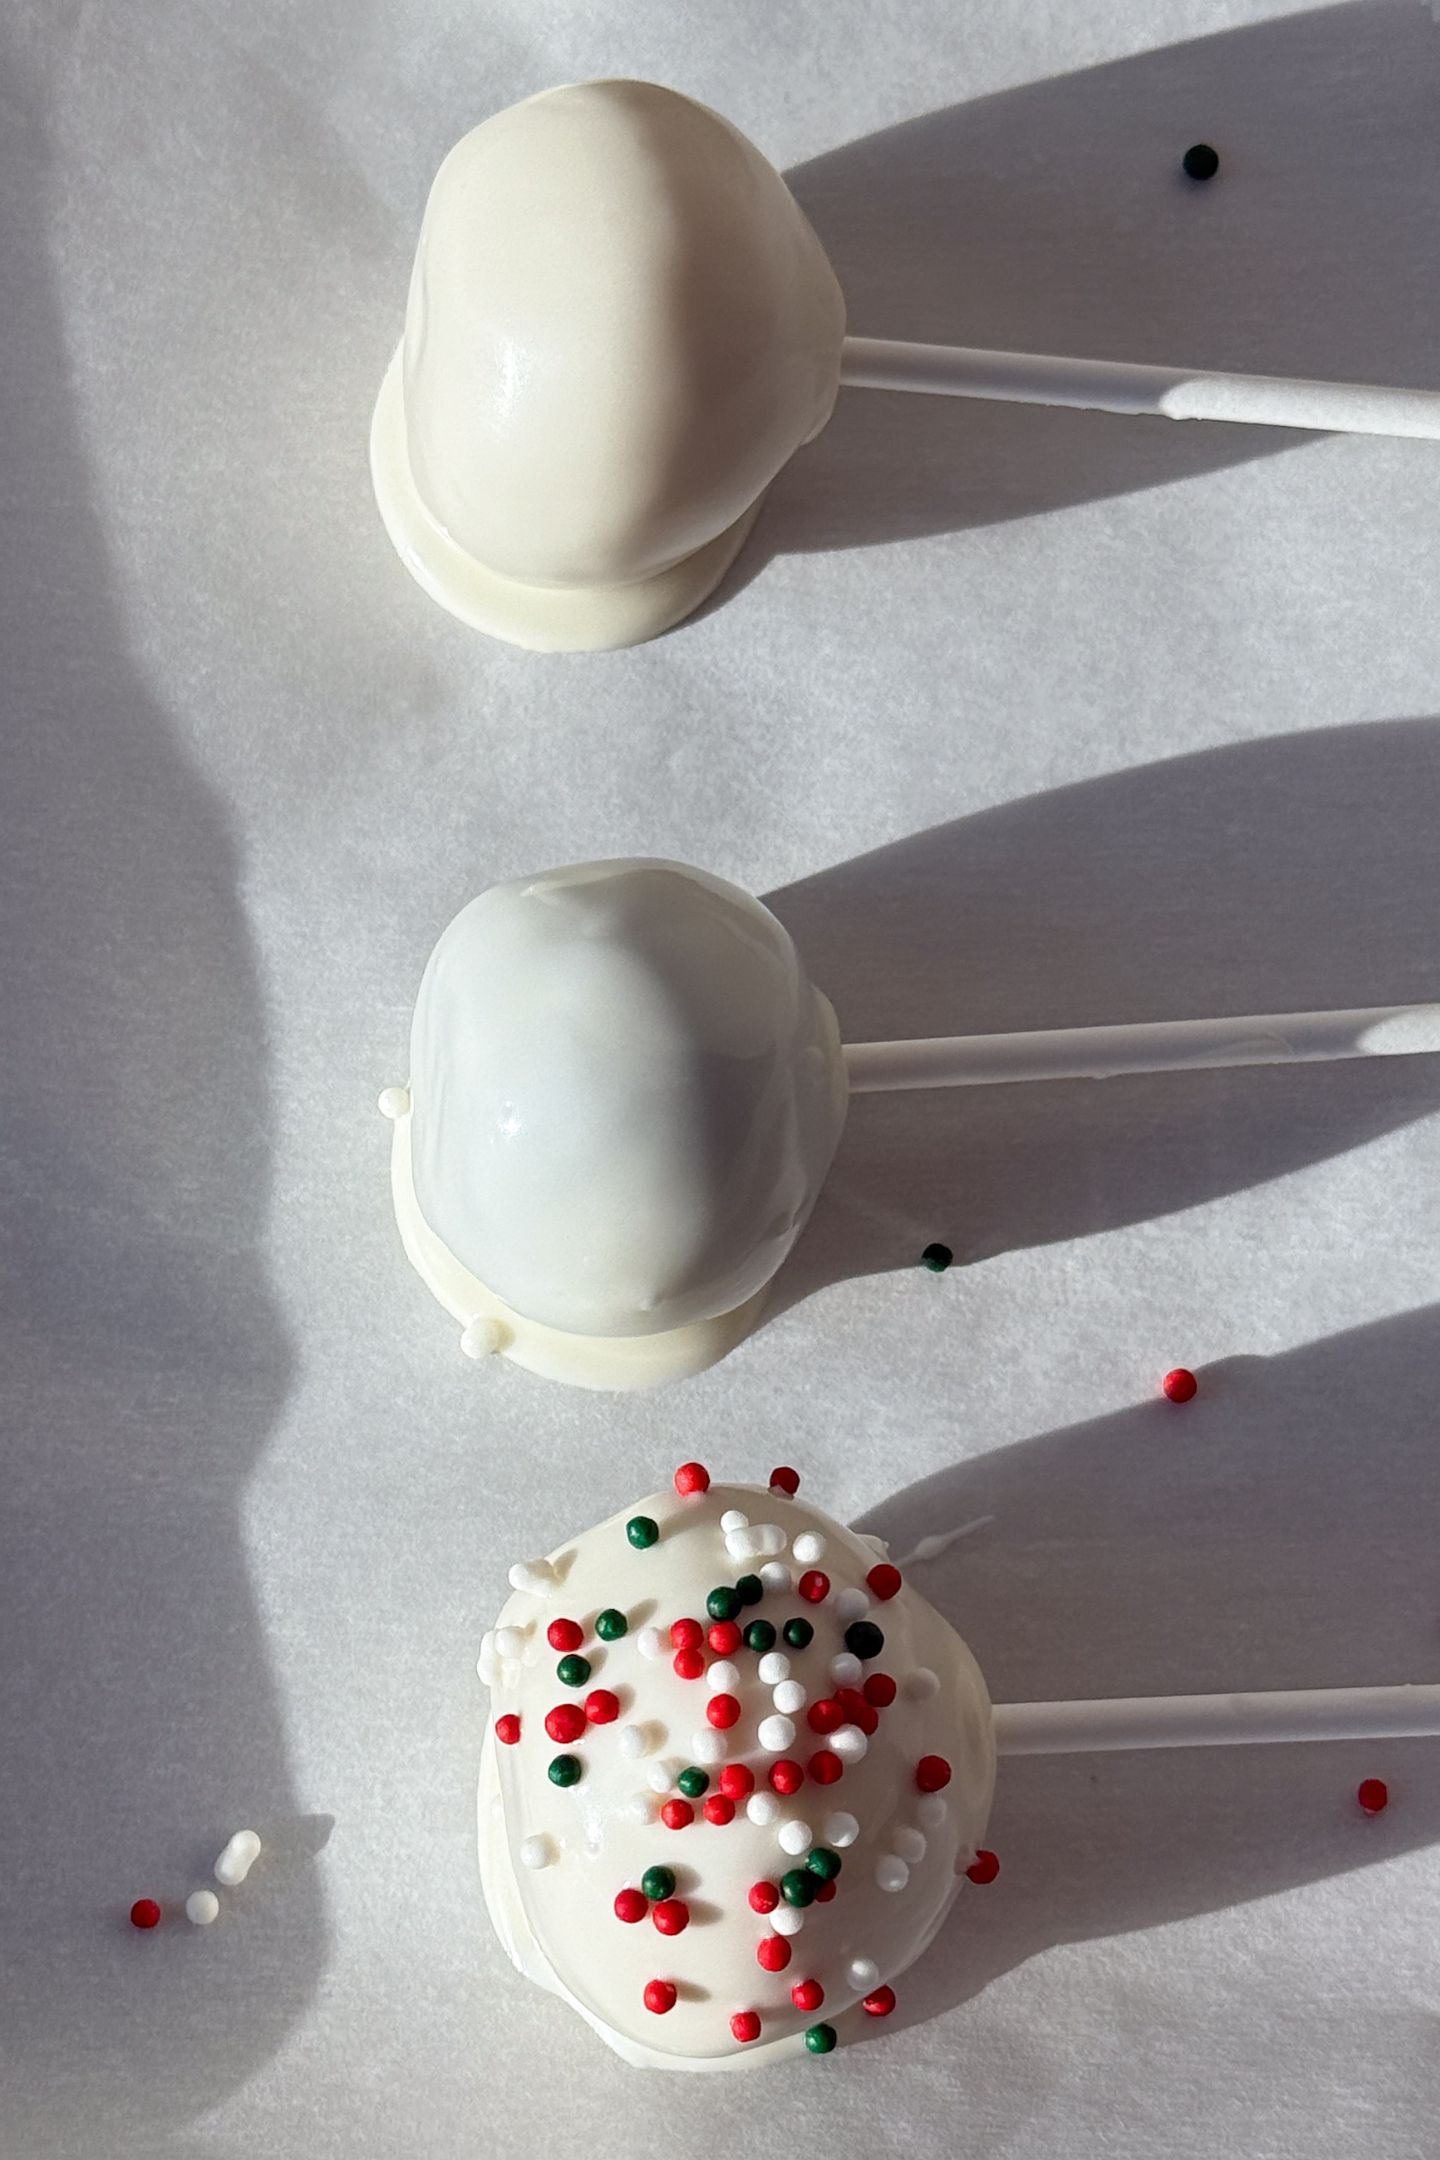
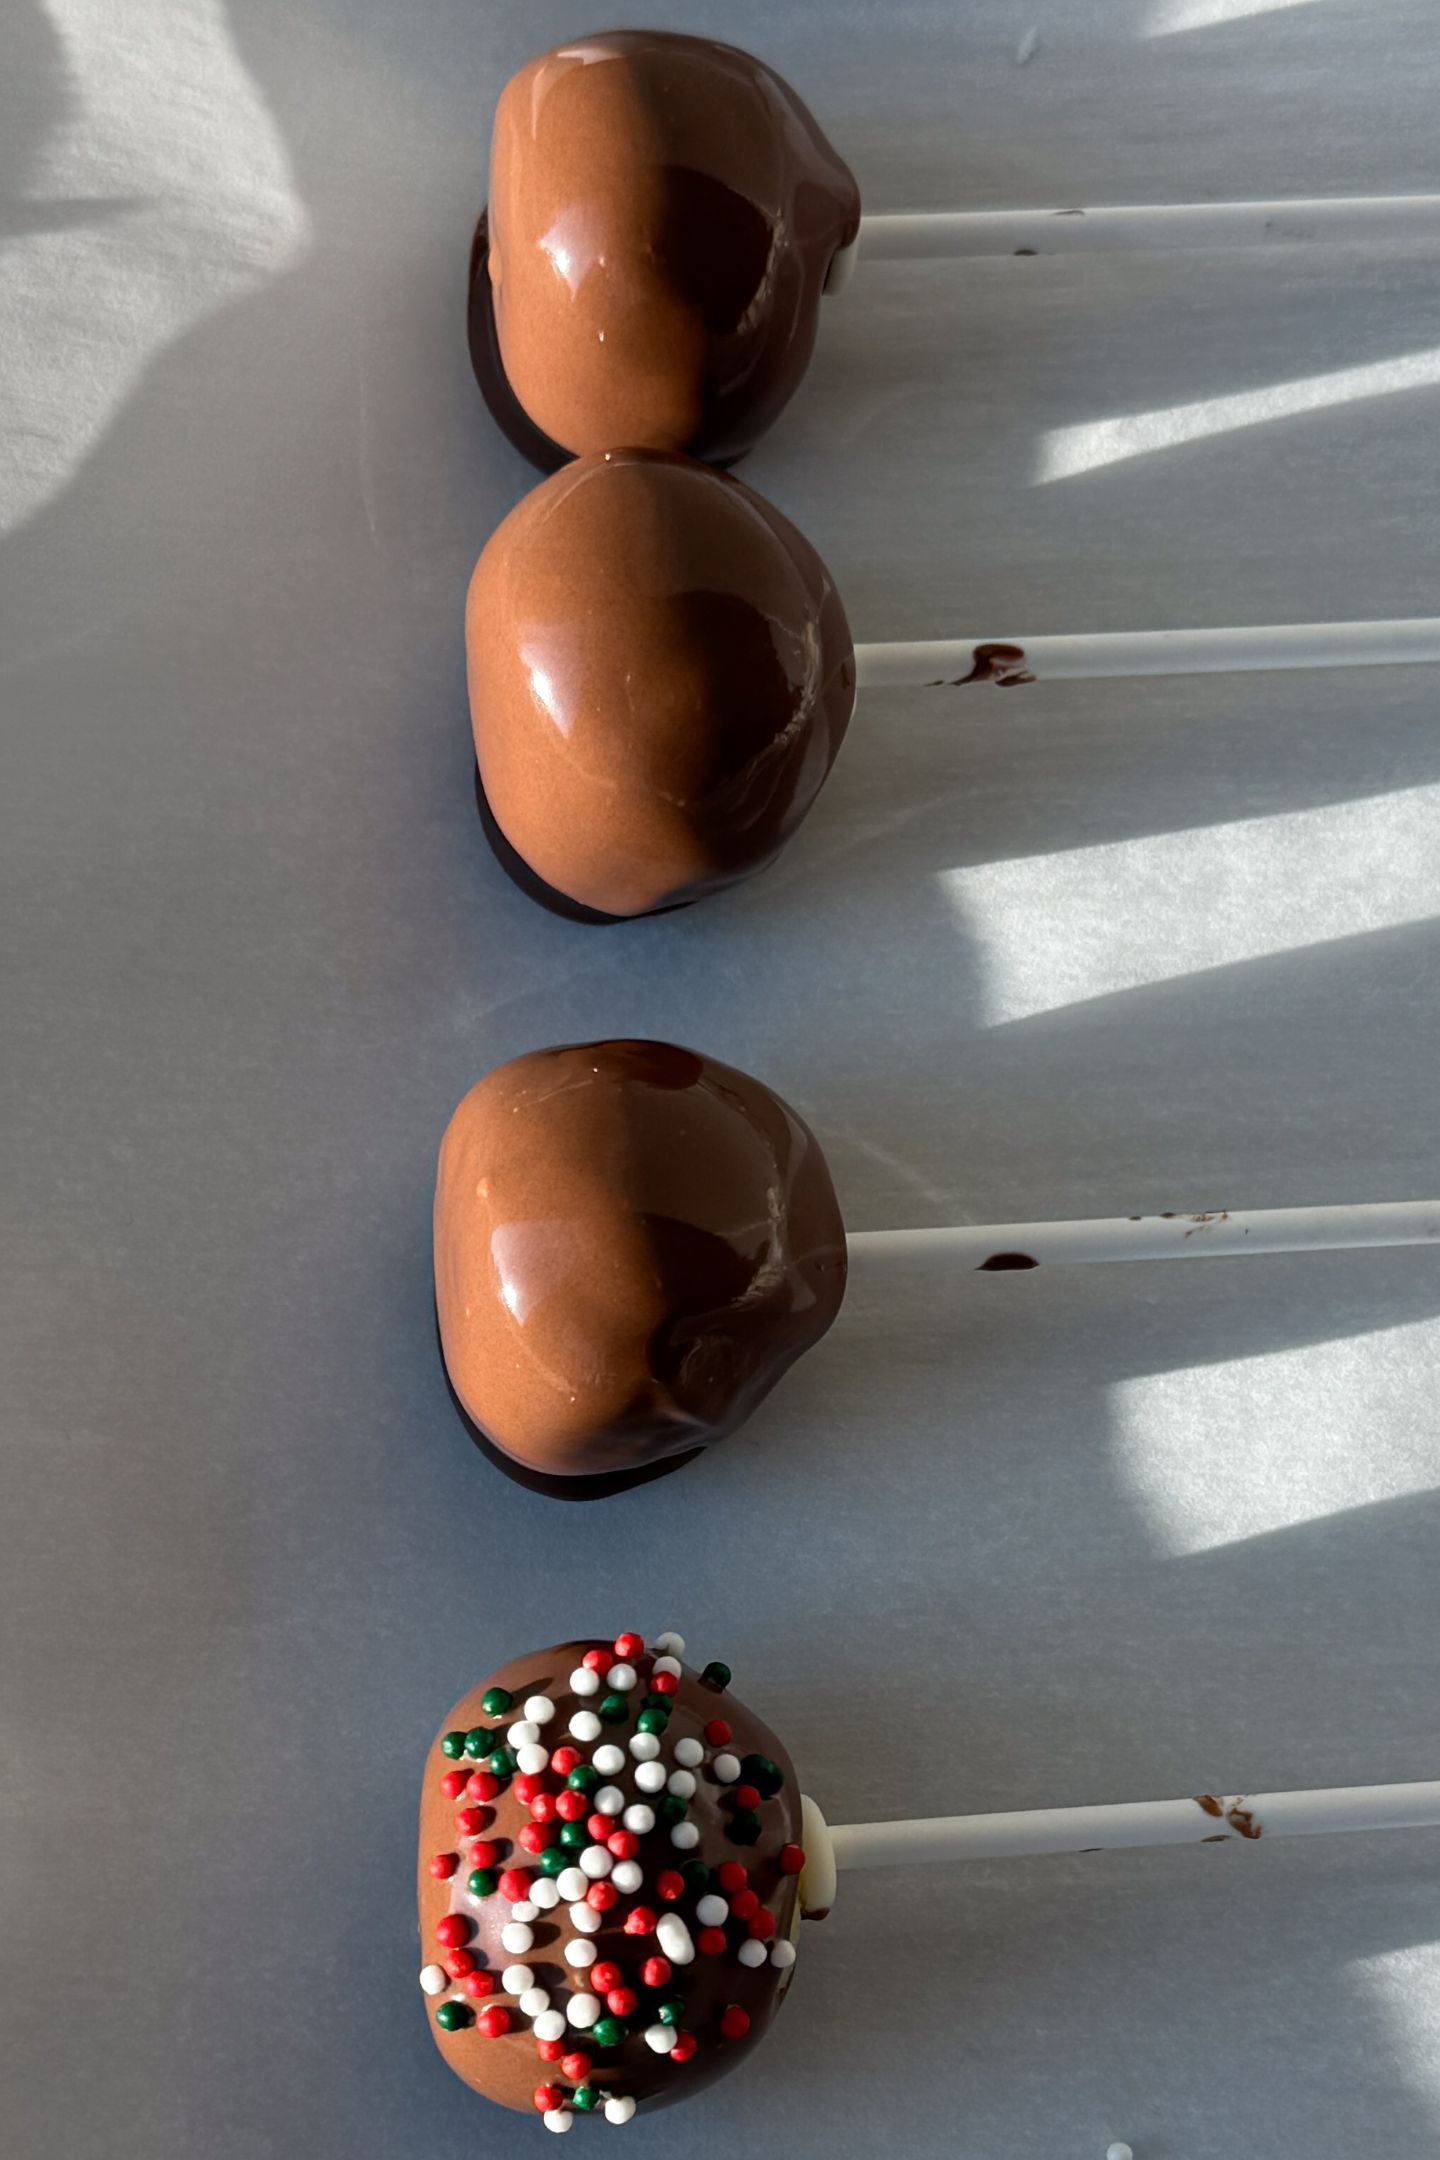
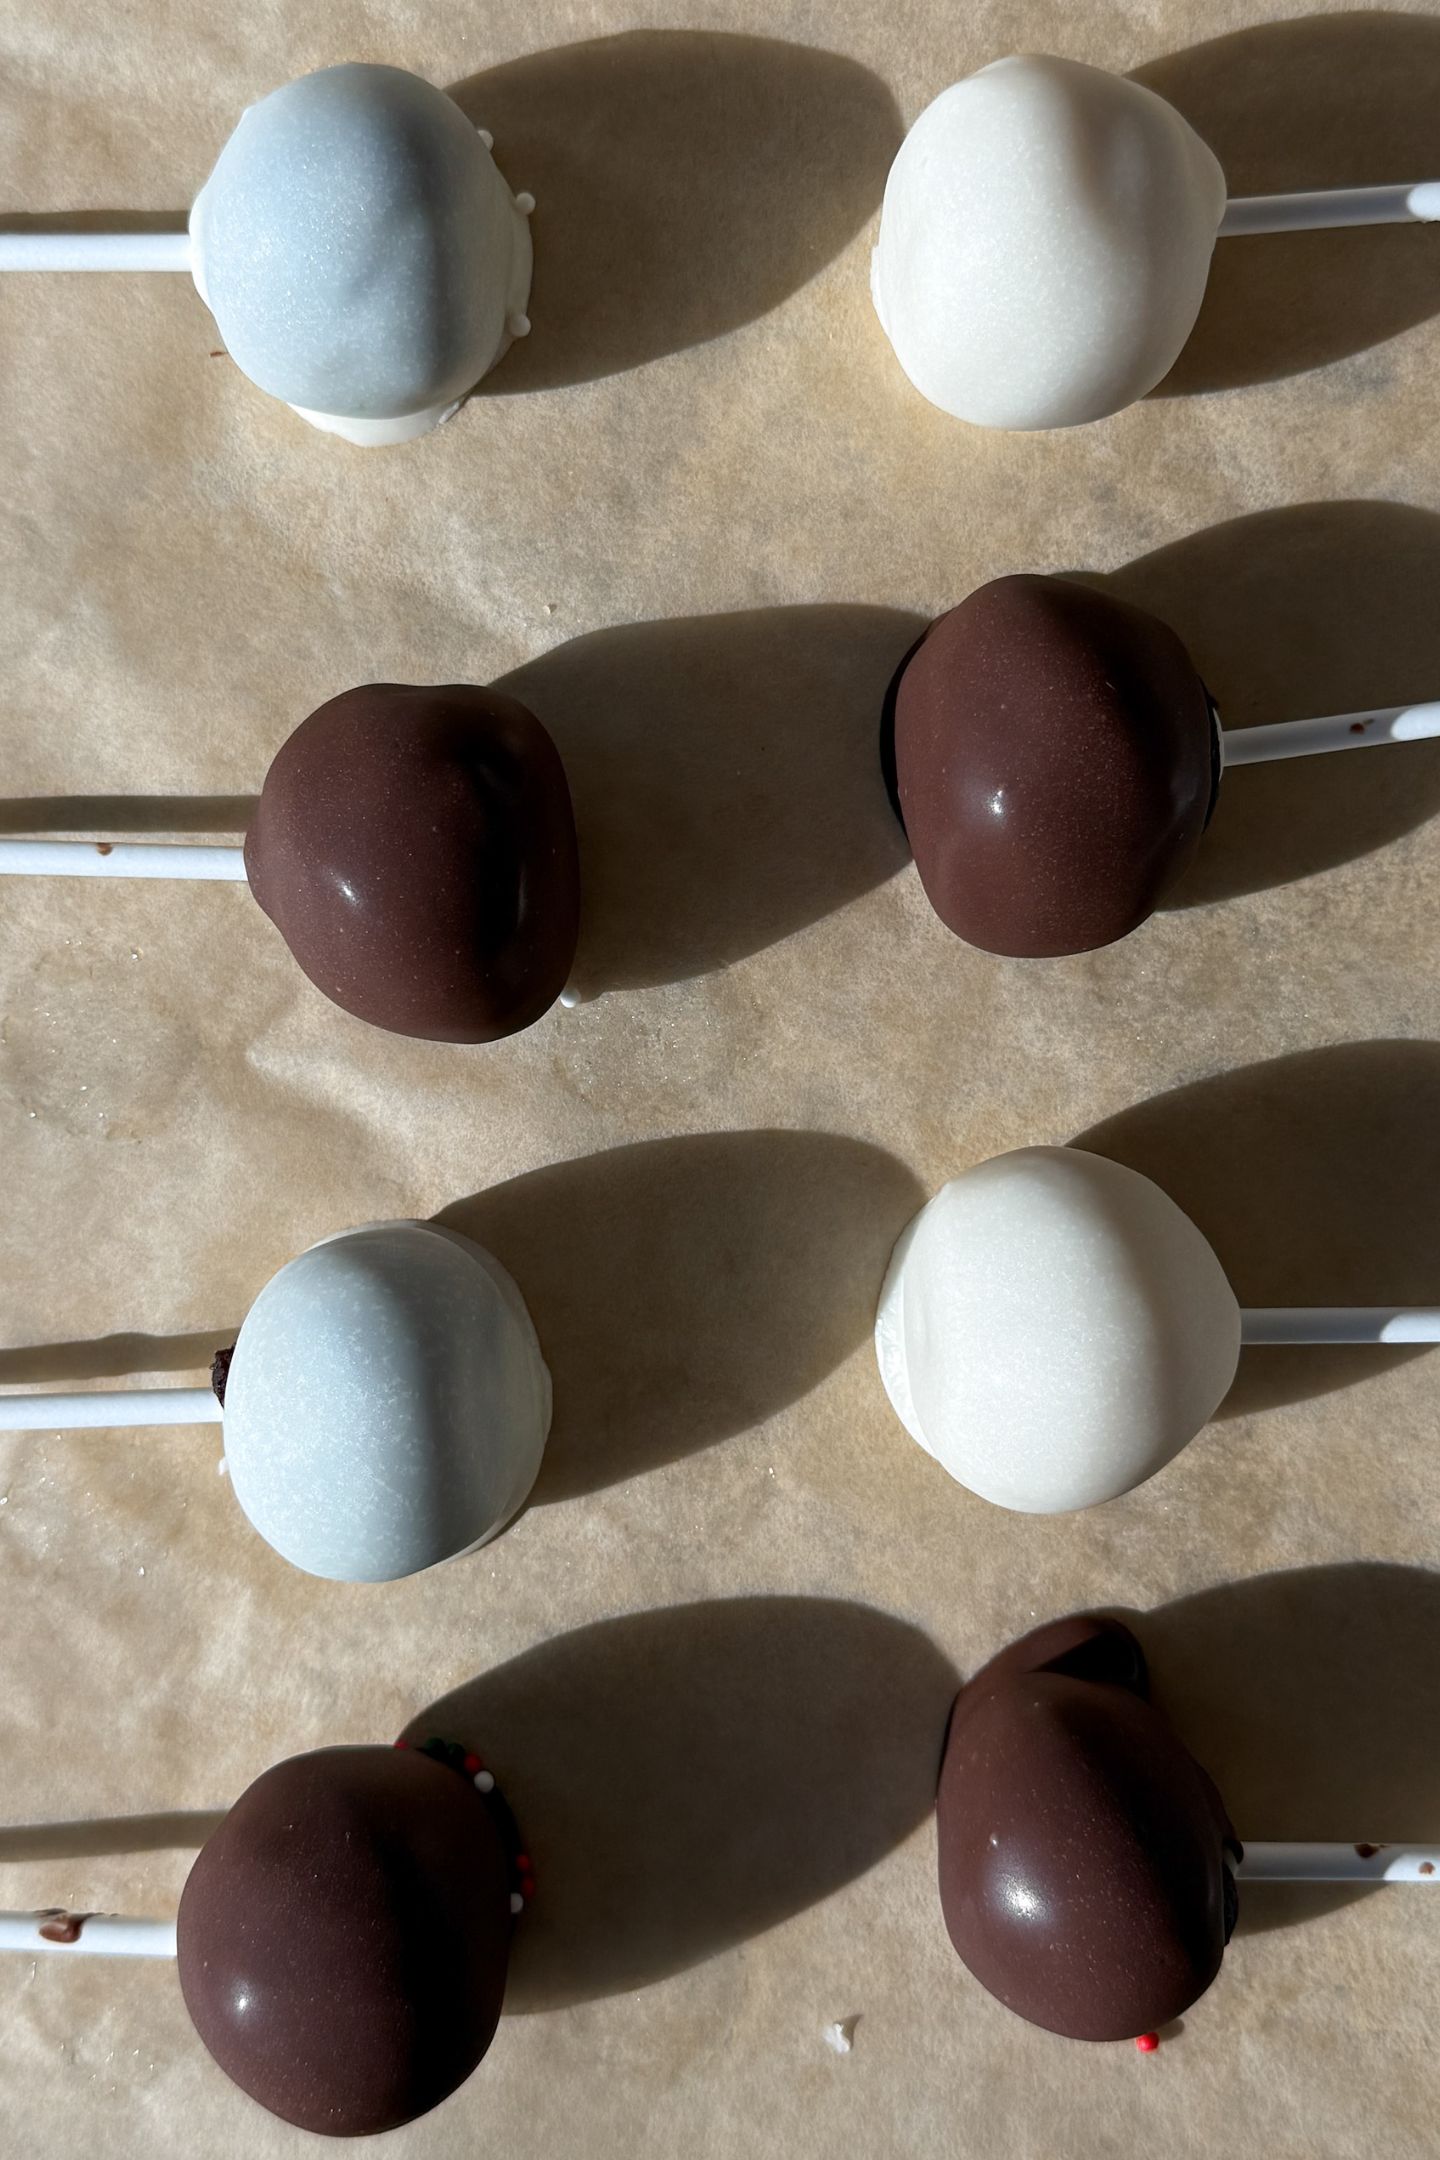
- Chocolate Candy Melts – These are ideal for coating cake pops as they set more quickly than regular chocolate. For white, milk or dark chocolate candy melts, I recommend the Ghirardelli brand as they melt and coat the best.
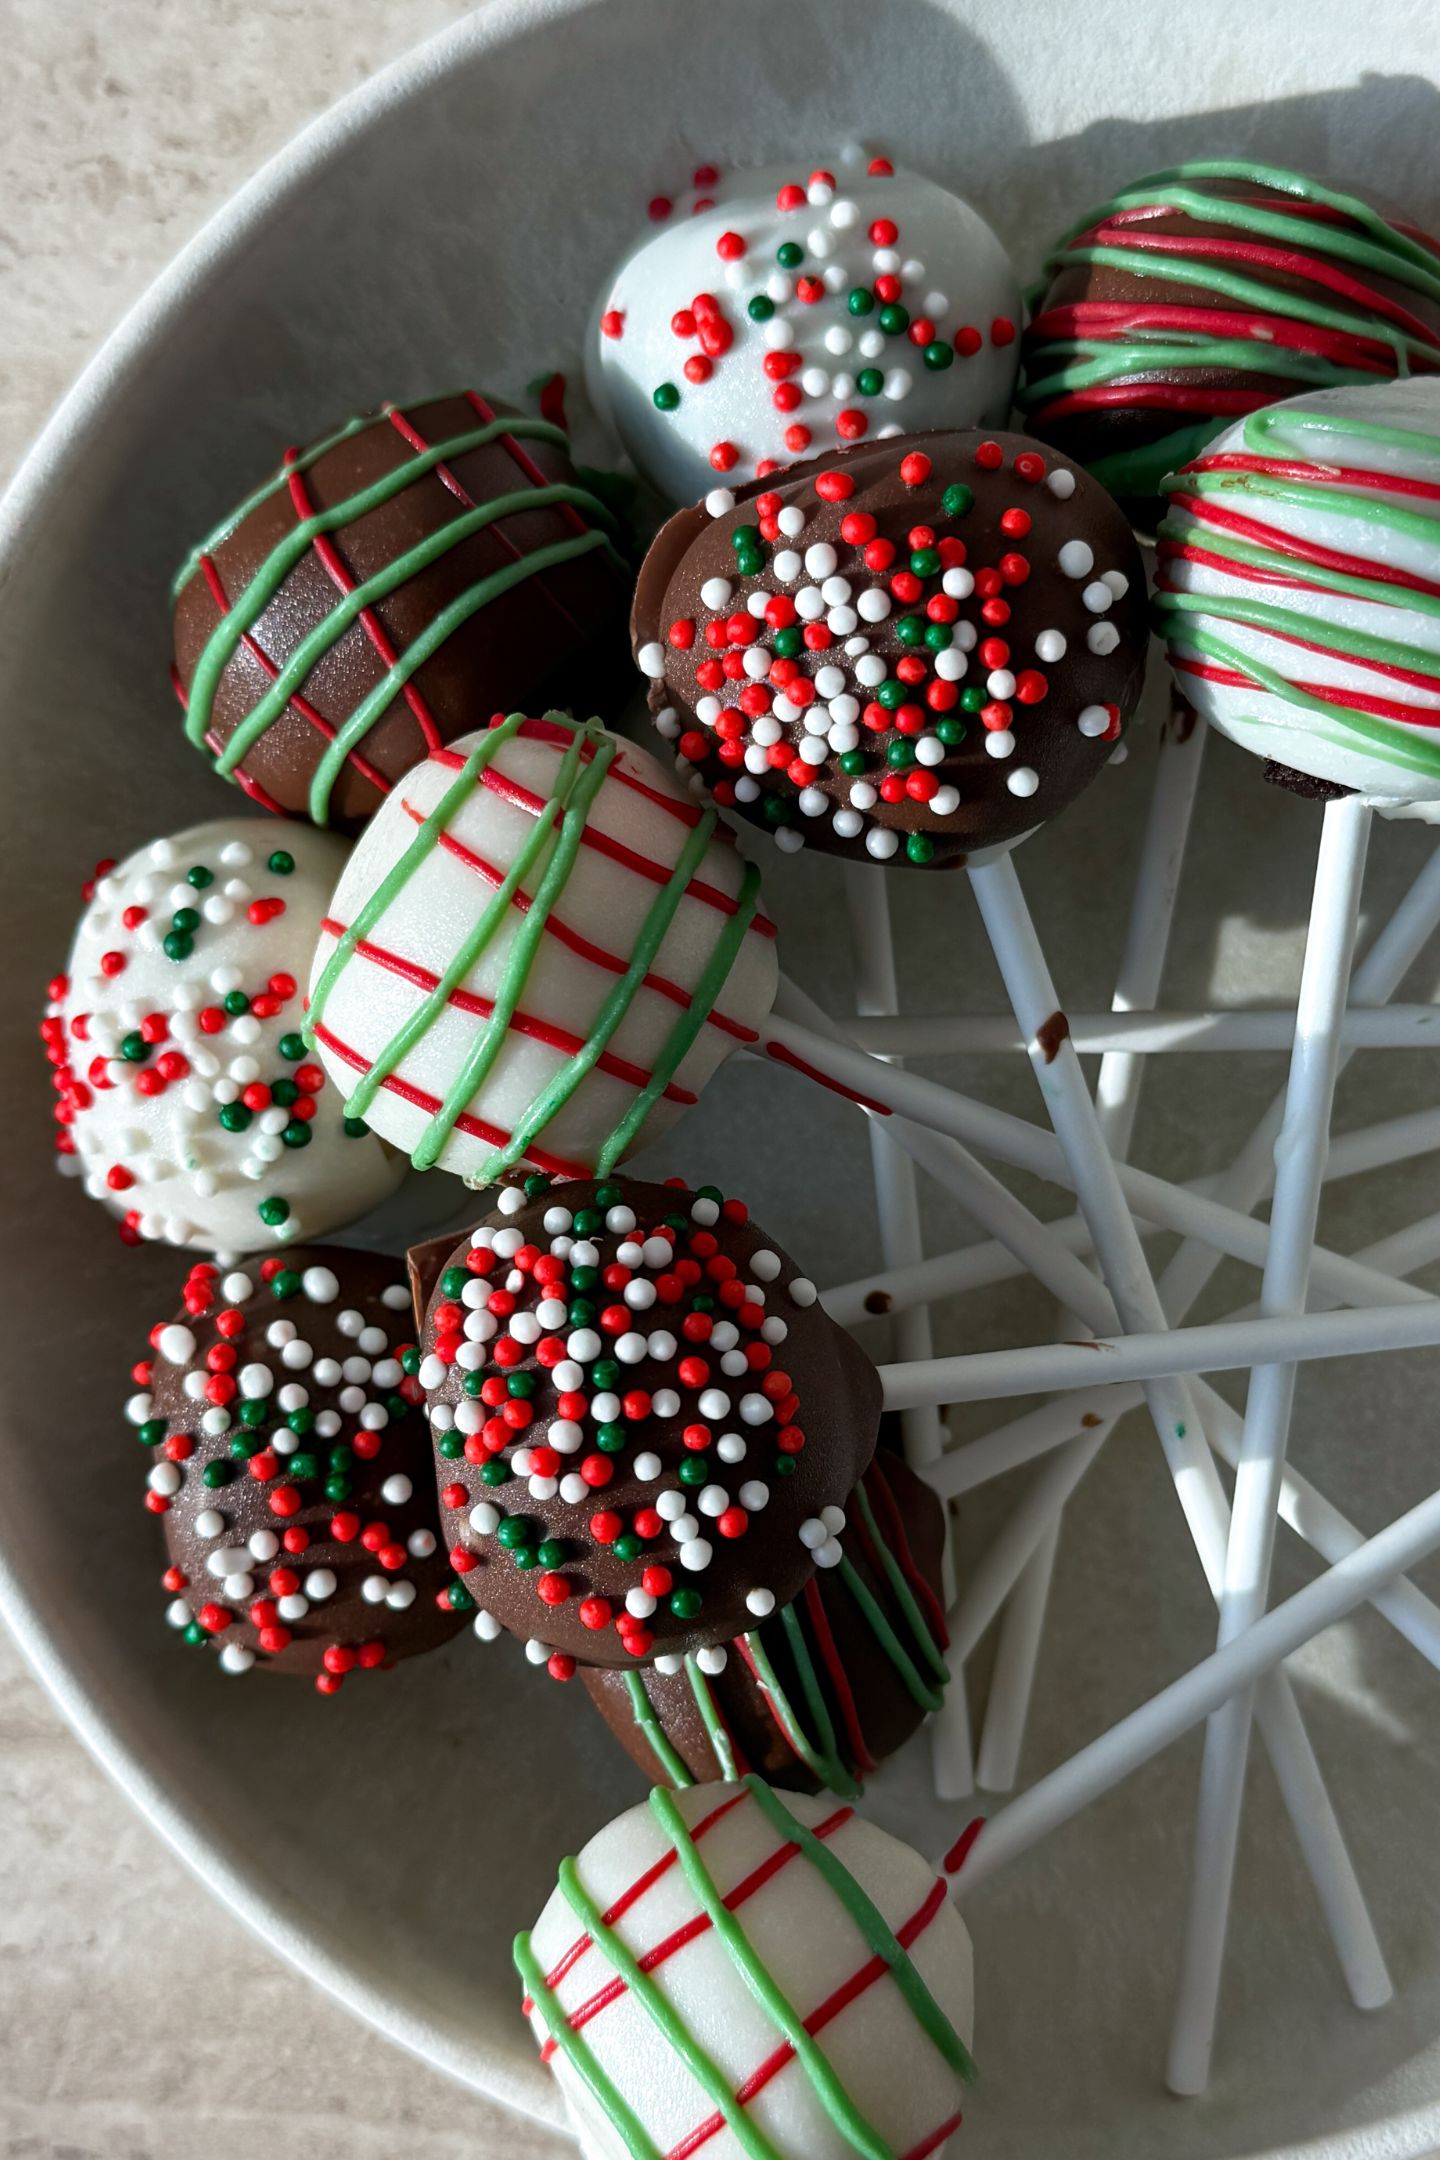
- Christmas Sprinkles – For decoration, try to use smaller-sized sprinkles so that they easily stick to the melted chocolate coating.
- Cake Pop Sticks – You can find them at most grocery stores but I have also ordered them off Amazon.
Tips for Making the Perfect Cake Pop
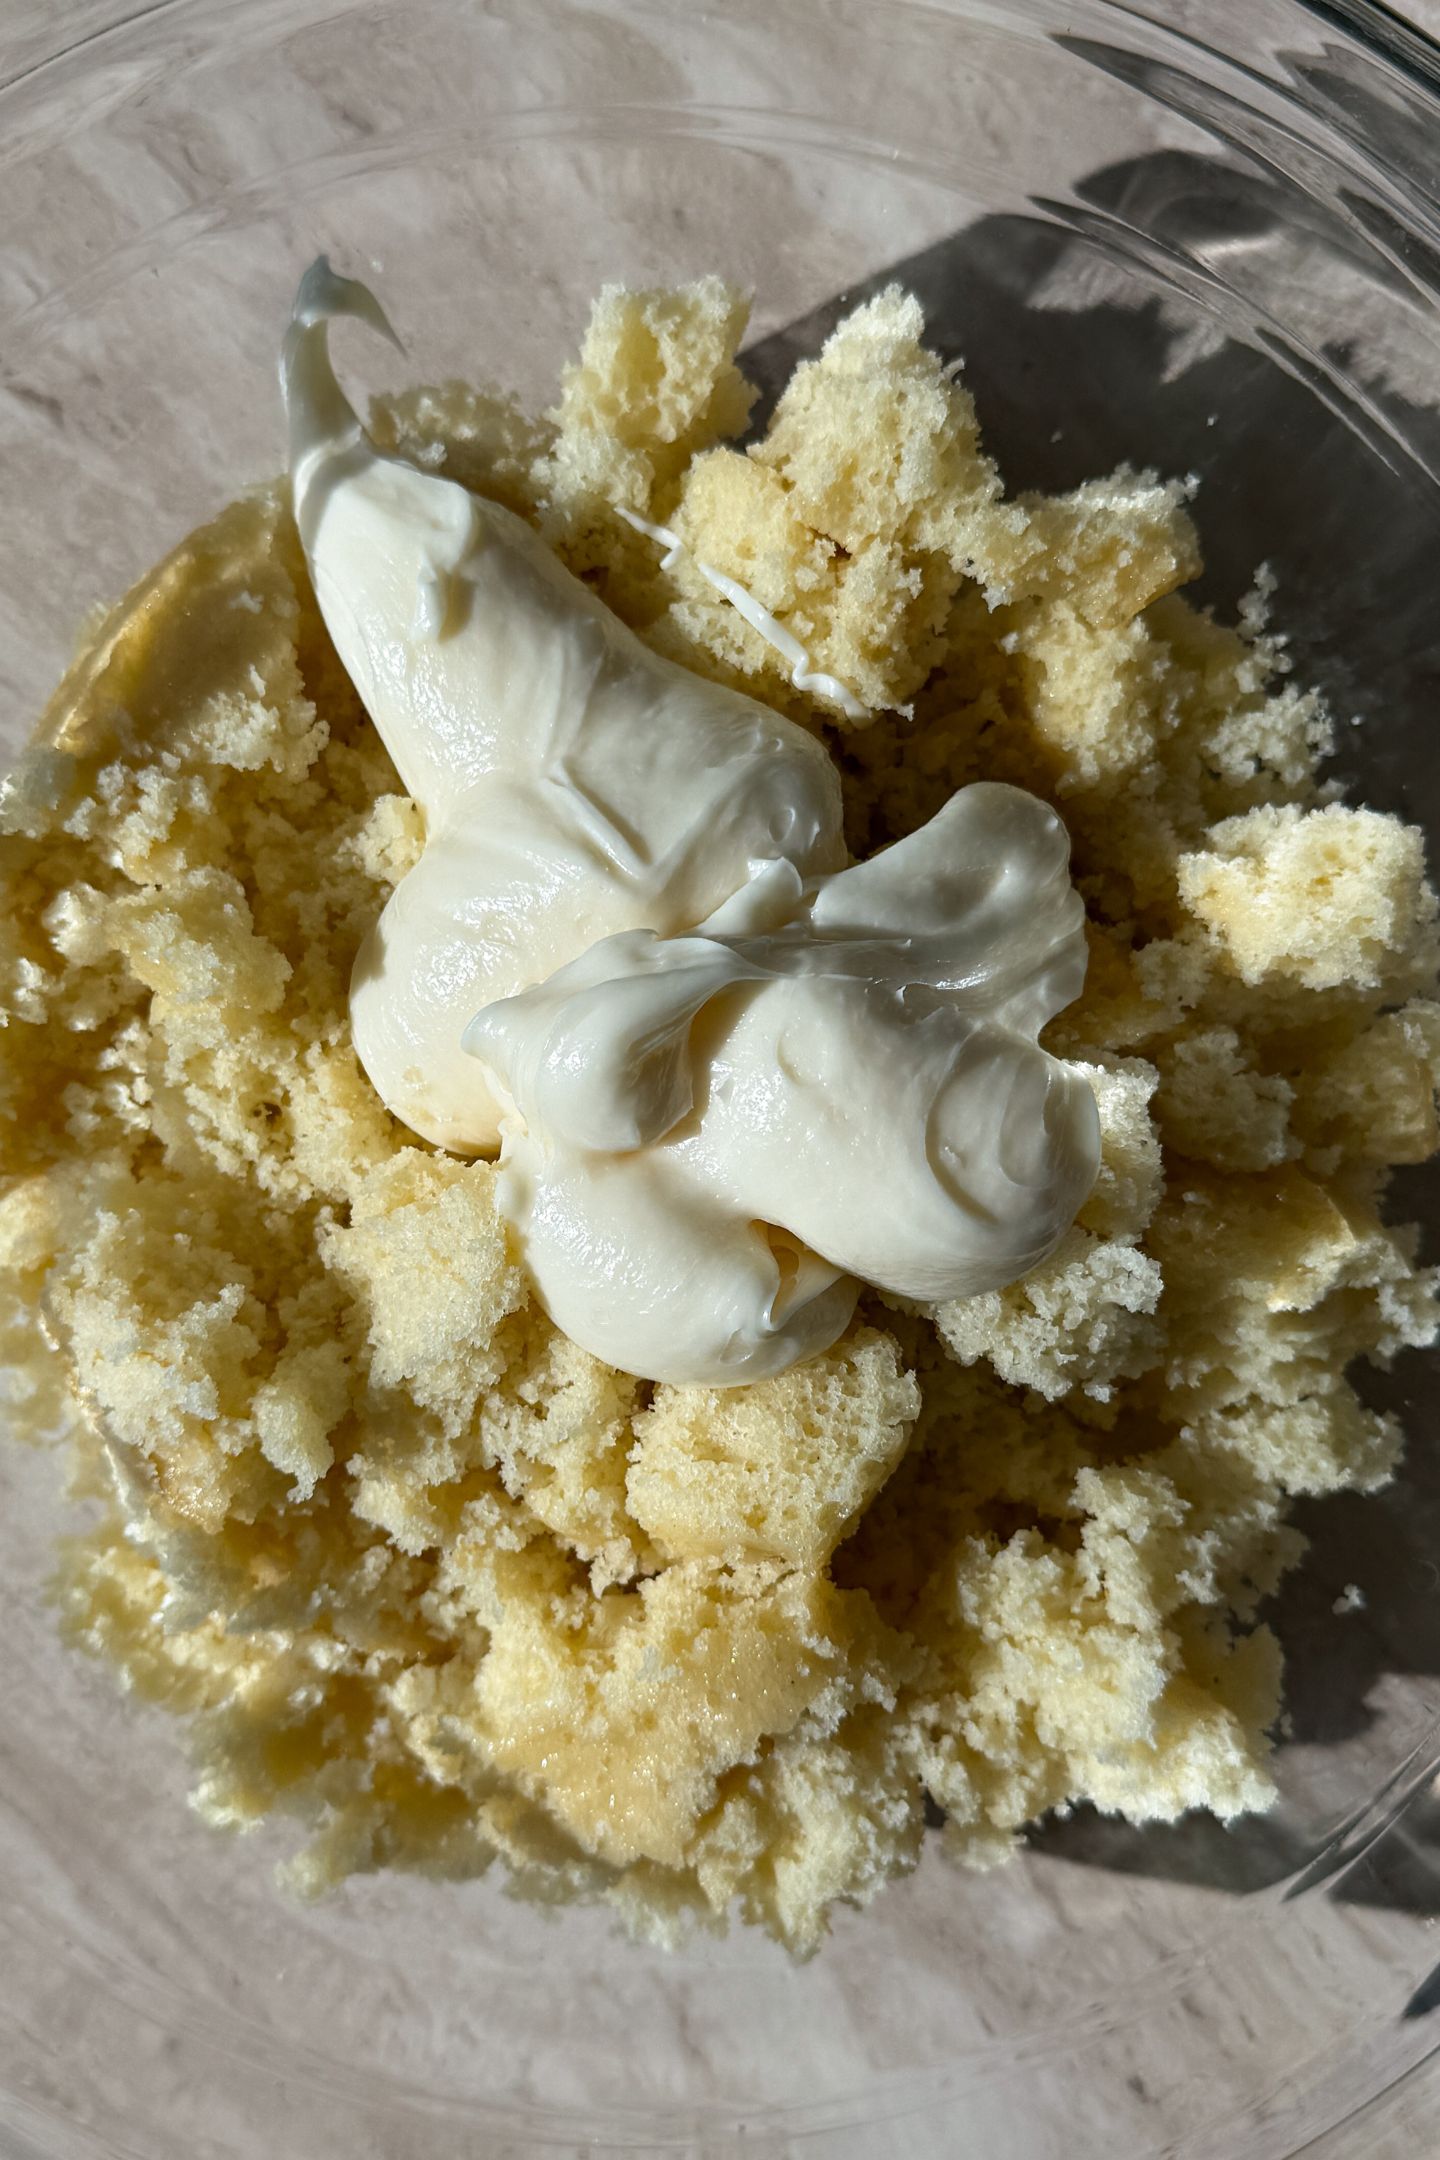
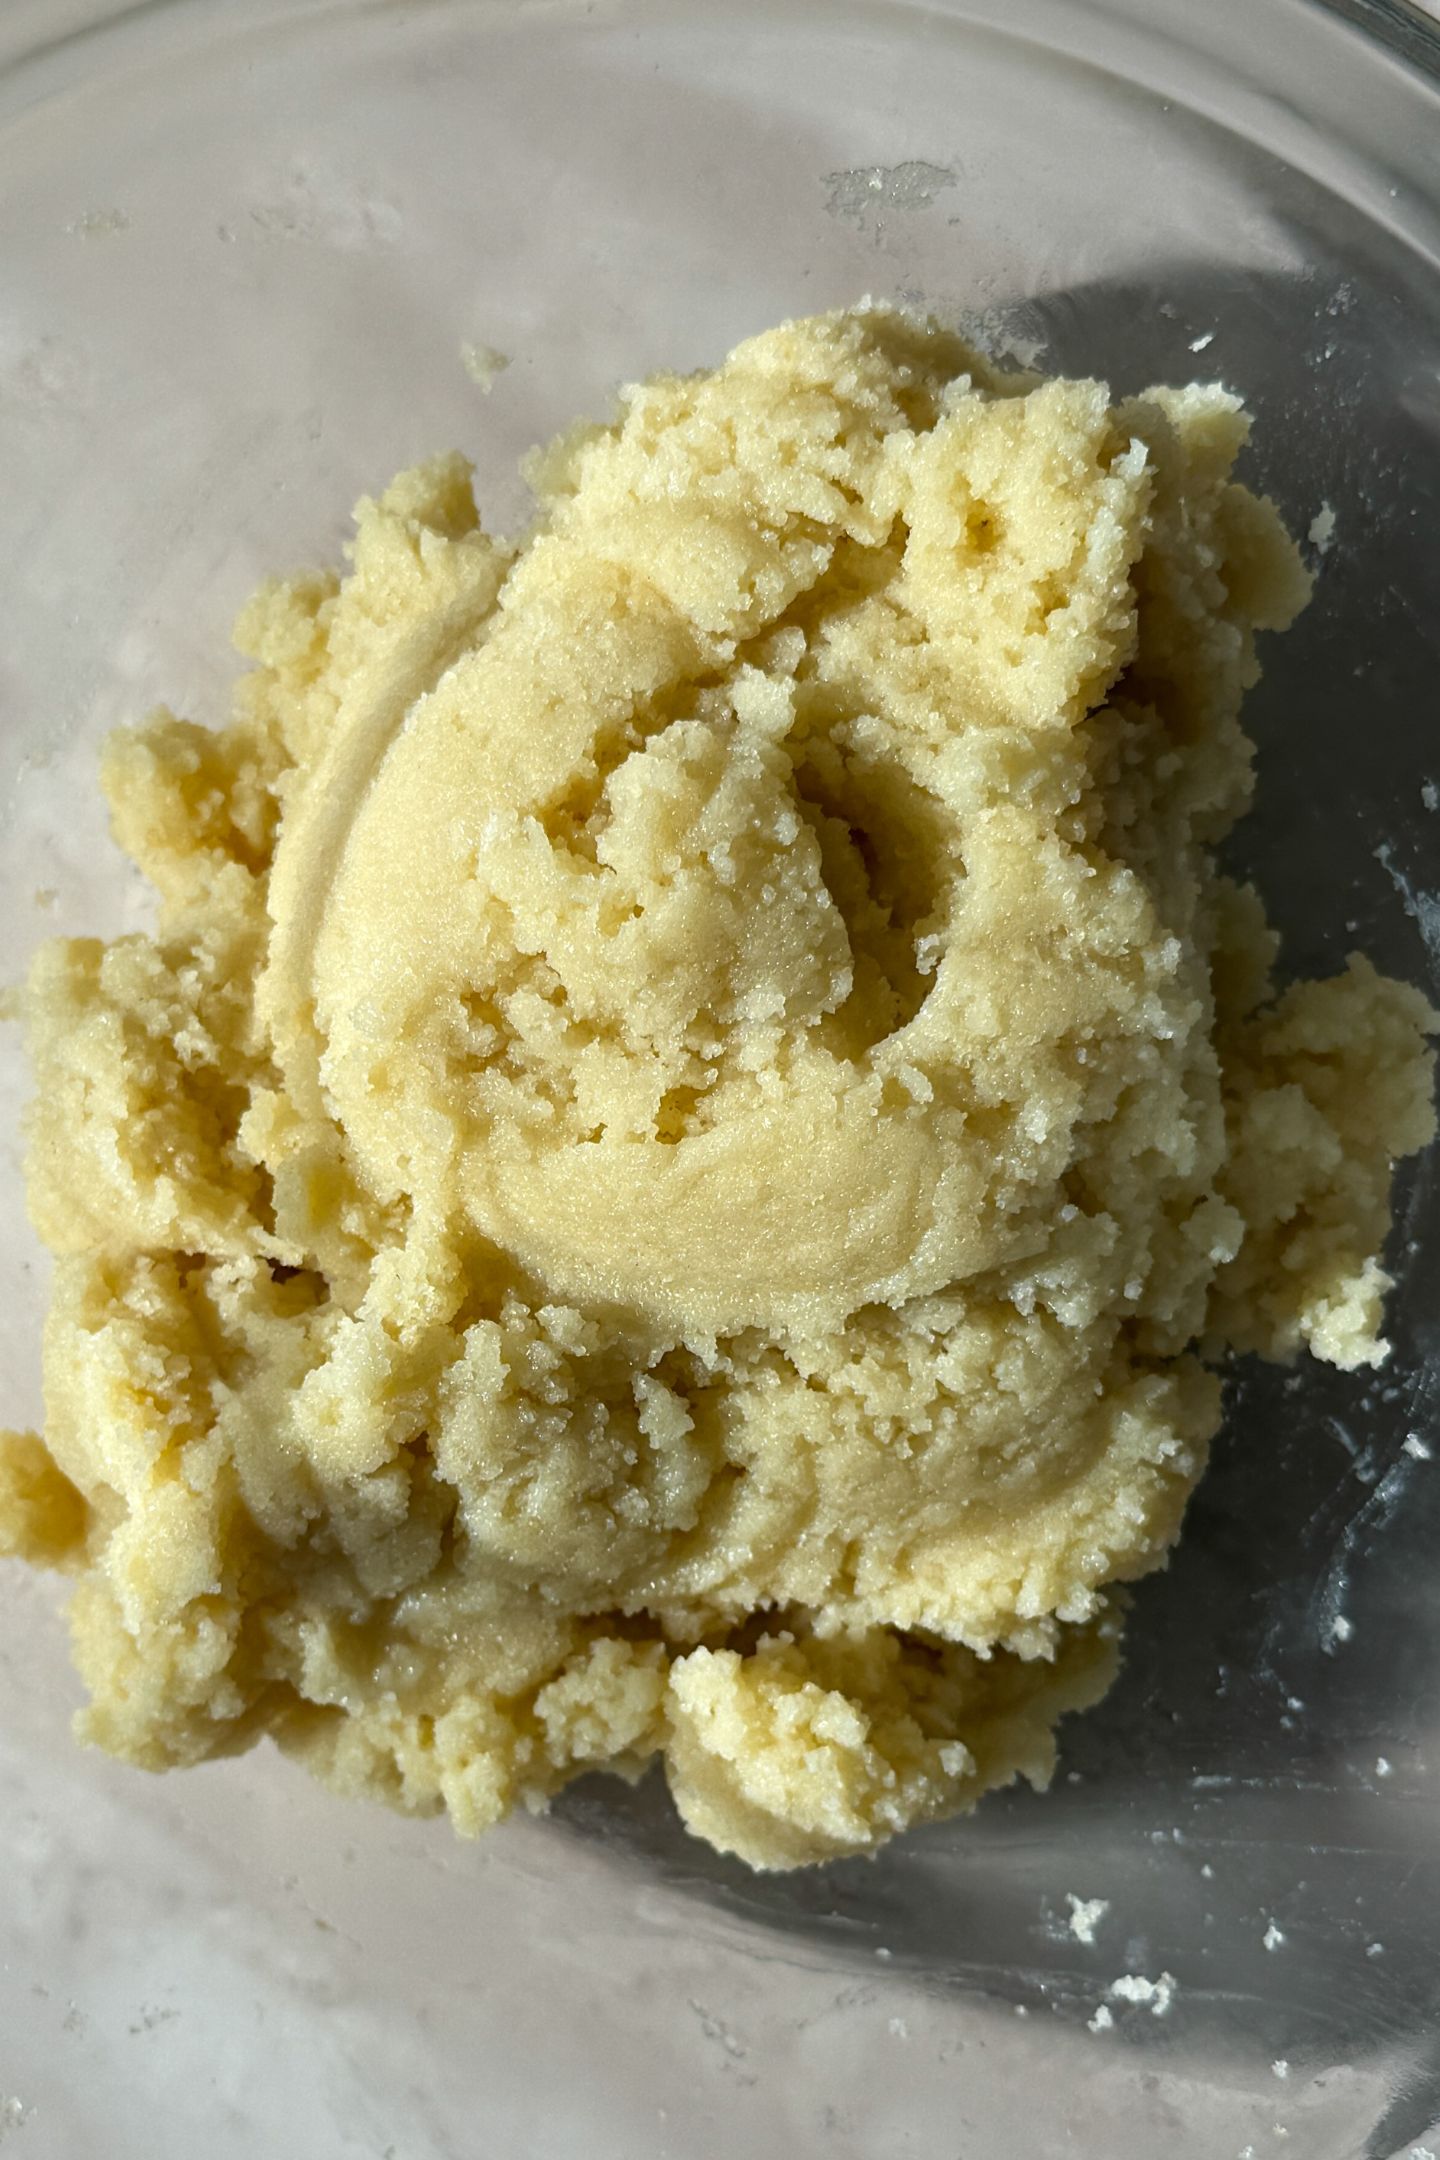
When it comes to adding the frosting, start with less. You can always add more but can’t take it out once it’s mixed in.
By adding frosting to the cake crumbs a little at a time, you will achieve the perfect texture. Remember, you can always add more but can’t take it out once its in.
You need to chill the batter. When you chill the batter at each time instructed, it will help keep the cake pop sturdy on the stick. Nobody wants to grab a cake pop in their hand just for it to fall to the ground!
Creating the perfect crunch. After coating each cake pop in candy melts and adding your desired decoration, put the cake pops in the fridge or freezer.
Step by Step Process Making these Christmas Cake Pops
The full-detailed instructions are written out in the recipe card below. Use these images to help guide you as needed while following the instructions.


Frequently Asked Questions
You can use avocado oil, a light olive oil, vegetable oil or canola oil. However, melted butter will also work at a 1:1 ratio!
Yes, if you don’t chill the batter, the cake pop won’t be able to hold up on the cake pop stick.
I typically use about 1 tbsp cookie scoop to portion the dough, however, it is usually a little more of 1 tbsp of dough before I roll them into balls. Tip: You don’t want them to be too heavy as they will fall off the cake pop stick easily.
For decoration, I dipped the cake pops in either white chocolate melts or milk chocolate melts then sprinkles right after or waited for the chocolate to set before adding chocolate decorations.
Store in an airtight container in the fridge for up to 14 days.
Easy Christmas Cake Pops Recipe
Ingredients
- 13.25 box Cake Mix (Vanilla or Chocolate), plus the ingredients required to make the cake
- 1 cup Frosting
- 10 oz Melting Wafers, White, Milk or Dark Chocolate
- Festive Sprinkles, for decoration
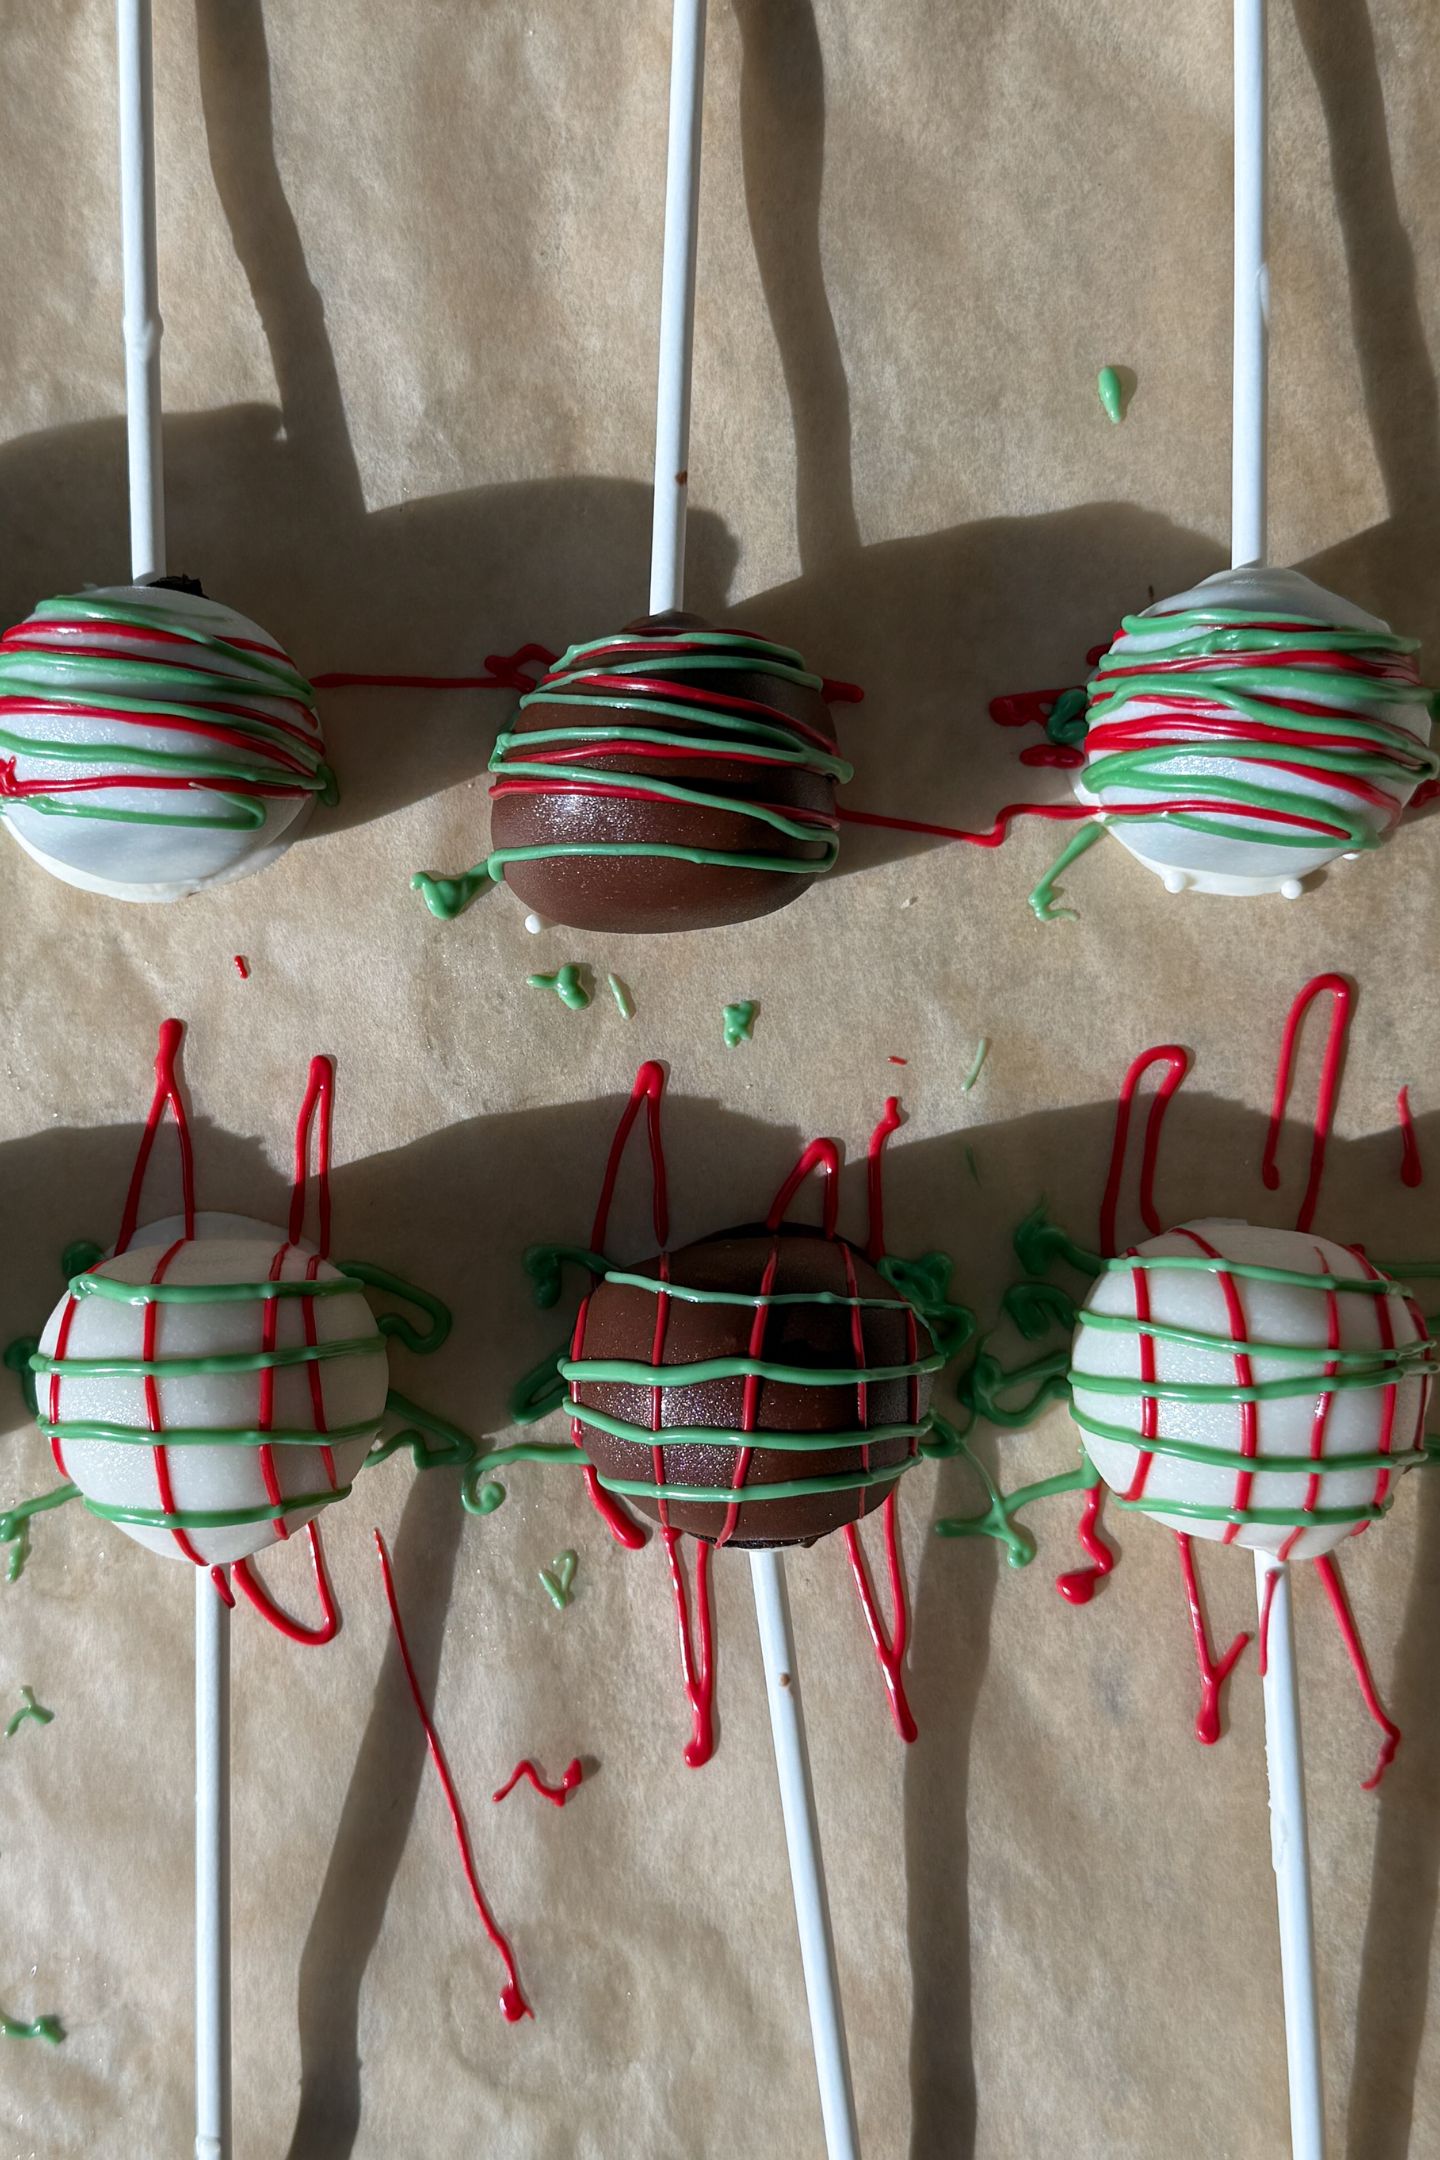
- Green and Red Chocolate Wafers, melted, for decoration
- 24 Cake Pop Sticks
Instructions
- Prepare and bake the cake mix according to package instructions
- Once the cake is baked, let cool completely in the pan before transferring to a cooling rack
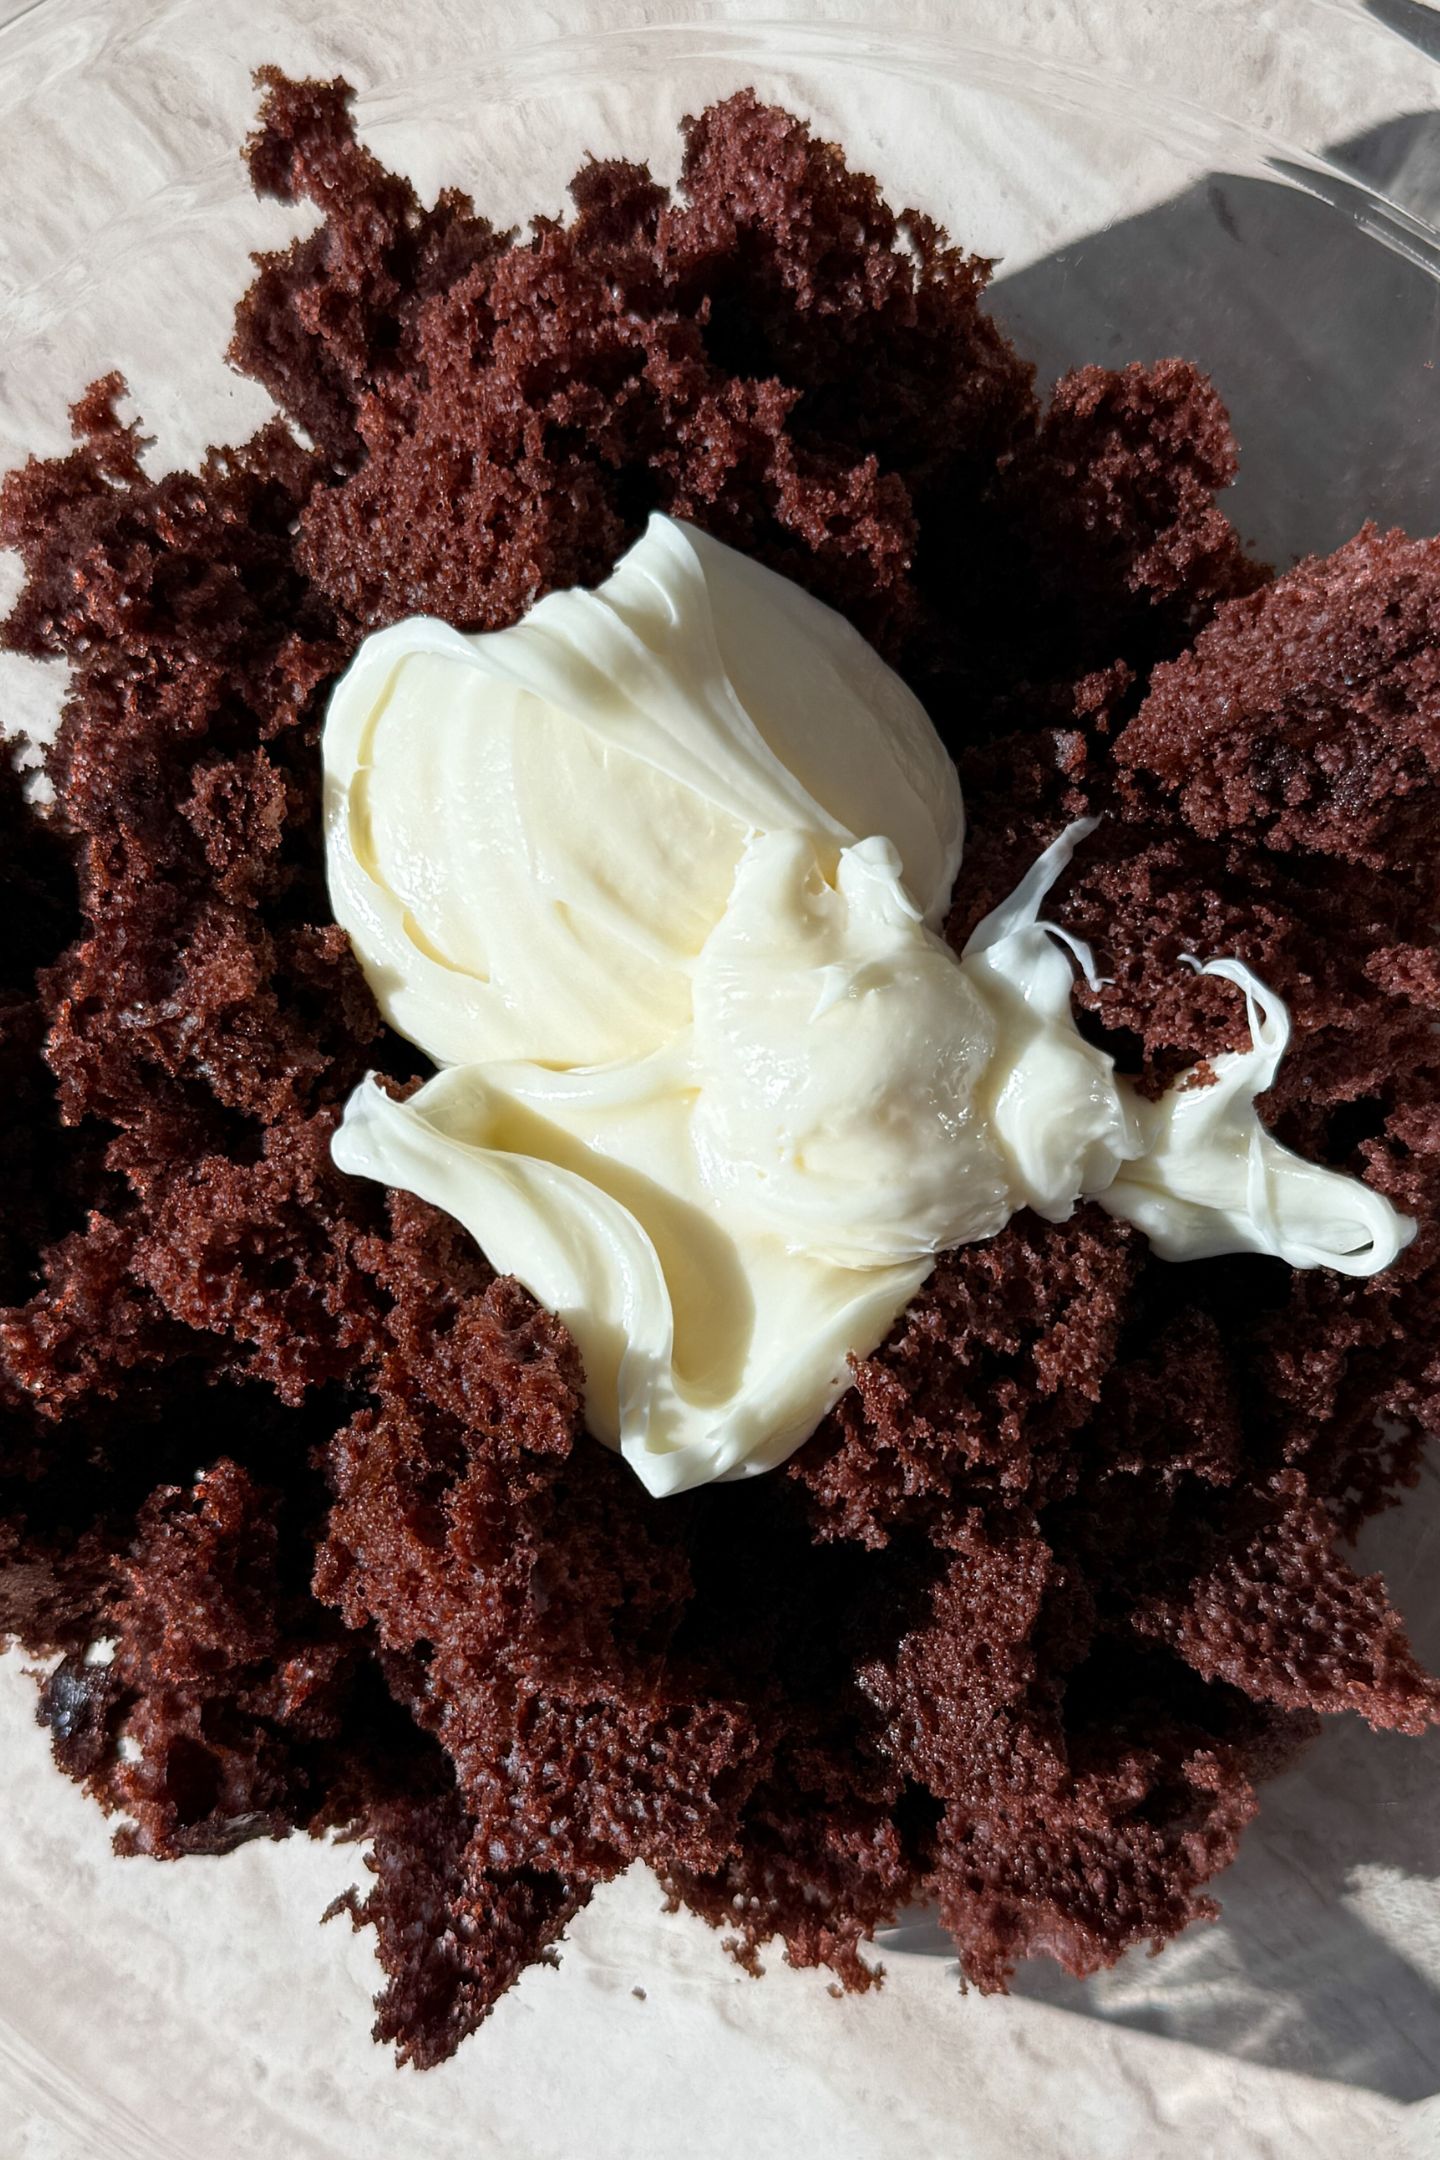
- Crumble the cooled cake into a large mixing bowl
- Add about 1/2 cup of frosting
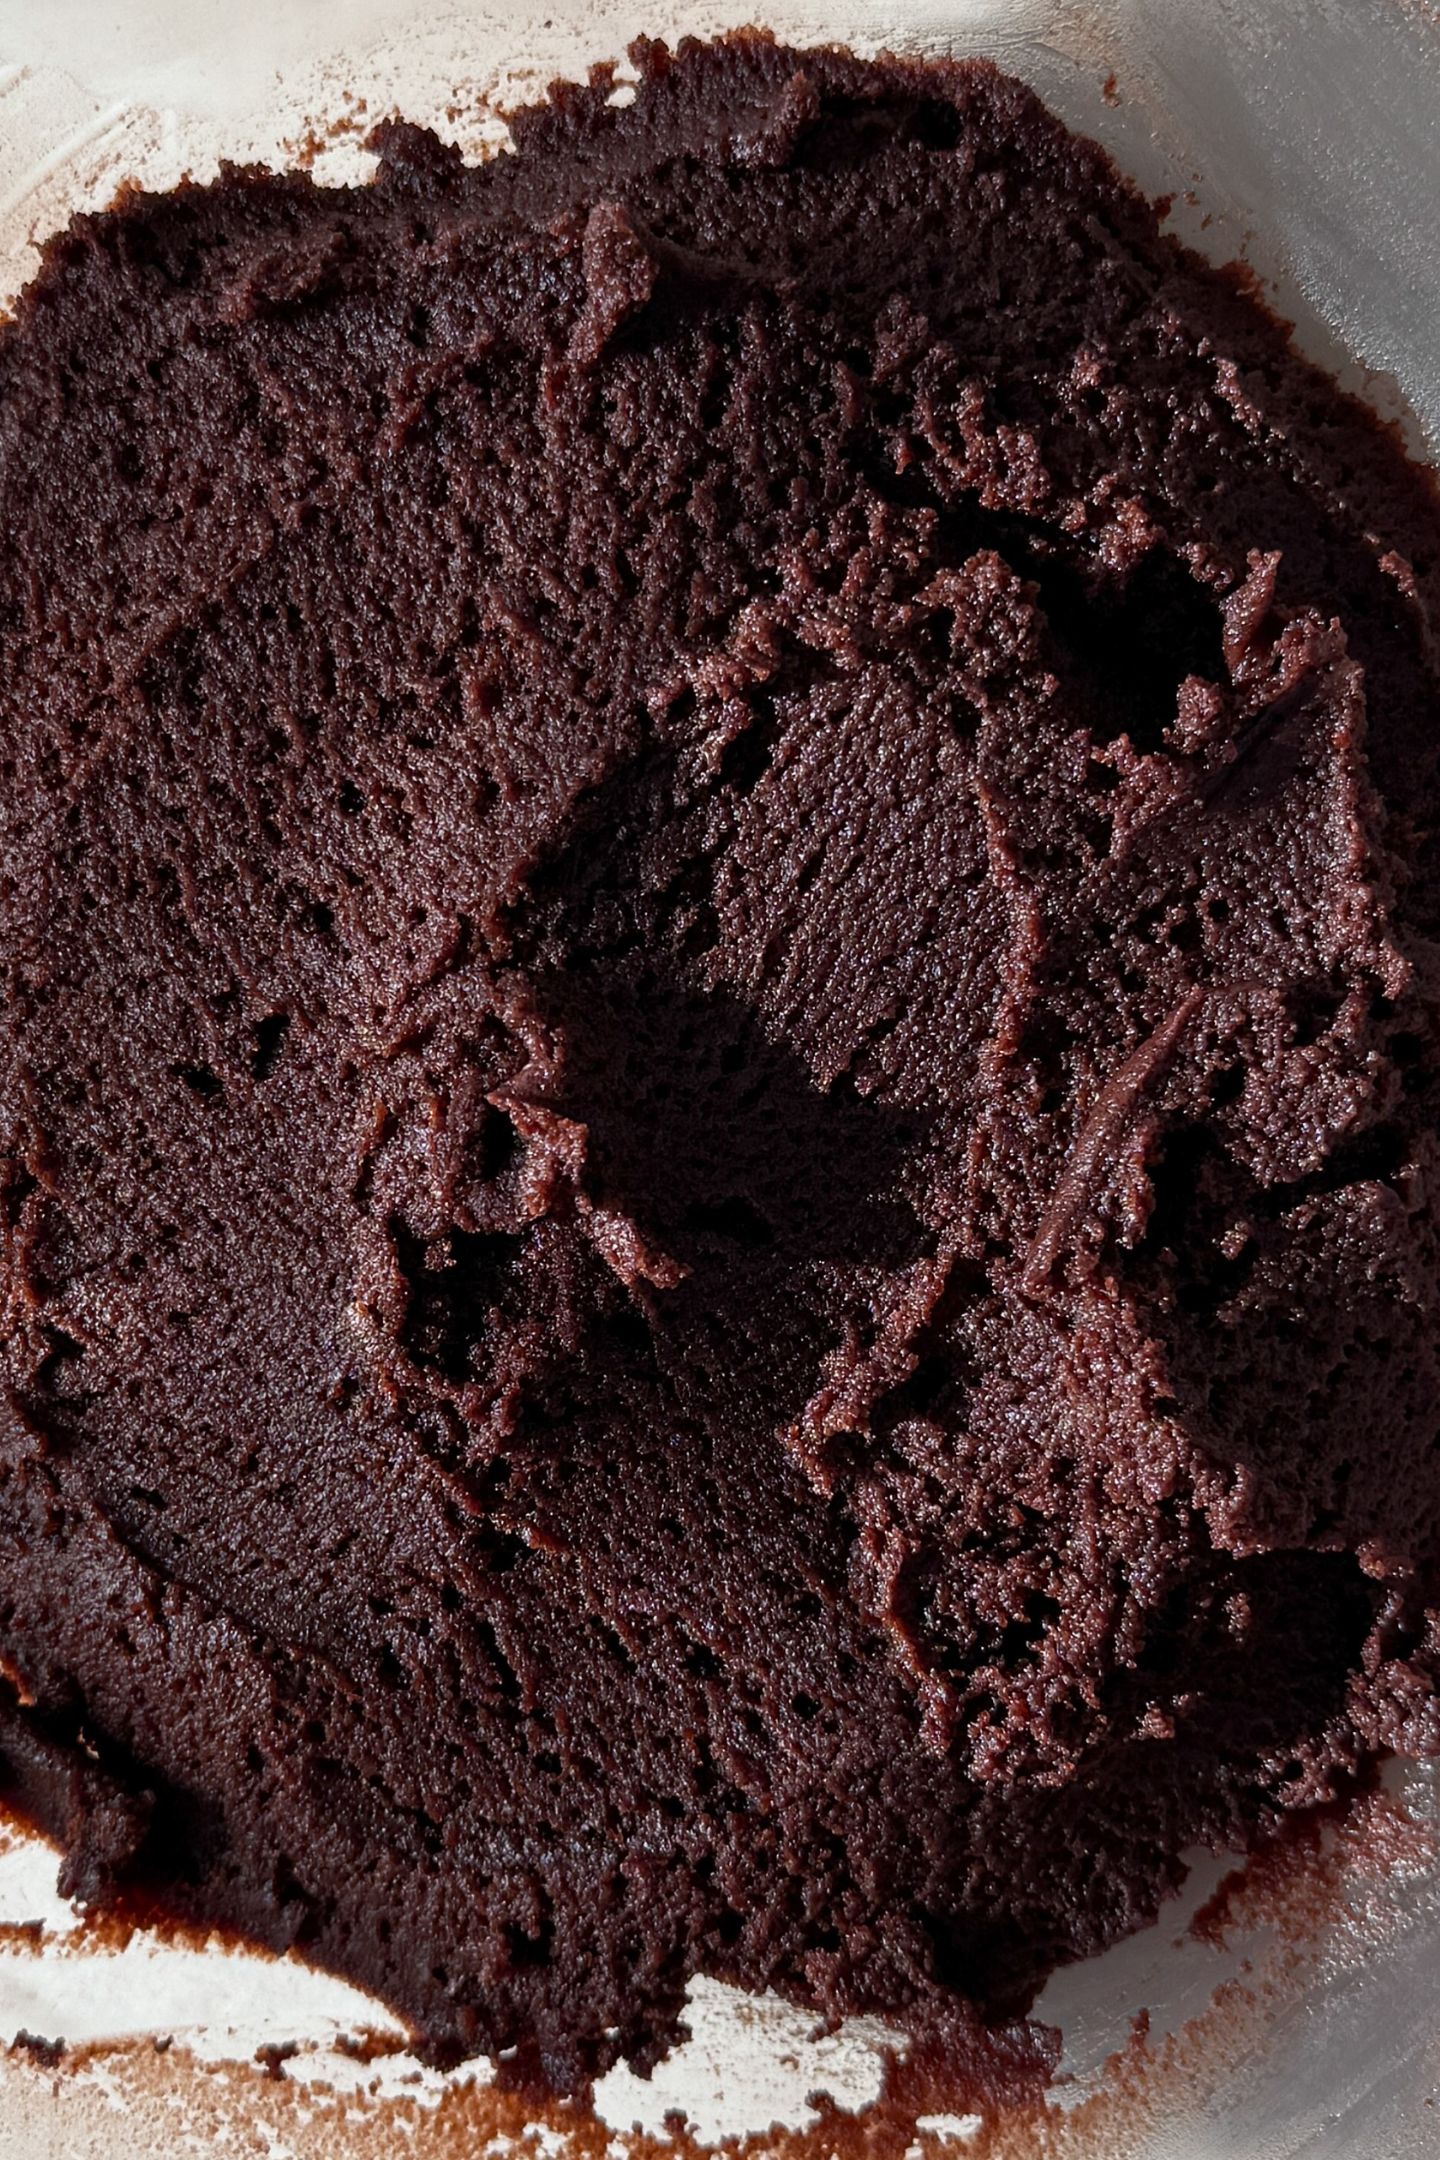
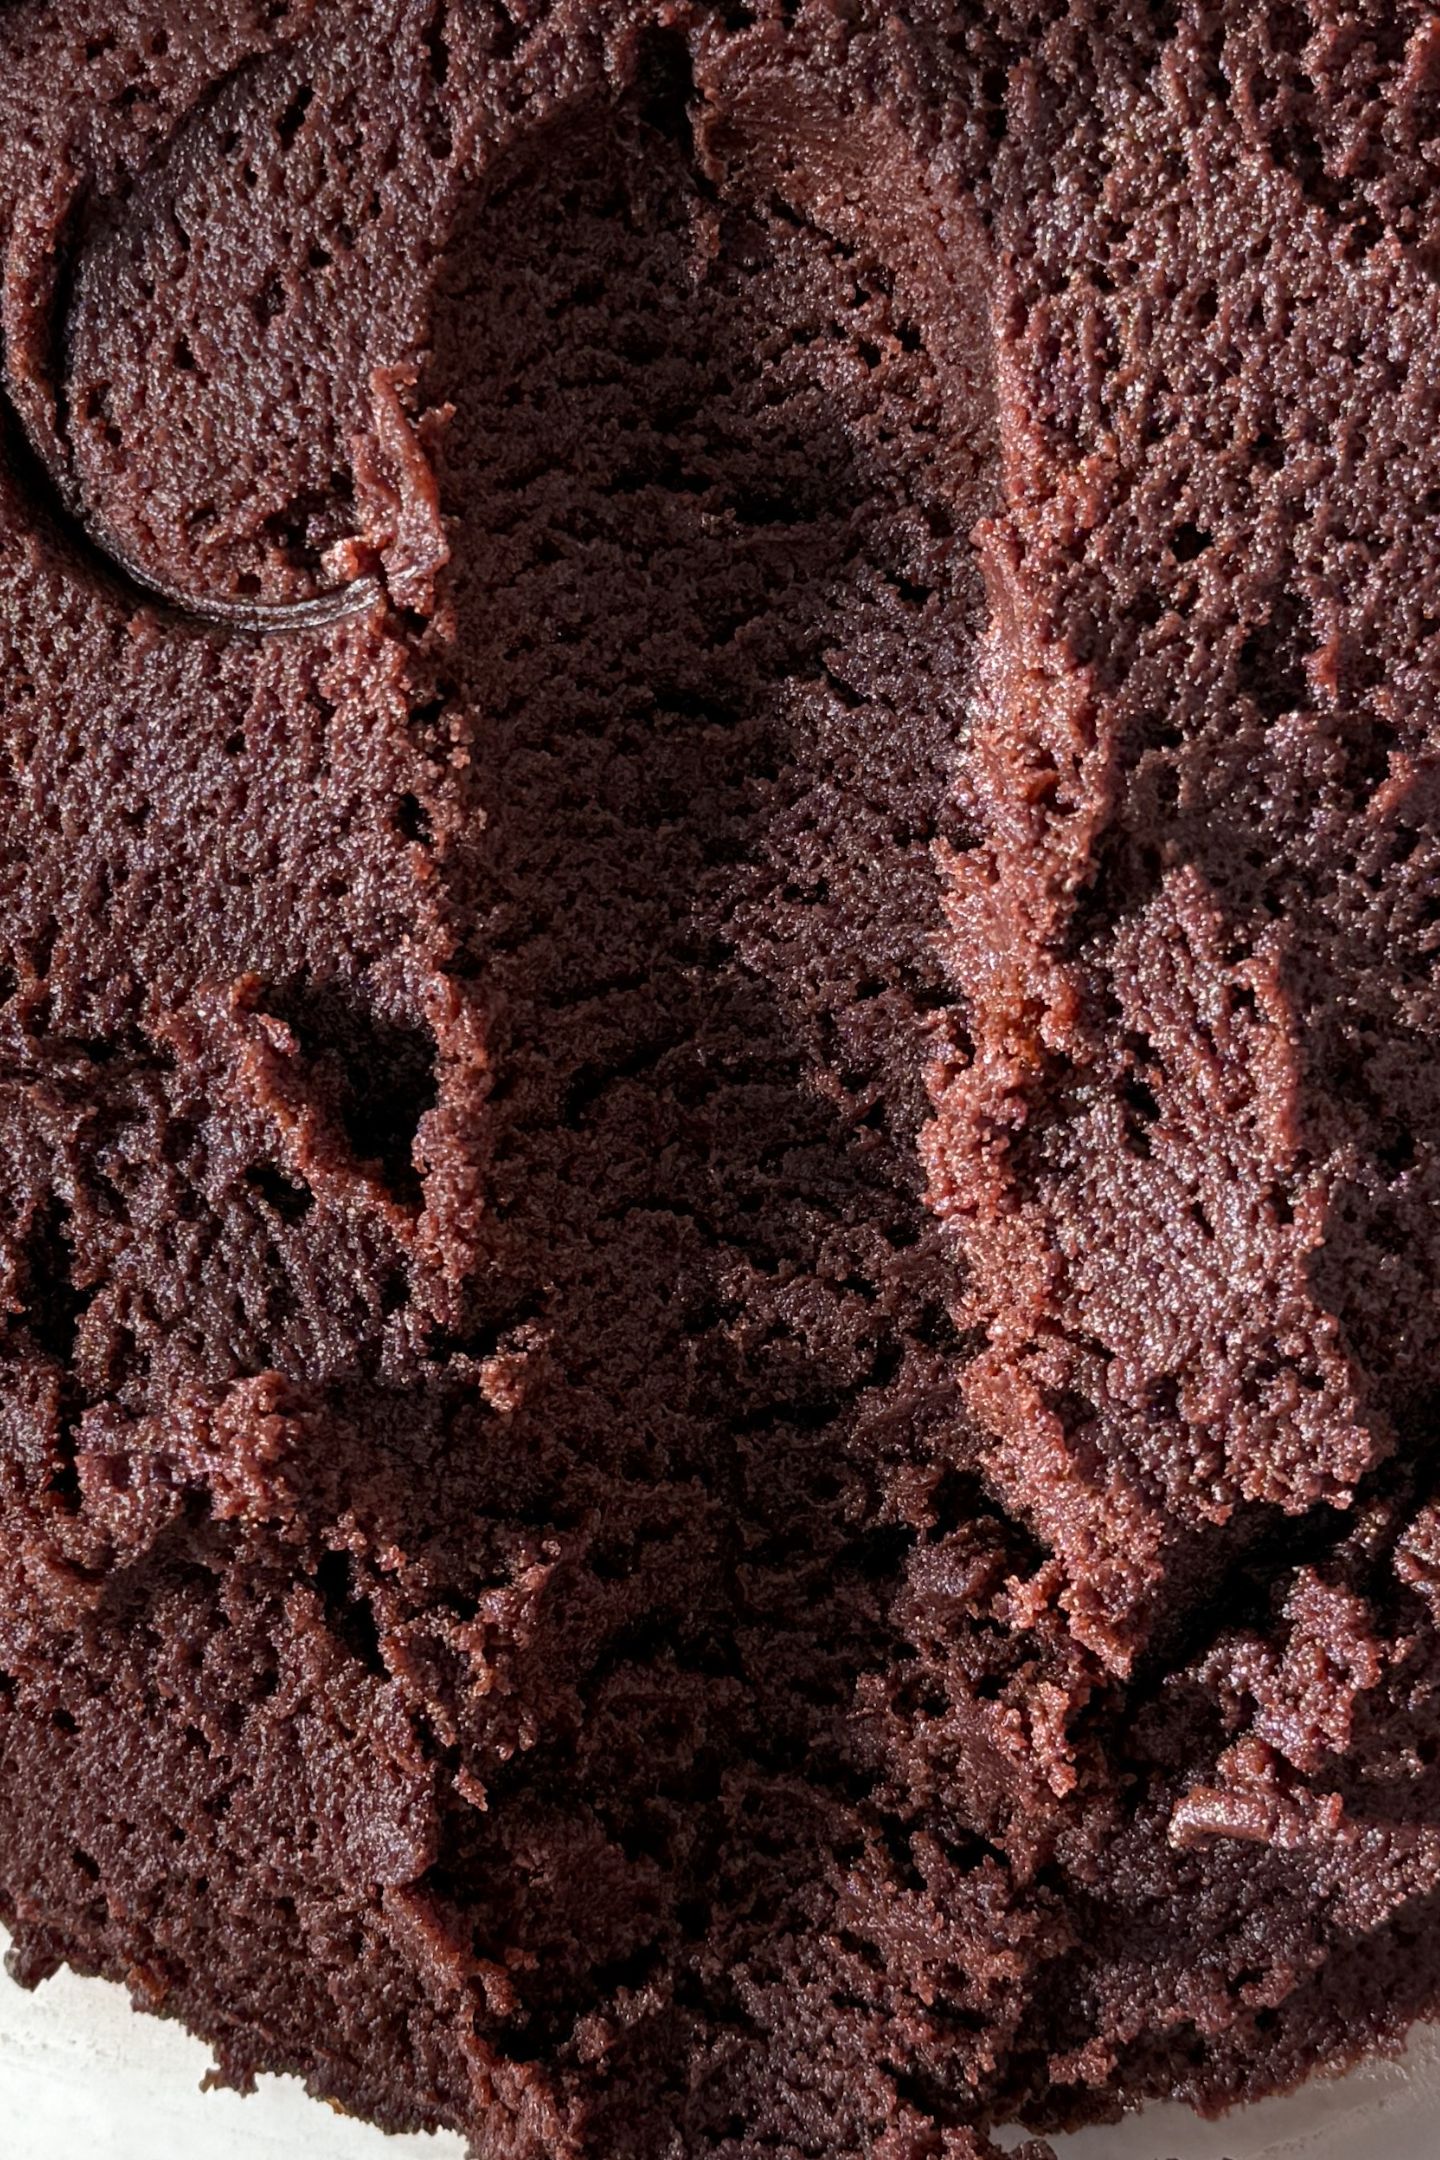
- Use an electric hand mixer to combine the cake and frosting
- Add another 1/2 cup of frosting and mix
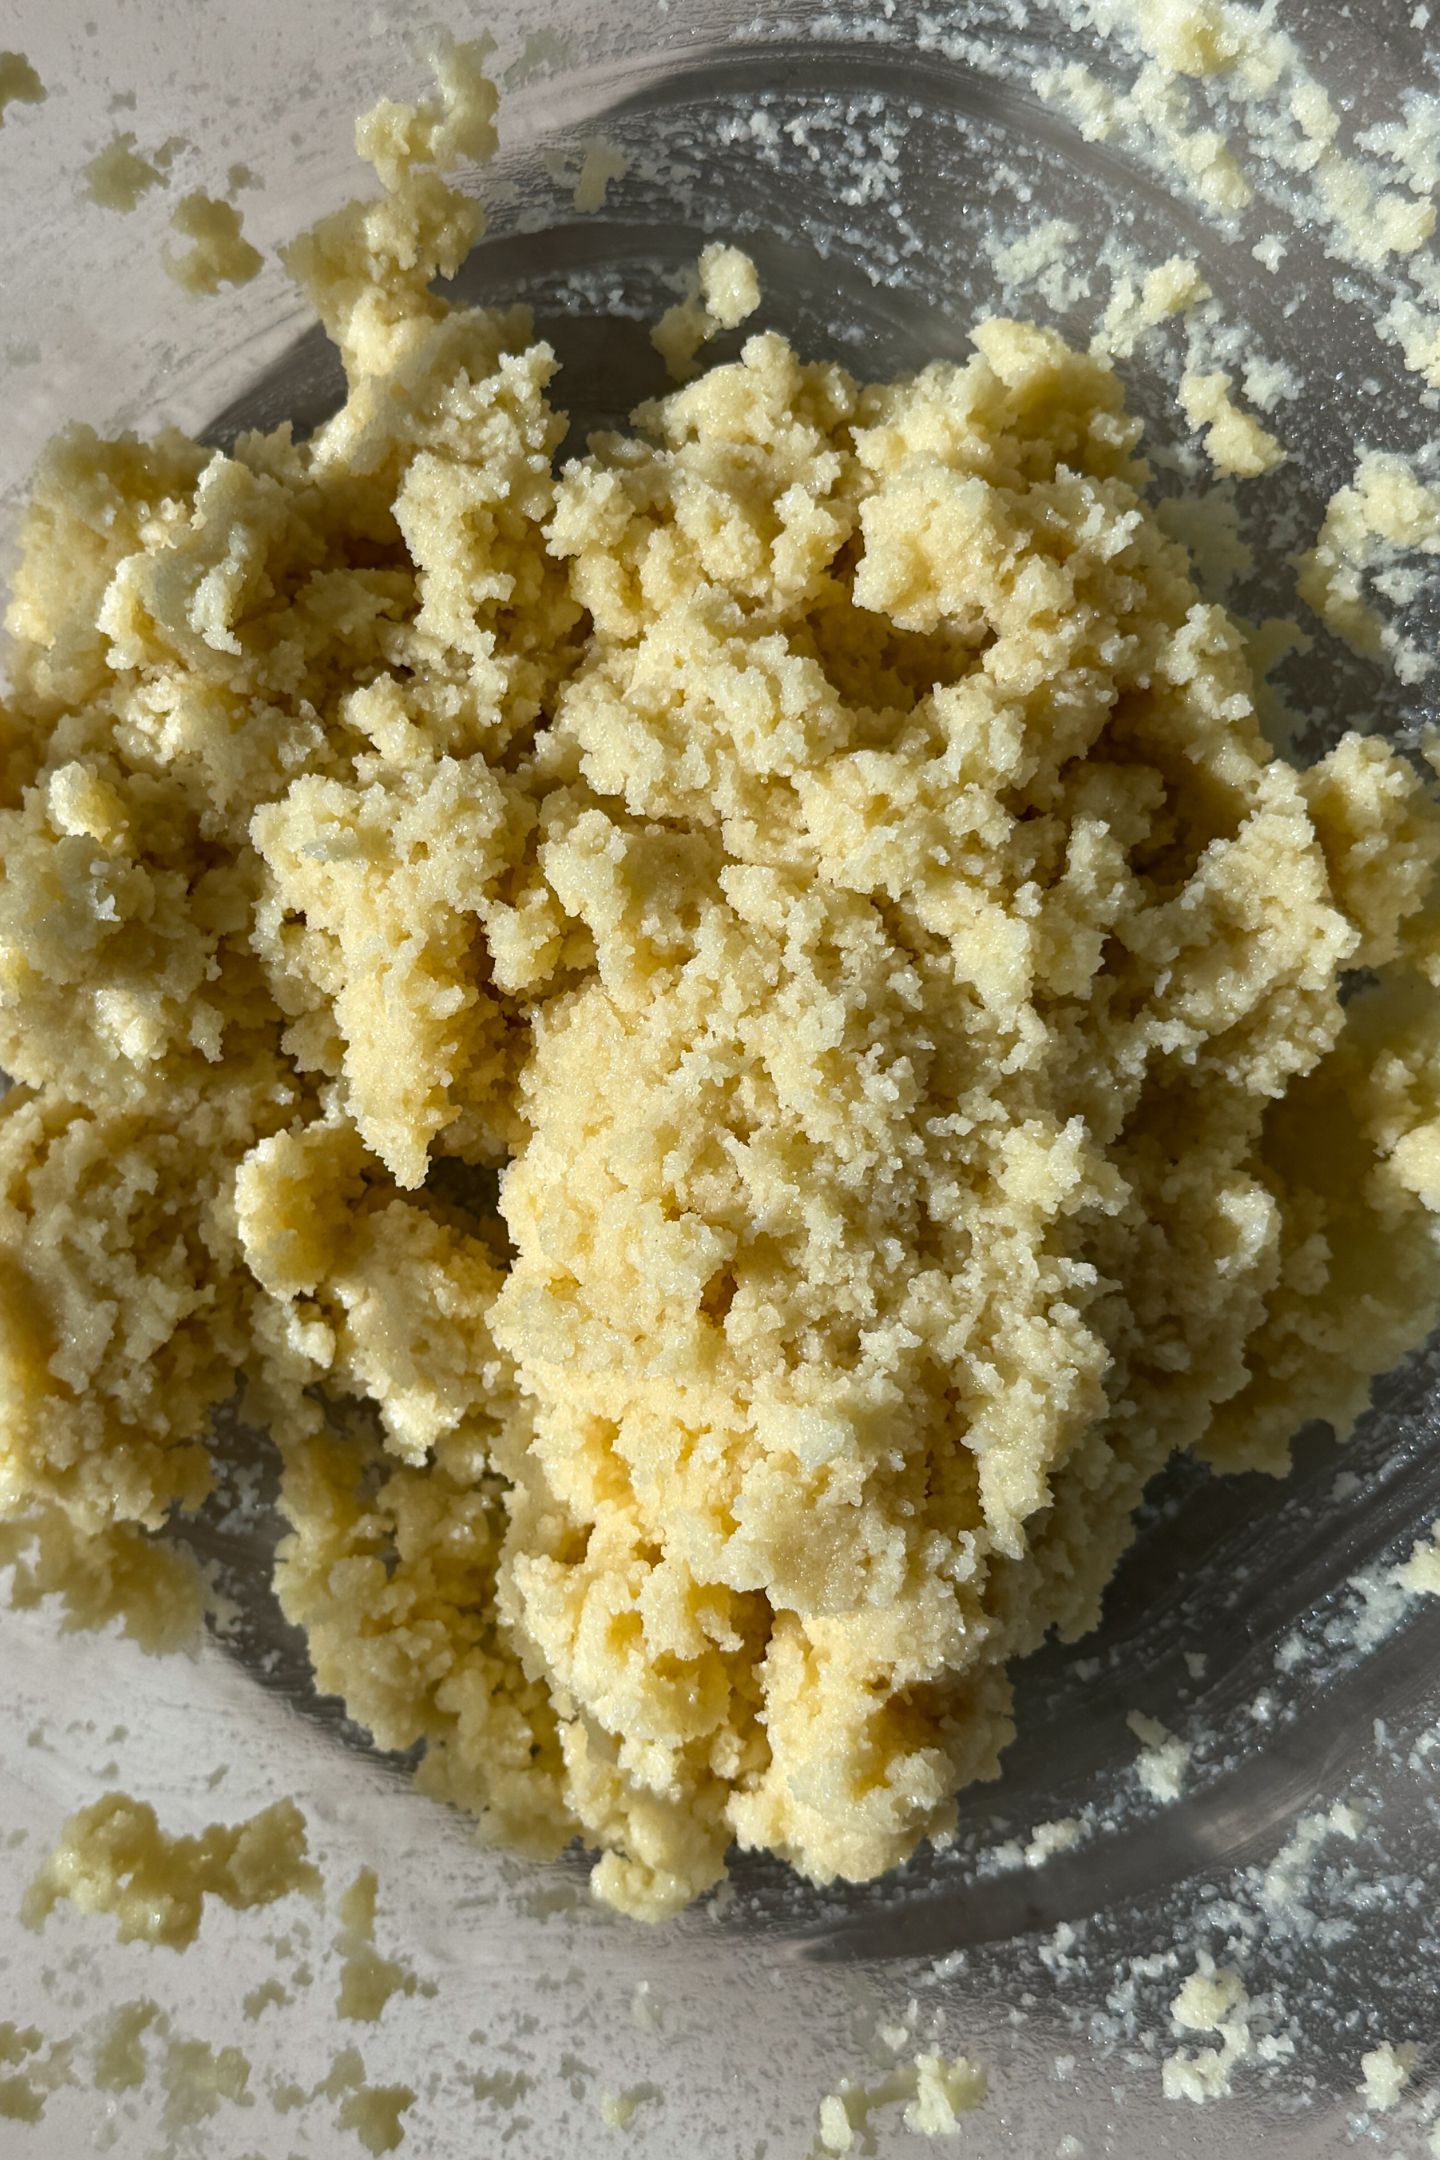
- If needed, add an additional tbsp of frosting at a time until it reaches a smooth texture that can be rolled into a ball (I used around 1 cup of frosting)
- Once combined and at the desired texture, chill the bowl of cake pop batter in the fridge for 30 minutes
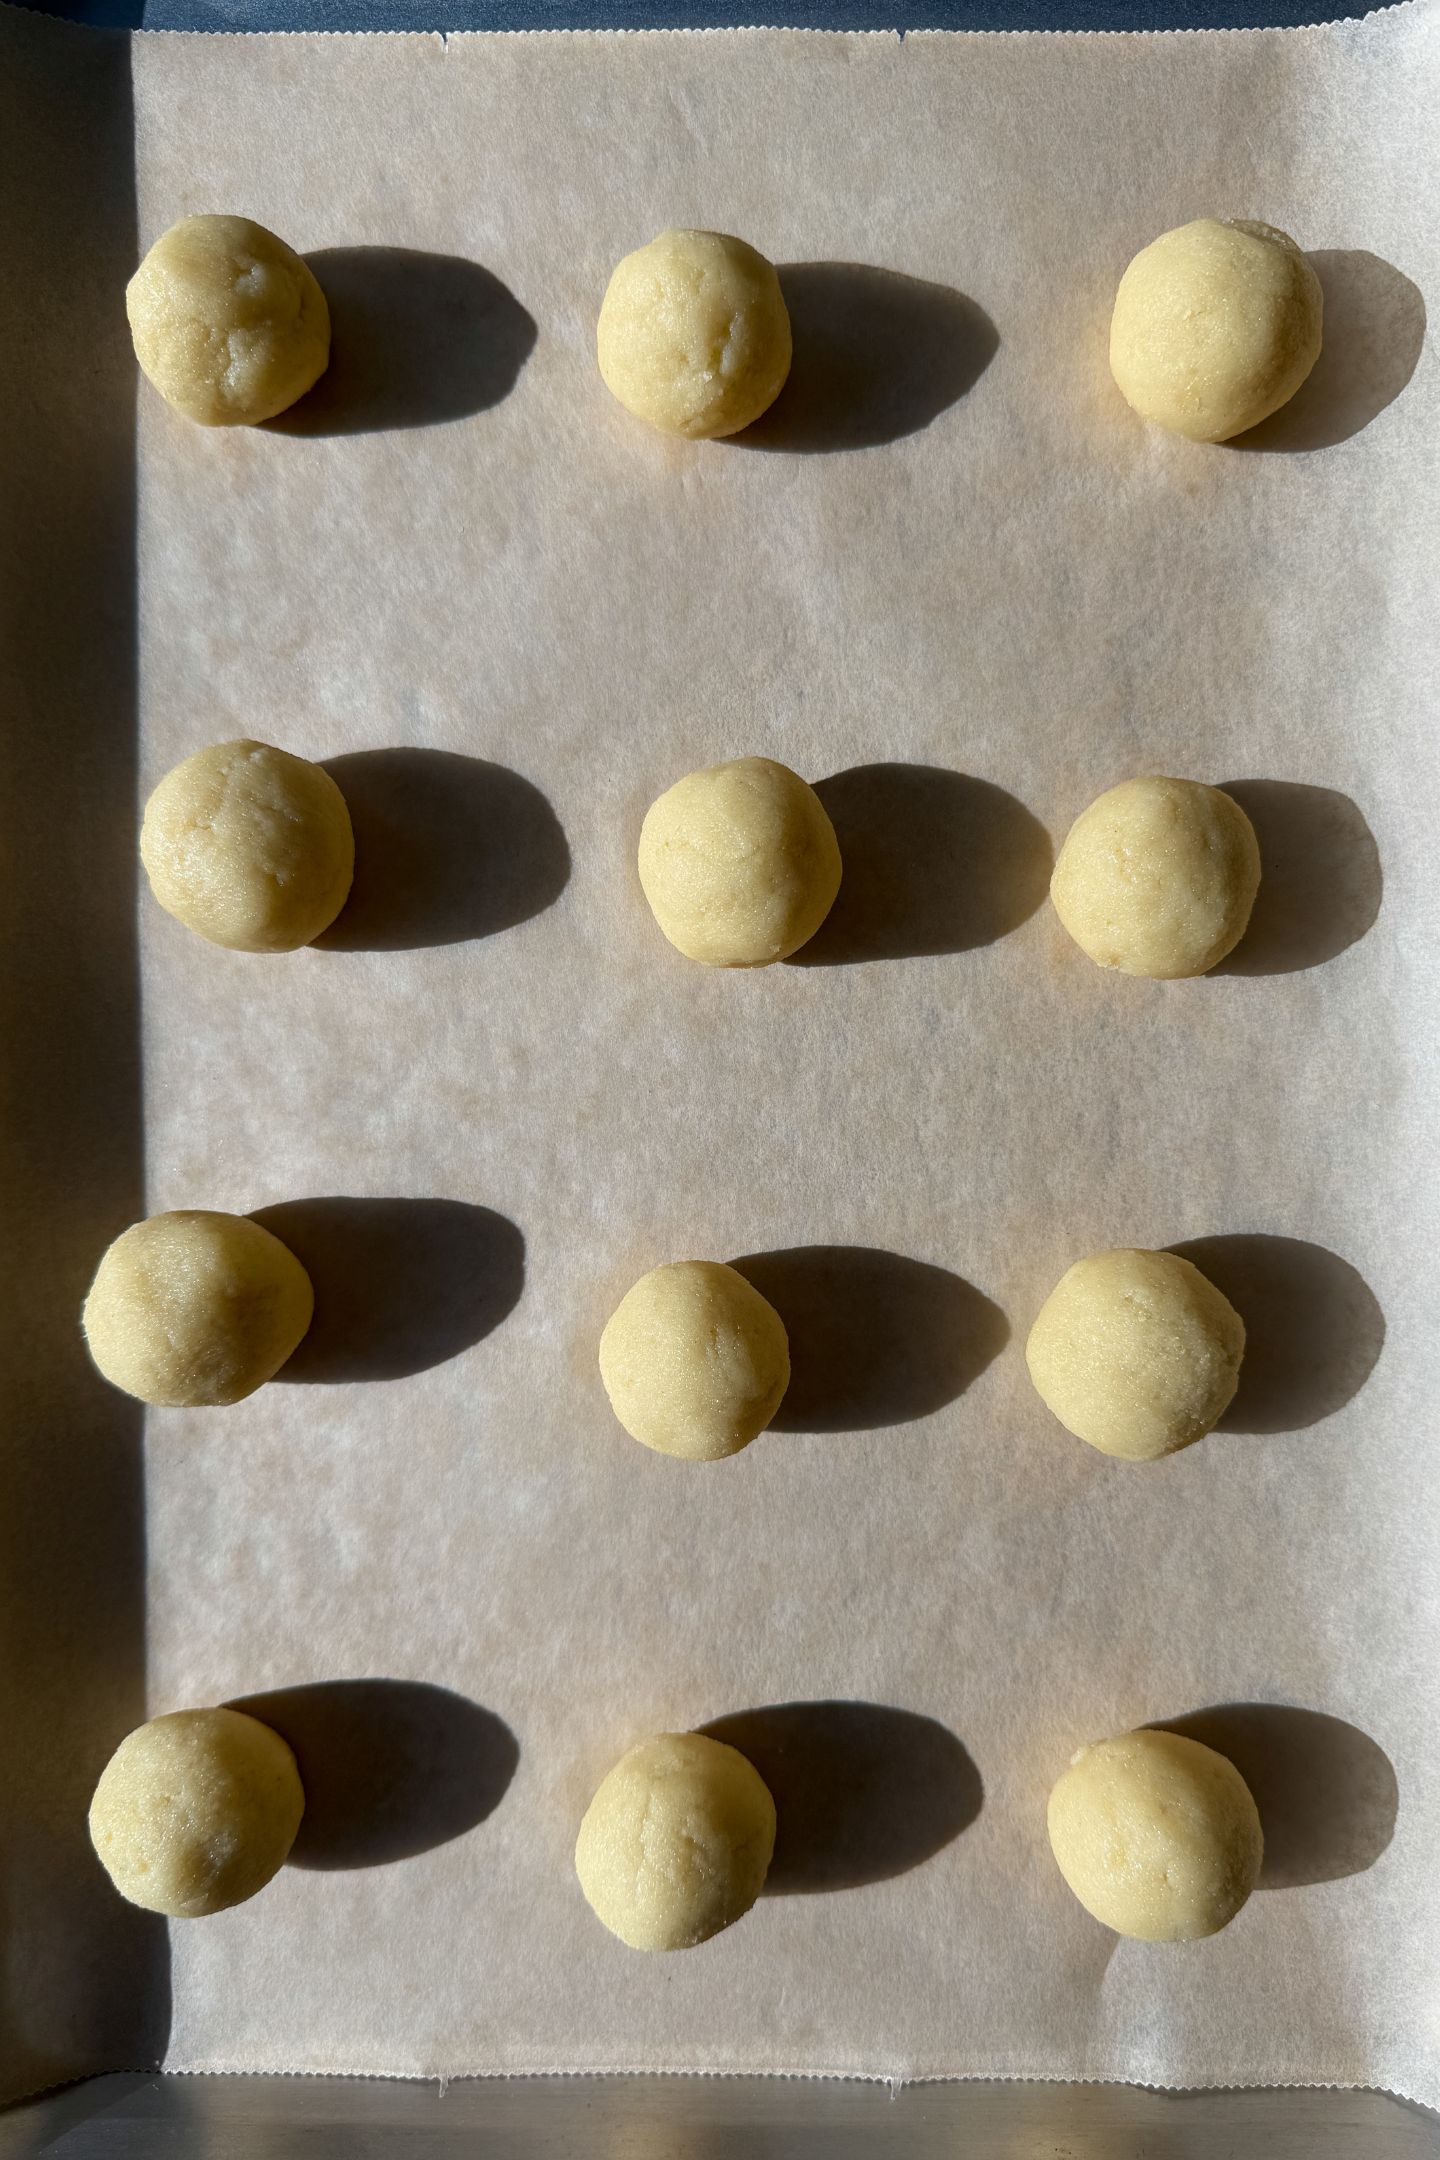
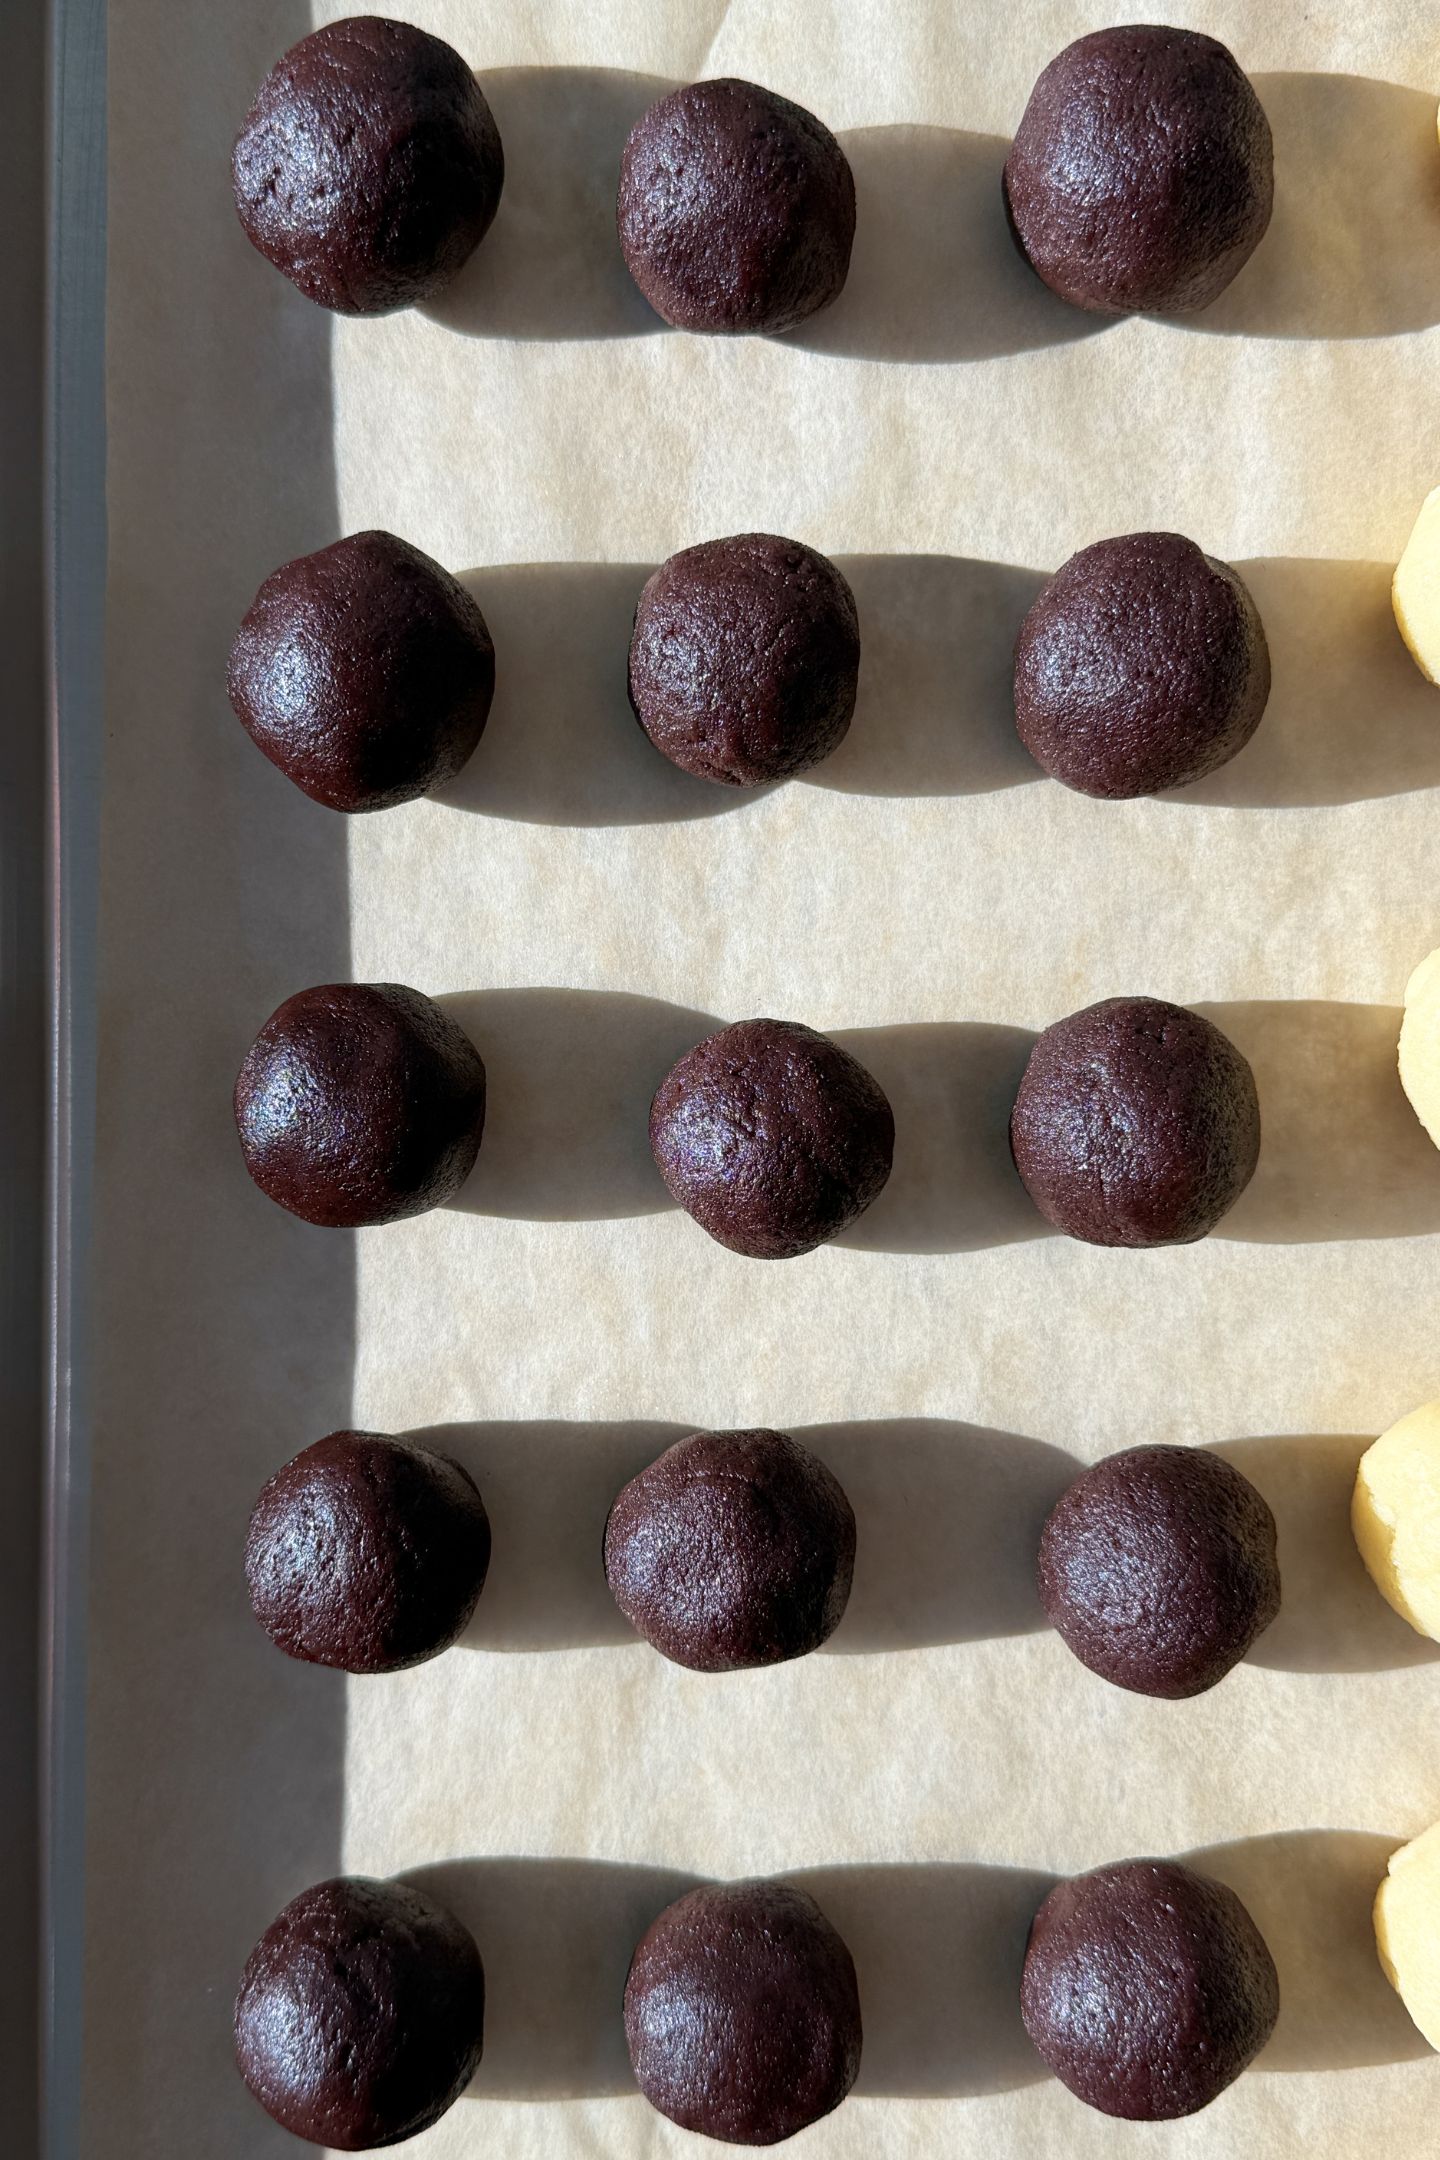
- After chilling, scoop about 1.5 tbsp of the cake pop batter and roll into a ball. Then place on a baking sheet lined with parchment paper
- Repeat until all the dough has been used
- Place the baking sheet in the fridge while you melt 1/4 cup of the chocolate wafers
- Melt the wafers in a microwave safe dish. Heat in 30 second intervals, mixing in between each until all is melted (you don't want to overheat the chocolate)
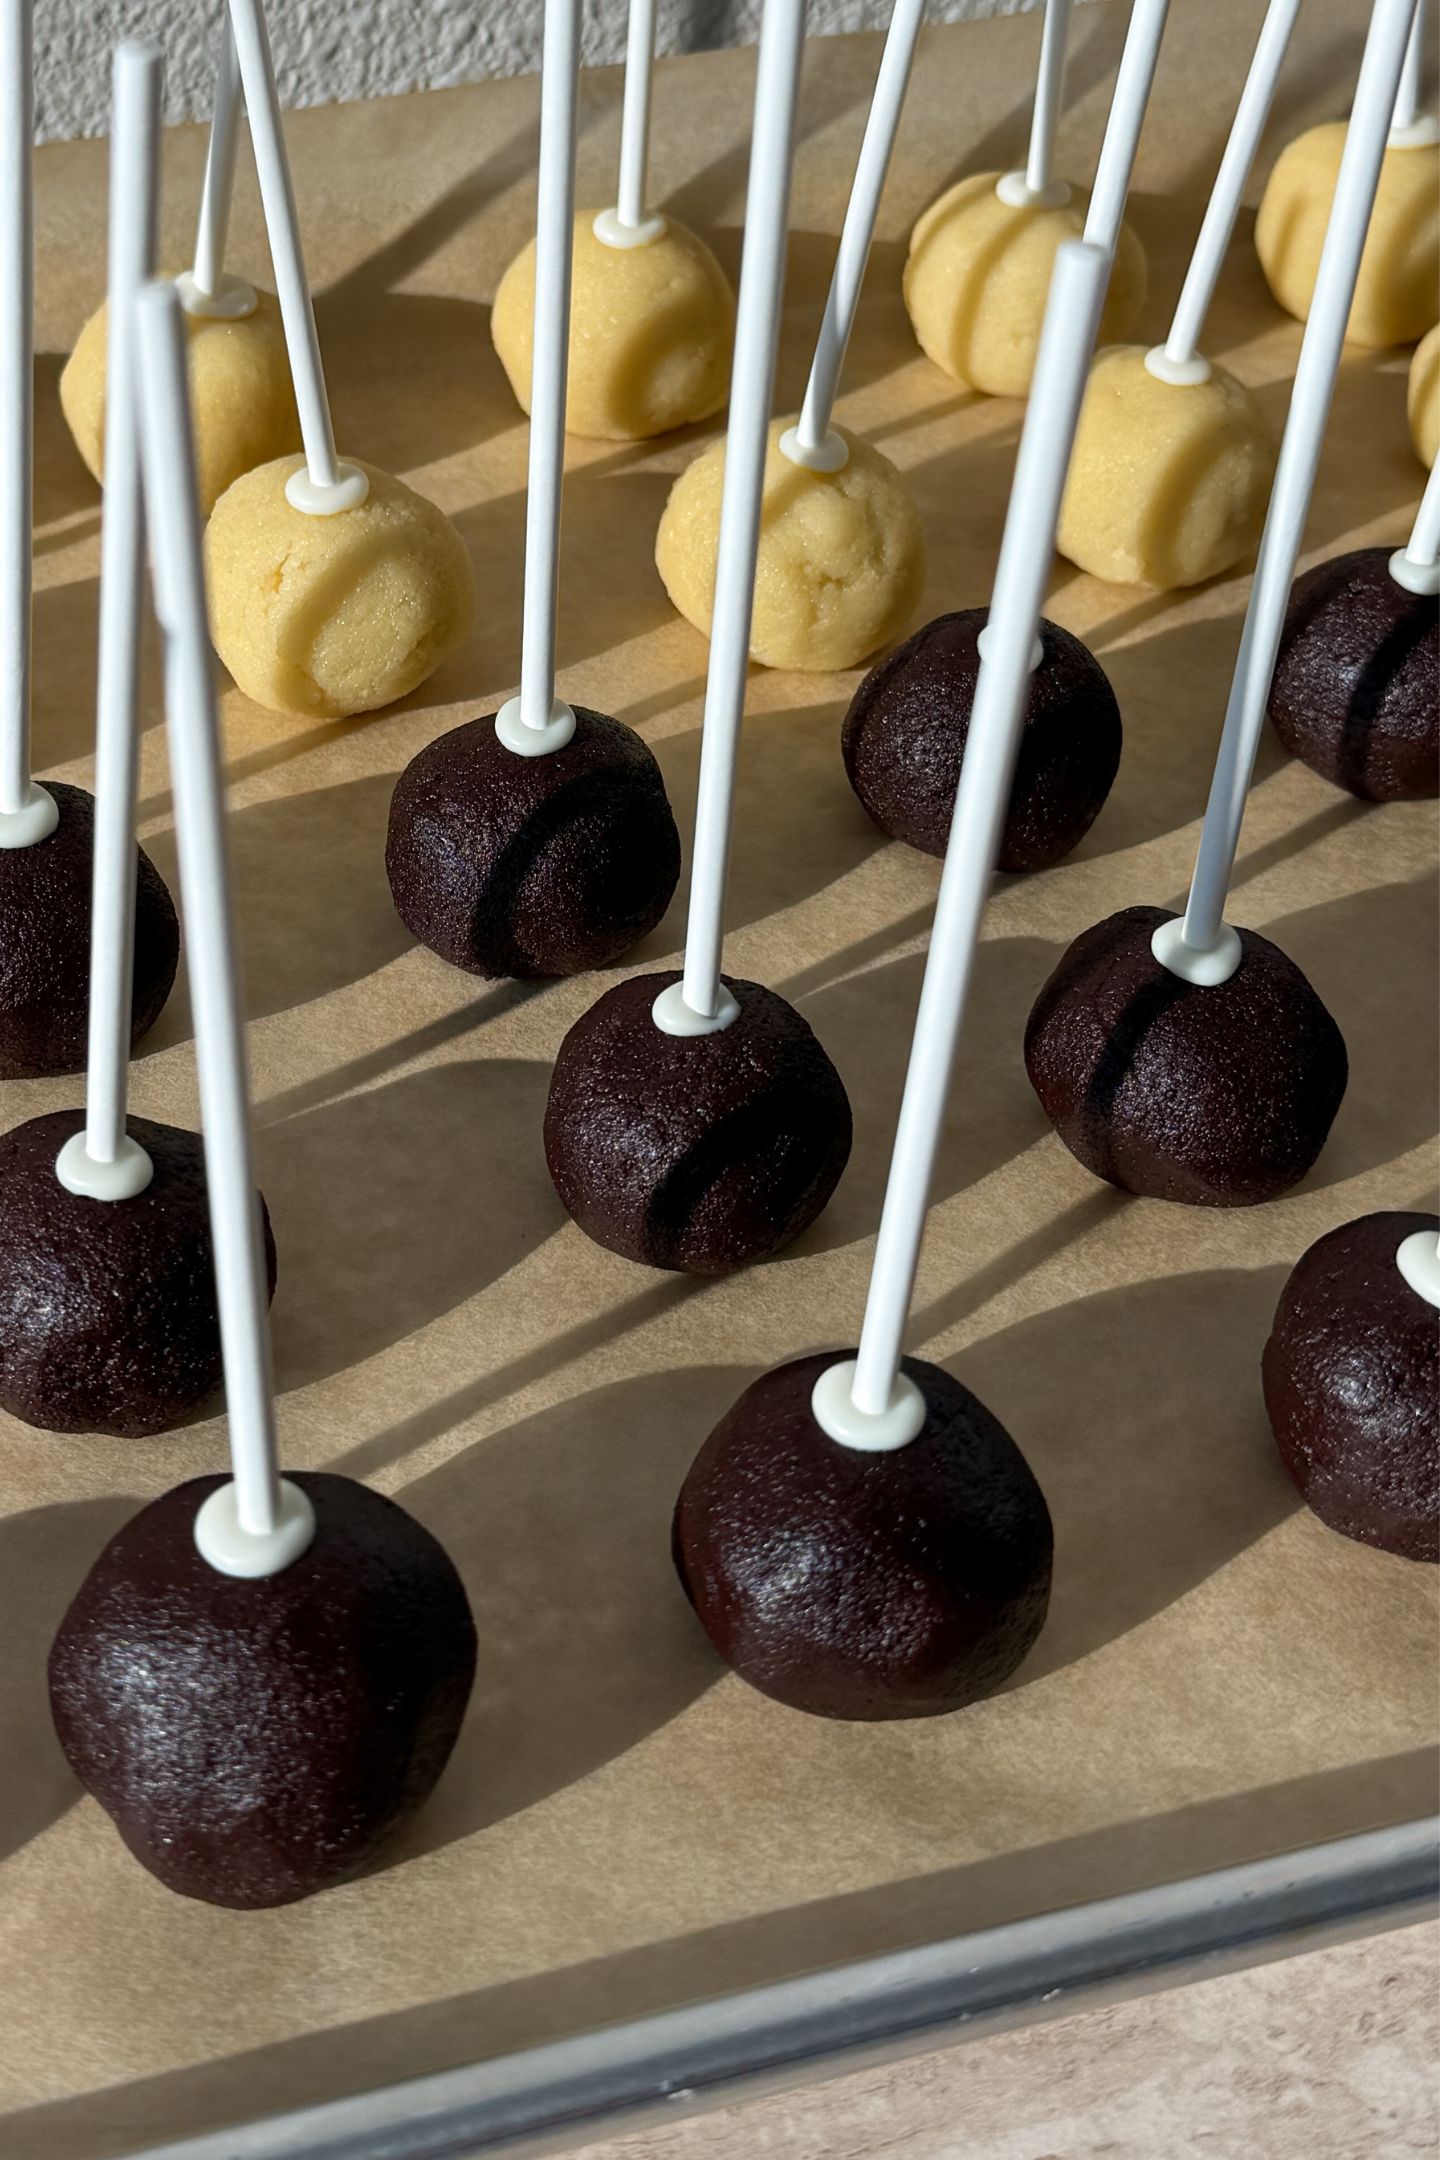
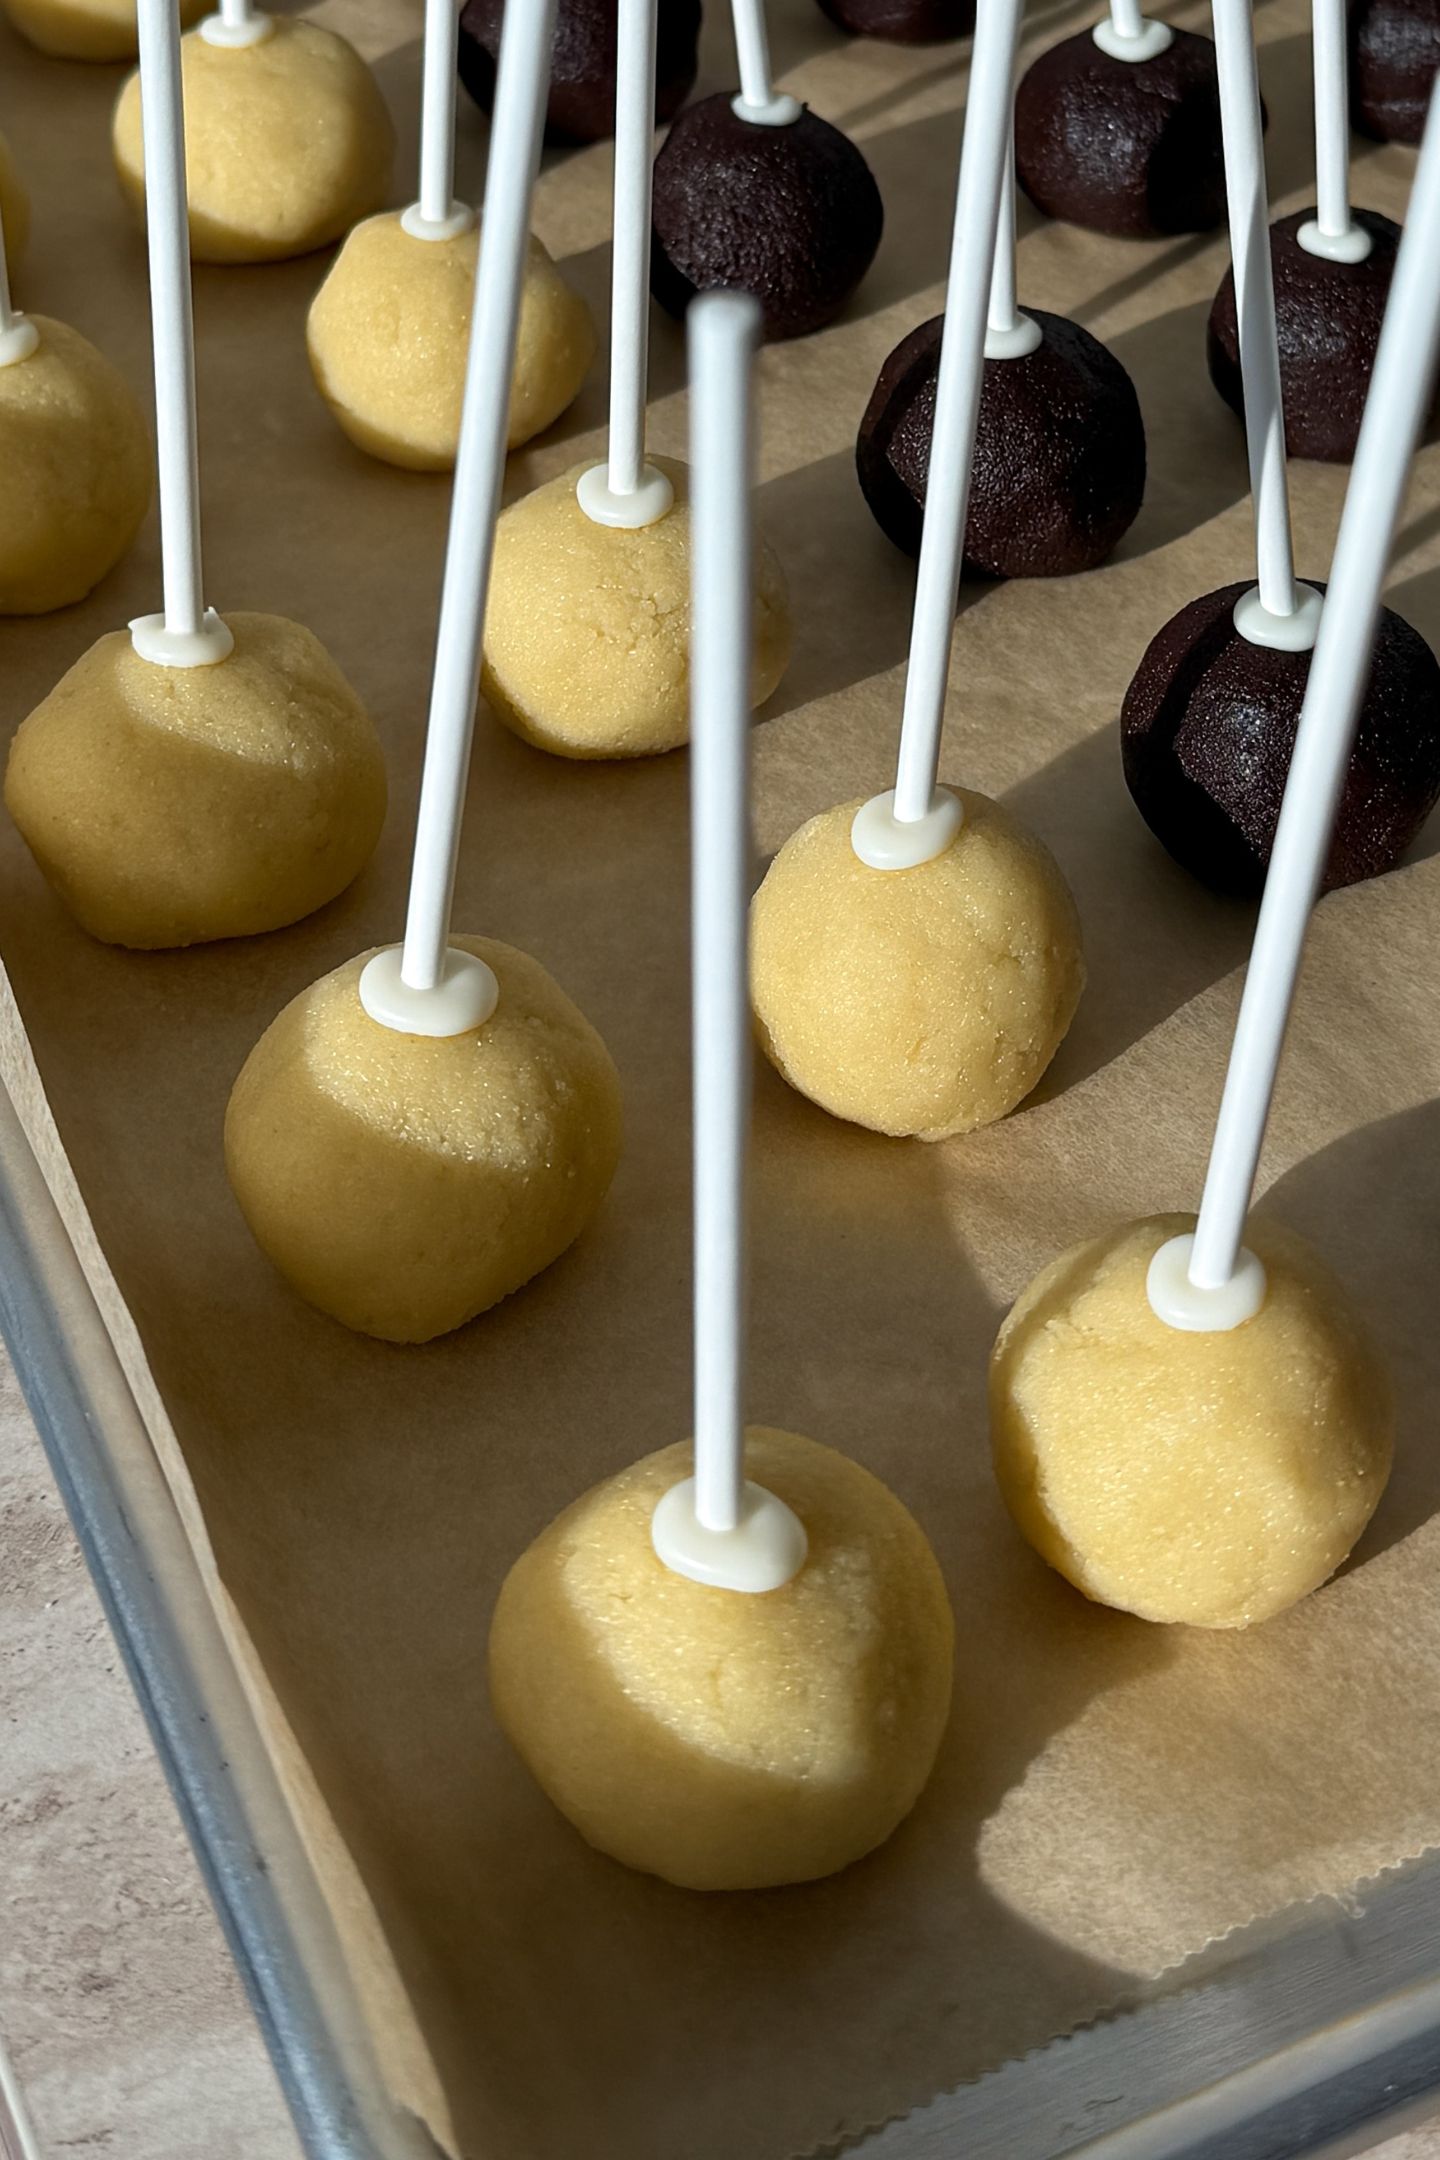
- Remove the cake pop balls from the fridge
- Dip the end of a cake pop stick into the melted chocolate then into the cake pop ball. Place back on the parchment paper
- Repeat until a stick has been placed in each cake pop
- Put the baking sheet back into the fridge to chill for 30 minutes or in the freezer for 20 minutes. This gives plenty of time for the chocolate to harden
- Remove from the fridge/freezer
- Melt 1-1.5 cups of the chocolate melts in a microwave-safe dish at 30 second intervals (stirring between each to avoid overheating)
- Dip each cake pop into the melted chocolate until completely coated
- Let the excess drip off before placing back on parchment paper
- If decorating with sprinkles, add the sprinkles immediately after placing on the baking sheet
- If decorating with colored chocolate wafers, let the coating set completely. Once set, drizzle on the decorative chocolate (I like to added the melted chocolate to piping bags for drizzling it on)
- Let the cake pops set completely at room temperature or you can also place them in the fridge so that they get a nice crunch on the outside shell
- Enjoy!