Chocolate Cake Pops
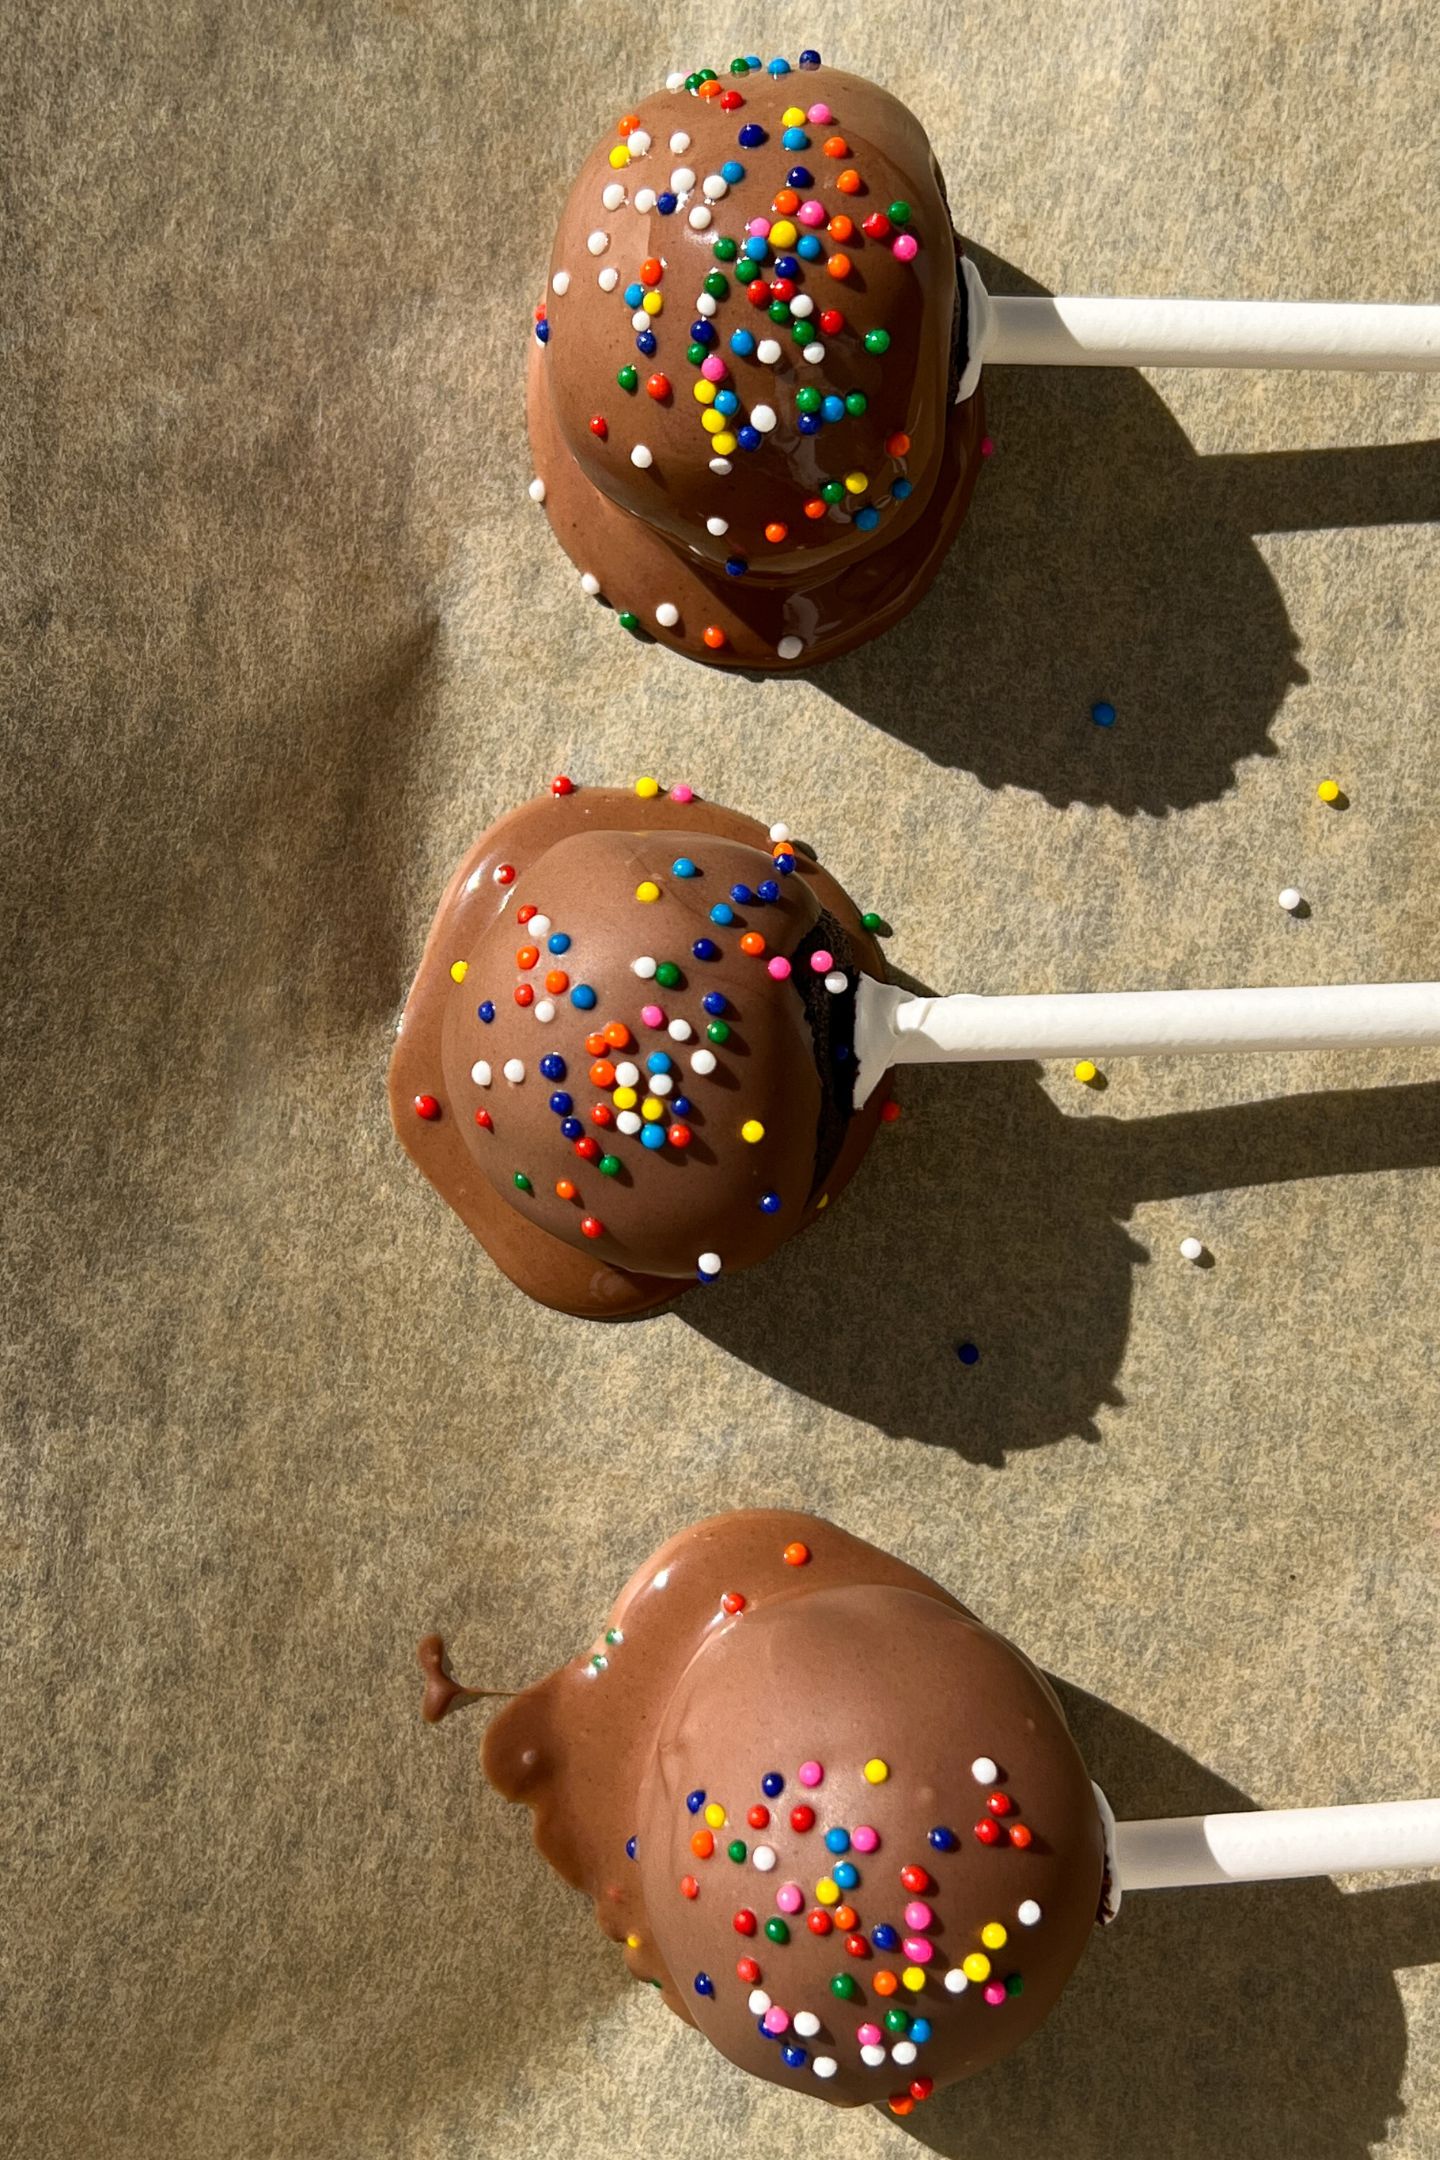
These Chocolate Cake Pops are the perfect dessert. A fudgy and moist chocolate cake center surrounded by a thin layer of chocolate. It’s an easy to make recipe that will satisfy your sweet tooth.
I am obsessed with these cake pops.
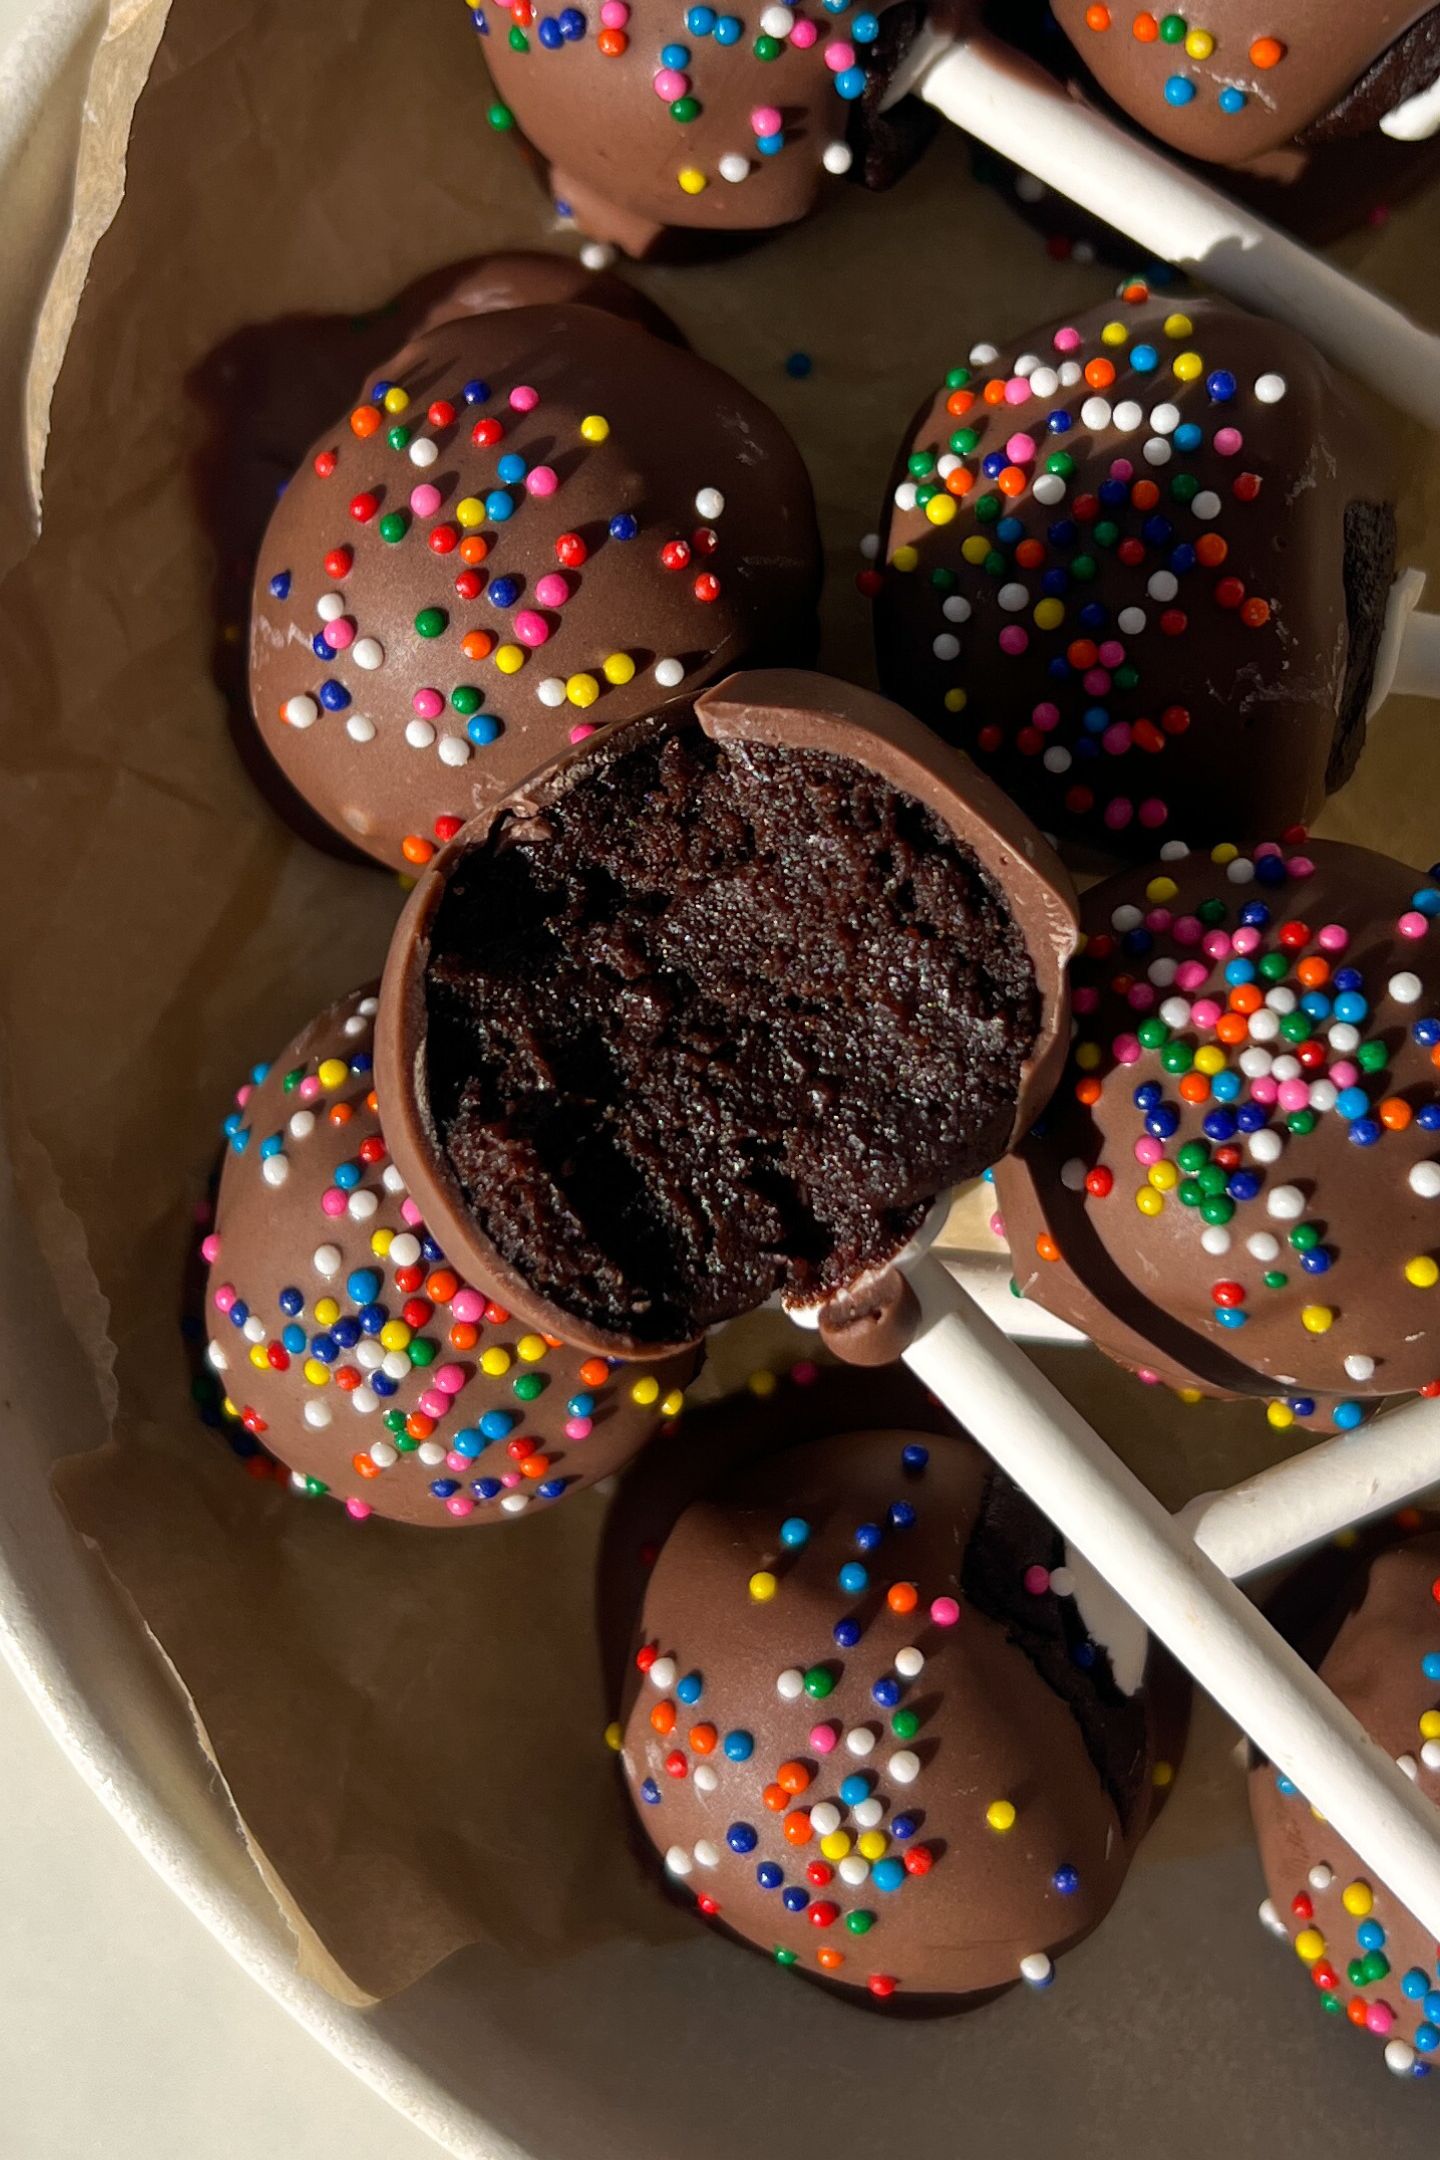
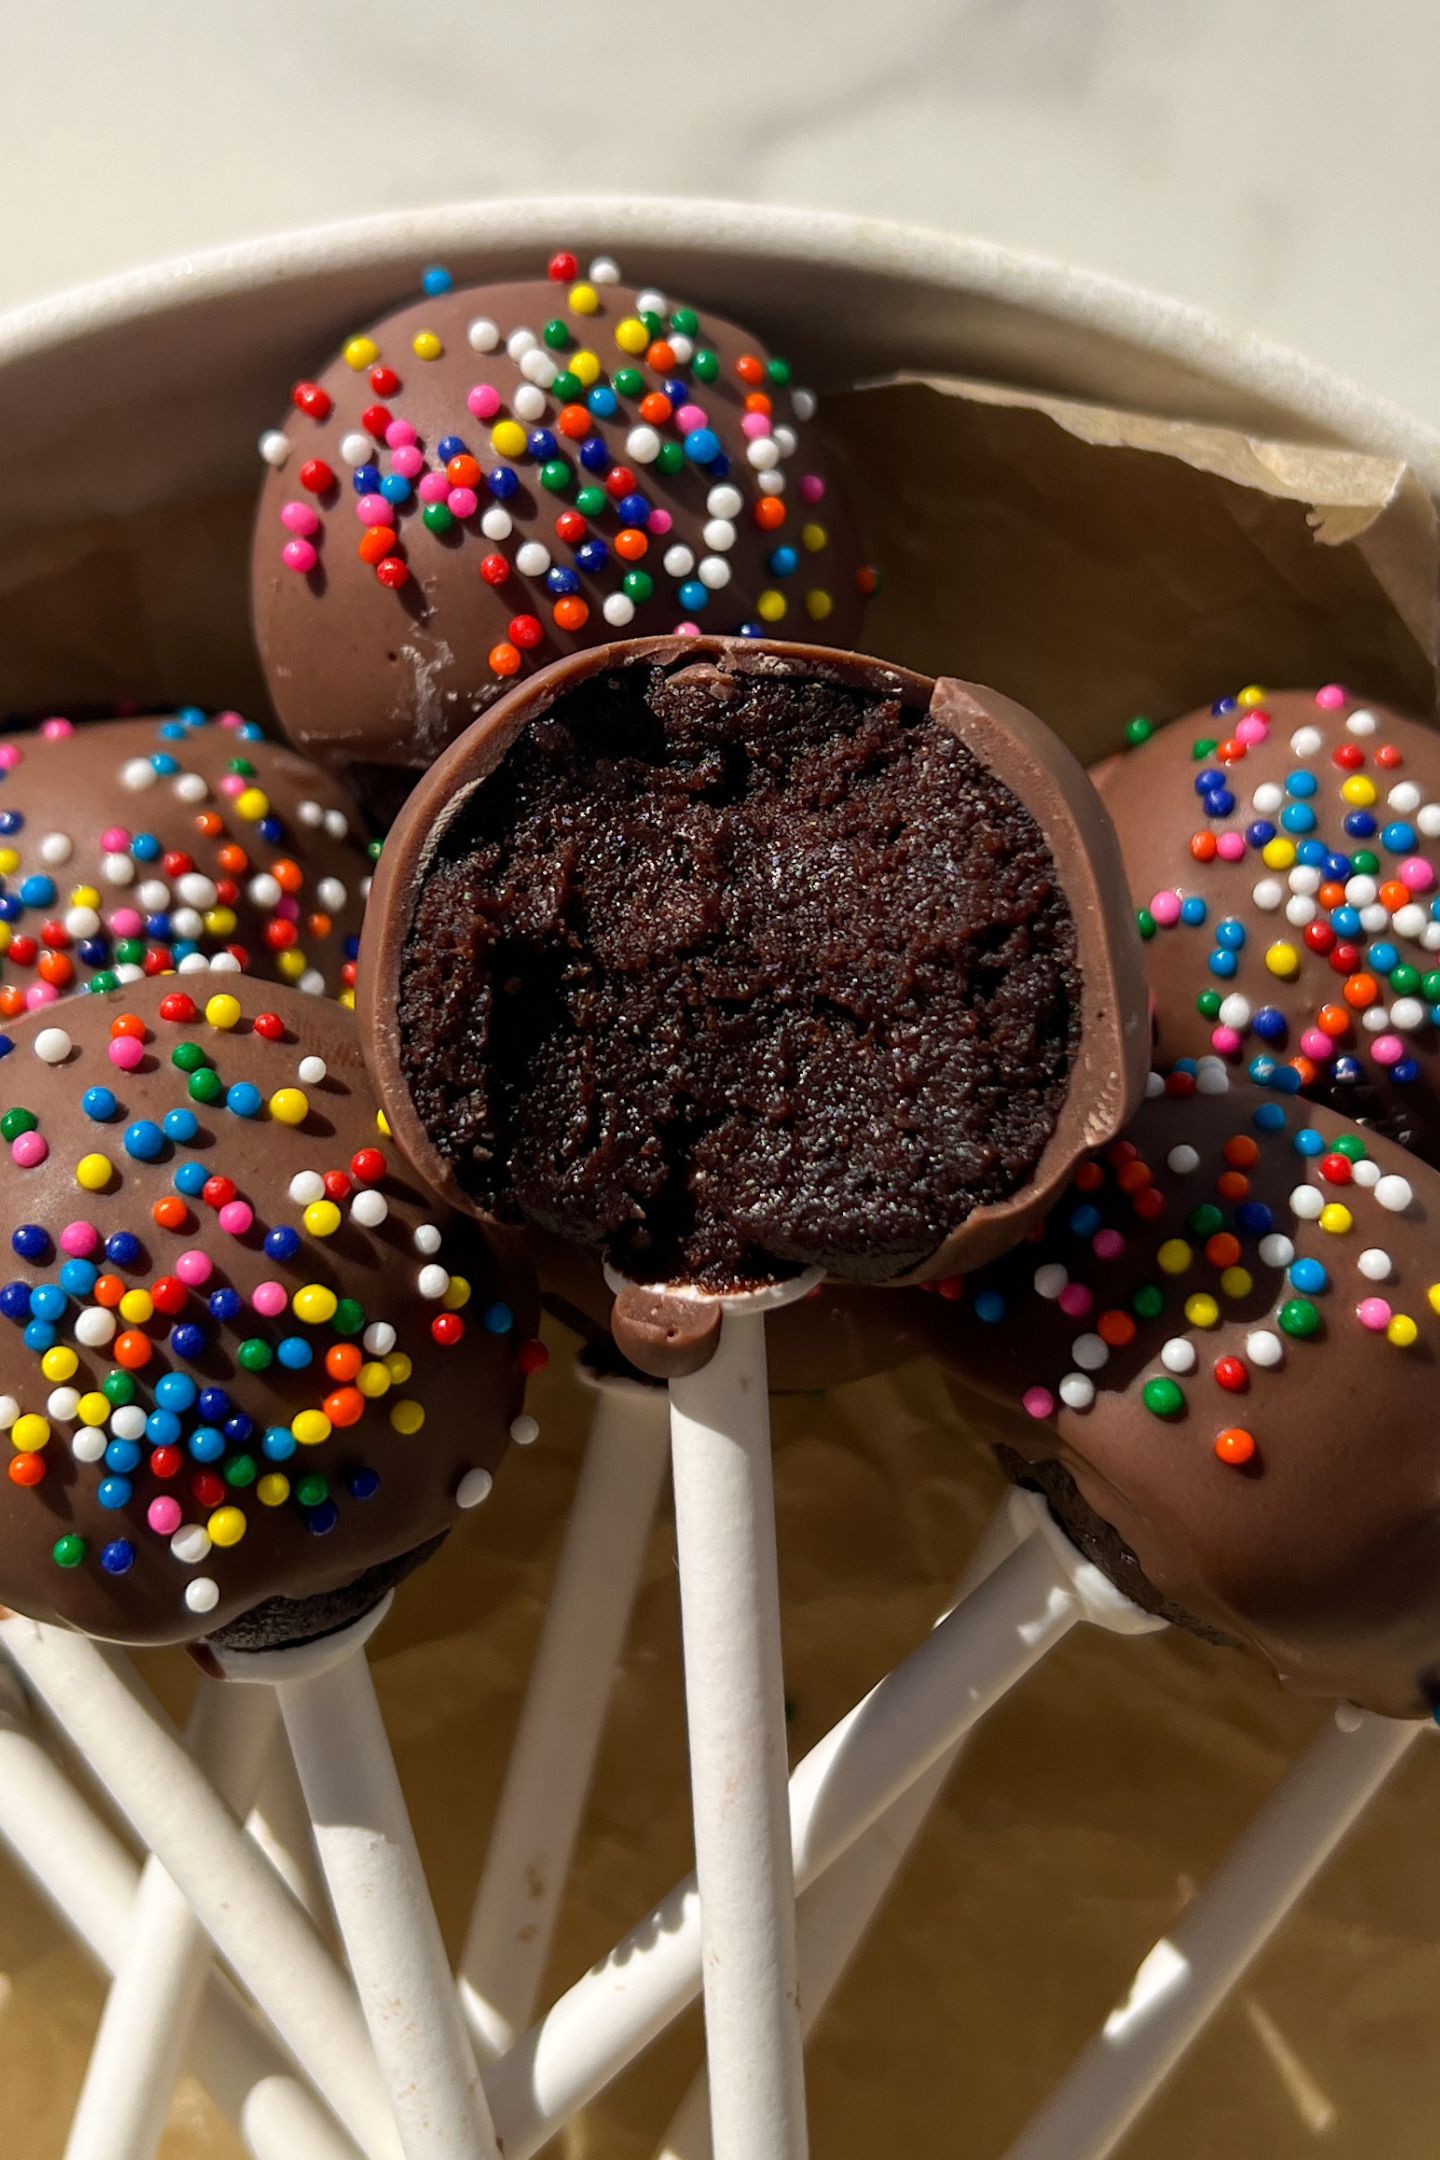
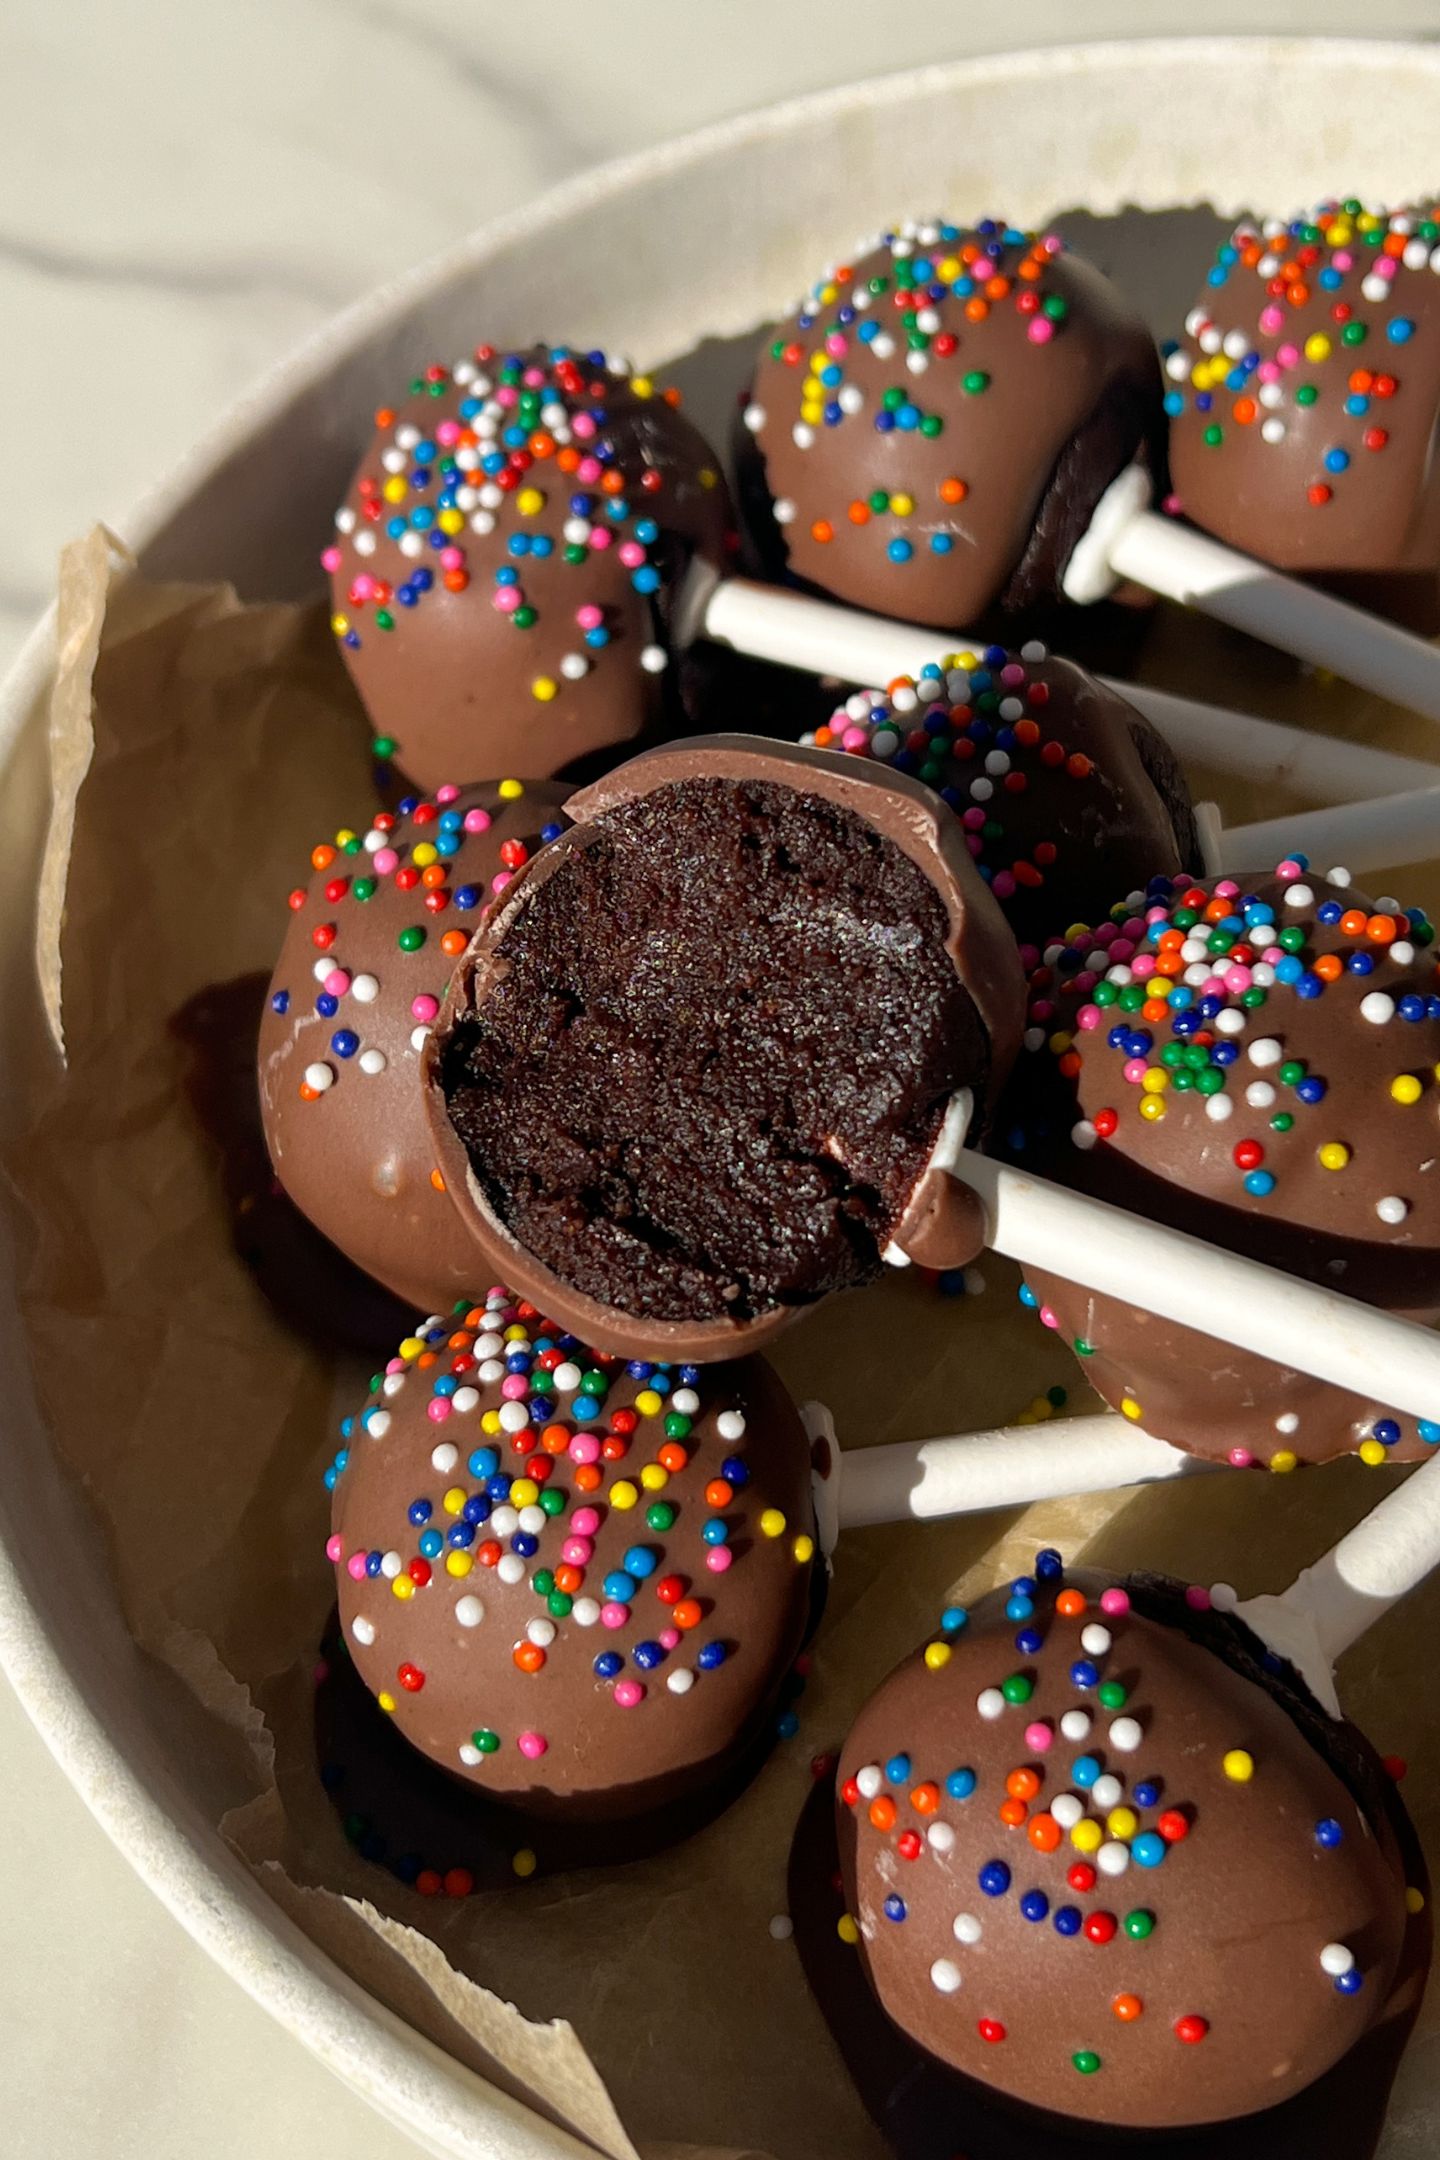
The cake pop is moist and filled with a rich, chocolate flavor in the middle.
When the chocolate hardens on the outside, it creates the perfect, crunchy shell to contrast the fudgy center.
Chocolate Cake Pops are an easy to make and delicious dessert that anyone can make.
They are perfect for any celebration or to enjoy at home!
Main Ingredients
- Chocolate Cake Mix
- Required Ingredients to Make the Box Cake Mix
- Cream Cheese
- Salted Butter
- Powdered Sugar
- Vanilla Extract
- Cake Pop Sticks
- Sprinkles
What are Cake Pops?
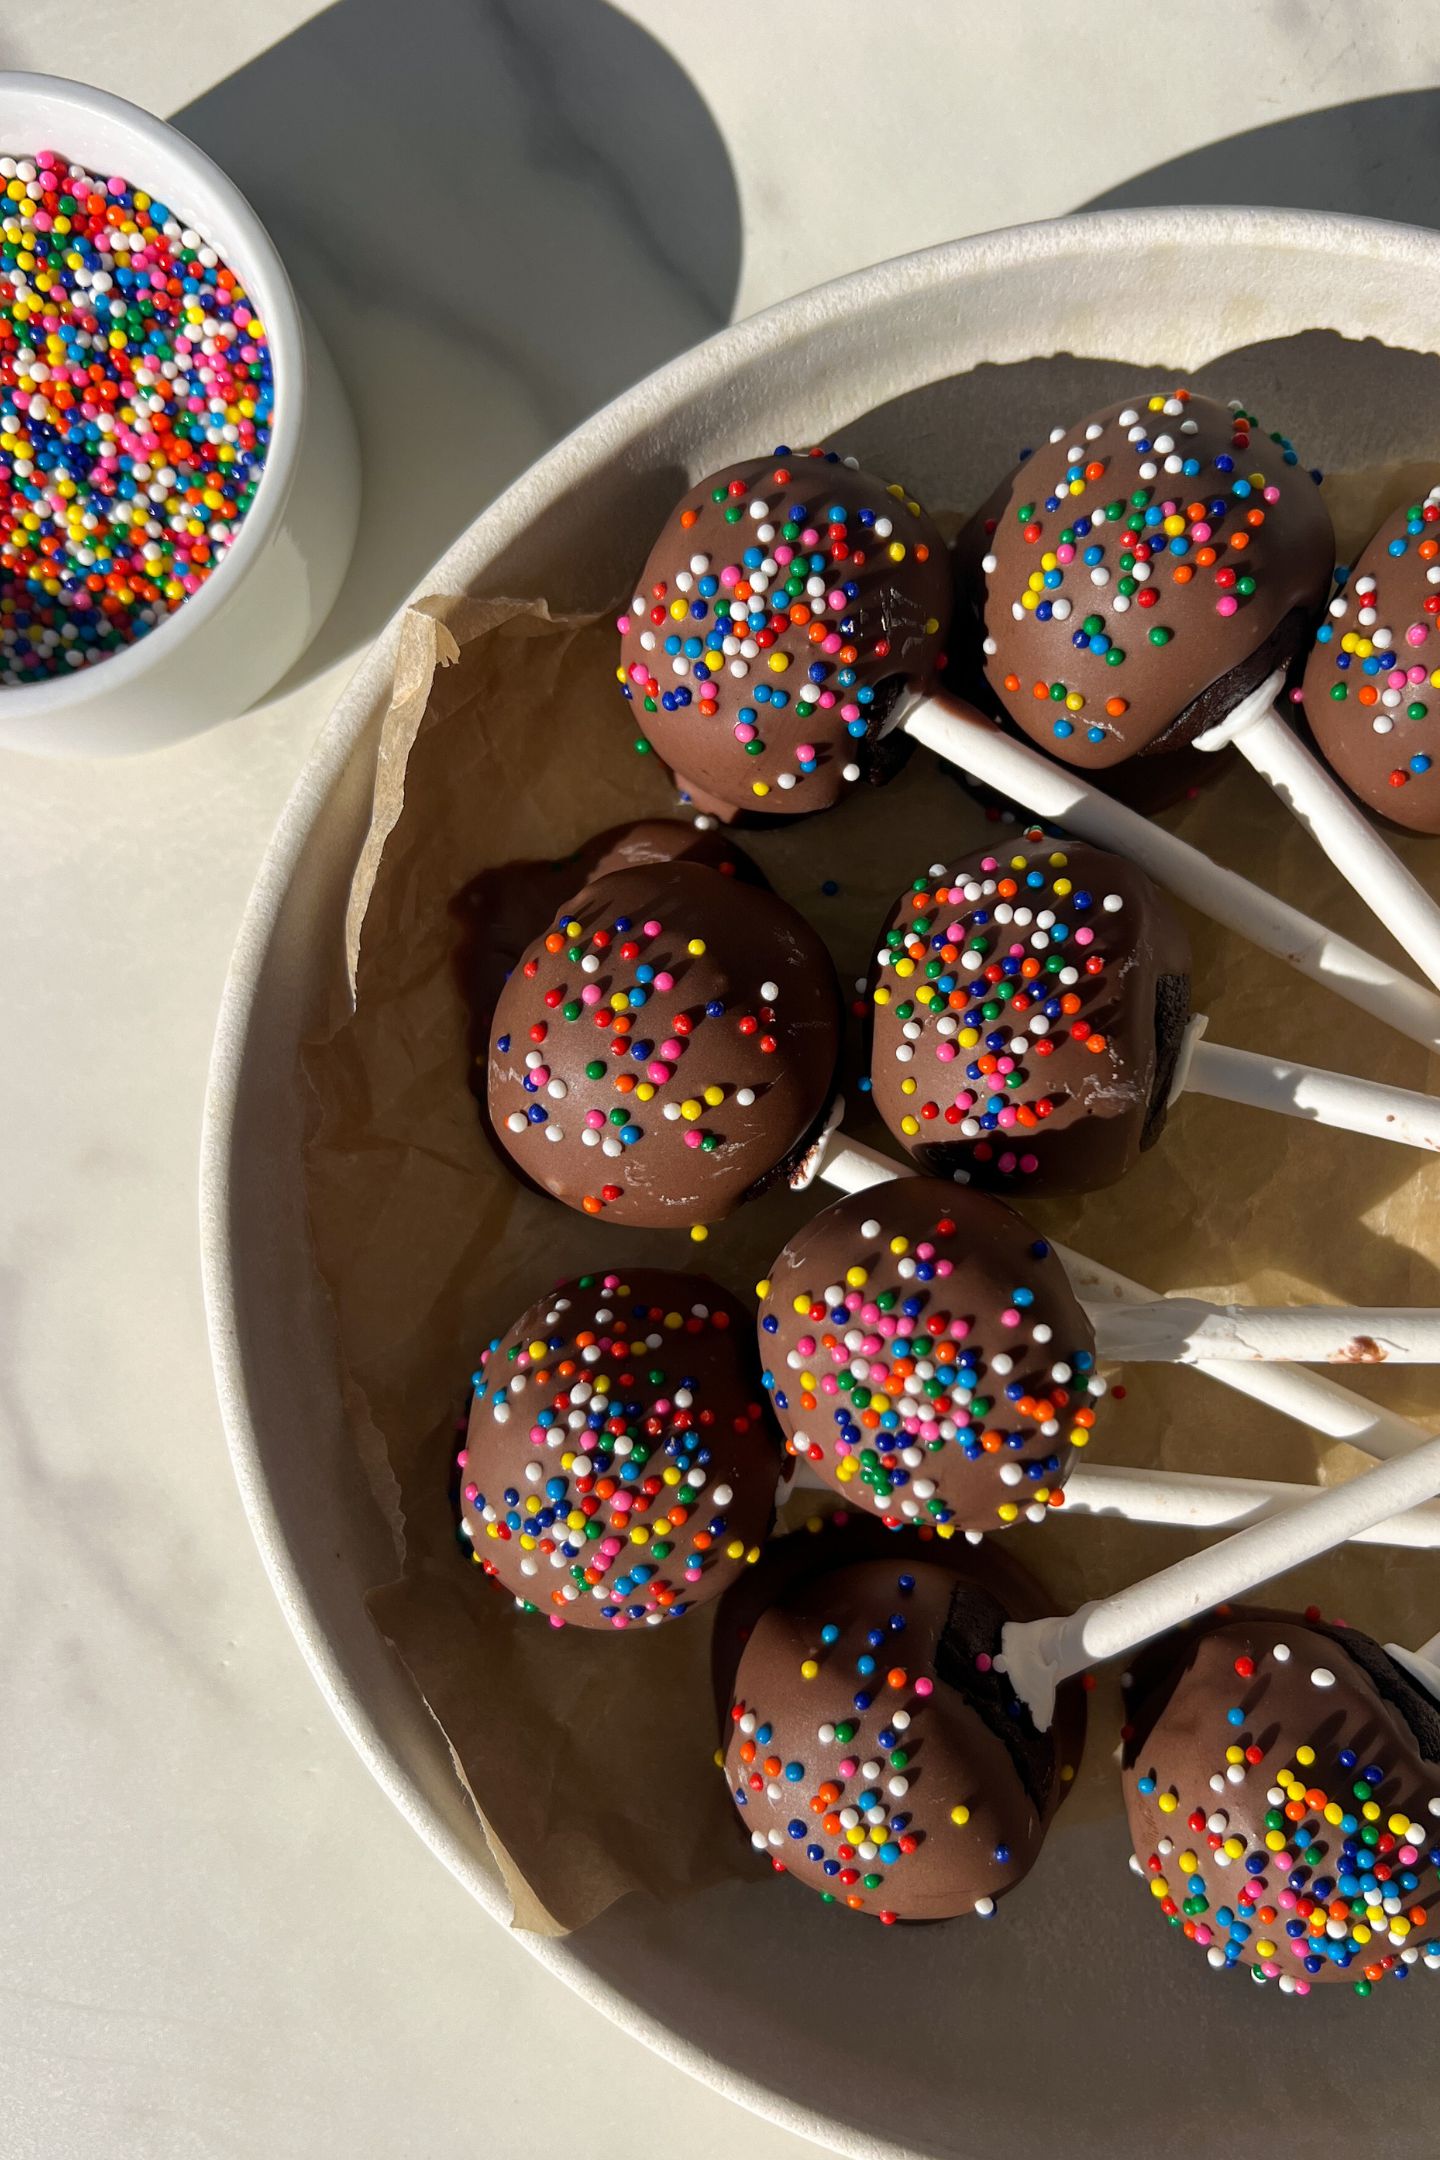
Cake Pops are bite-sized cake balls on a stick.
The cake is mixed with frosting to create a fudgy, chocolate dream in the center. The cake pop batter is then dipped in melted chocolate and topped with sprinkles.
You may have seen this type of cake pop treat at your local Starbucks!
Why You Will LOVE This Recipe
Ever since I made these, I have had the desire to make another batch as soon as the last cake pop gets eaten.
They are THAT delicious!
Another reason why you will love this recipe is because of the contrast in texture.
The center is a moist and fudgy cake surrounded by a thin layer of chocolate and sprinkles for crunch.
Lastly, one of my favorite parts about this recipe is that it is easy to make.
How to Make Chocolate Cake Pops
- Prepare and bake the chocolate cake mix according to package instructions. However, I typically substitute the water for milk for added richness.
- To a large mixing bowl, add the butter, cream cheese, vanilla extract and 1 cup of powdered sugar
- Scrape the sides and add another cup of powdered sugar
- Mix again until combined then add the last cup of powdered sugar
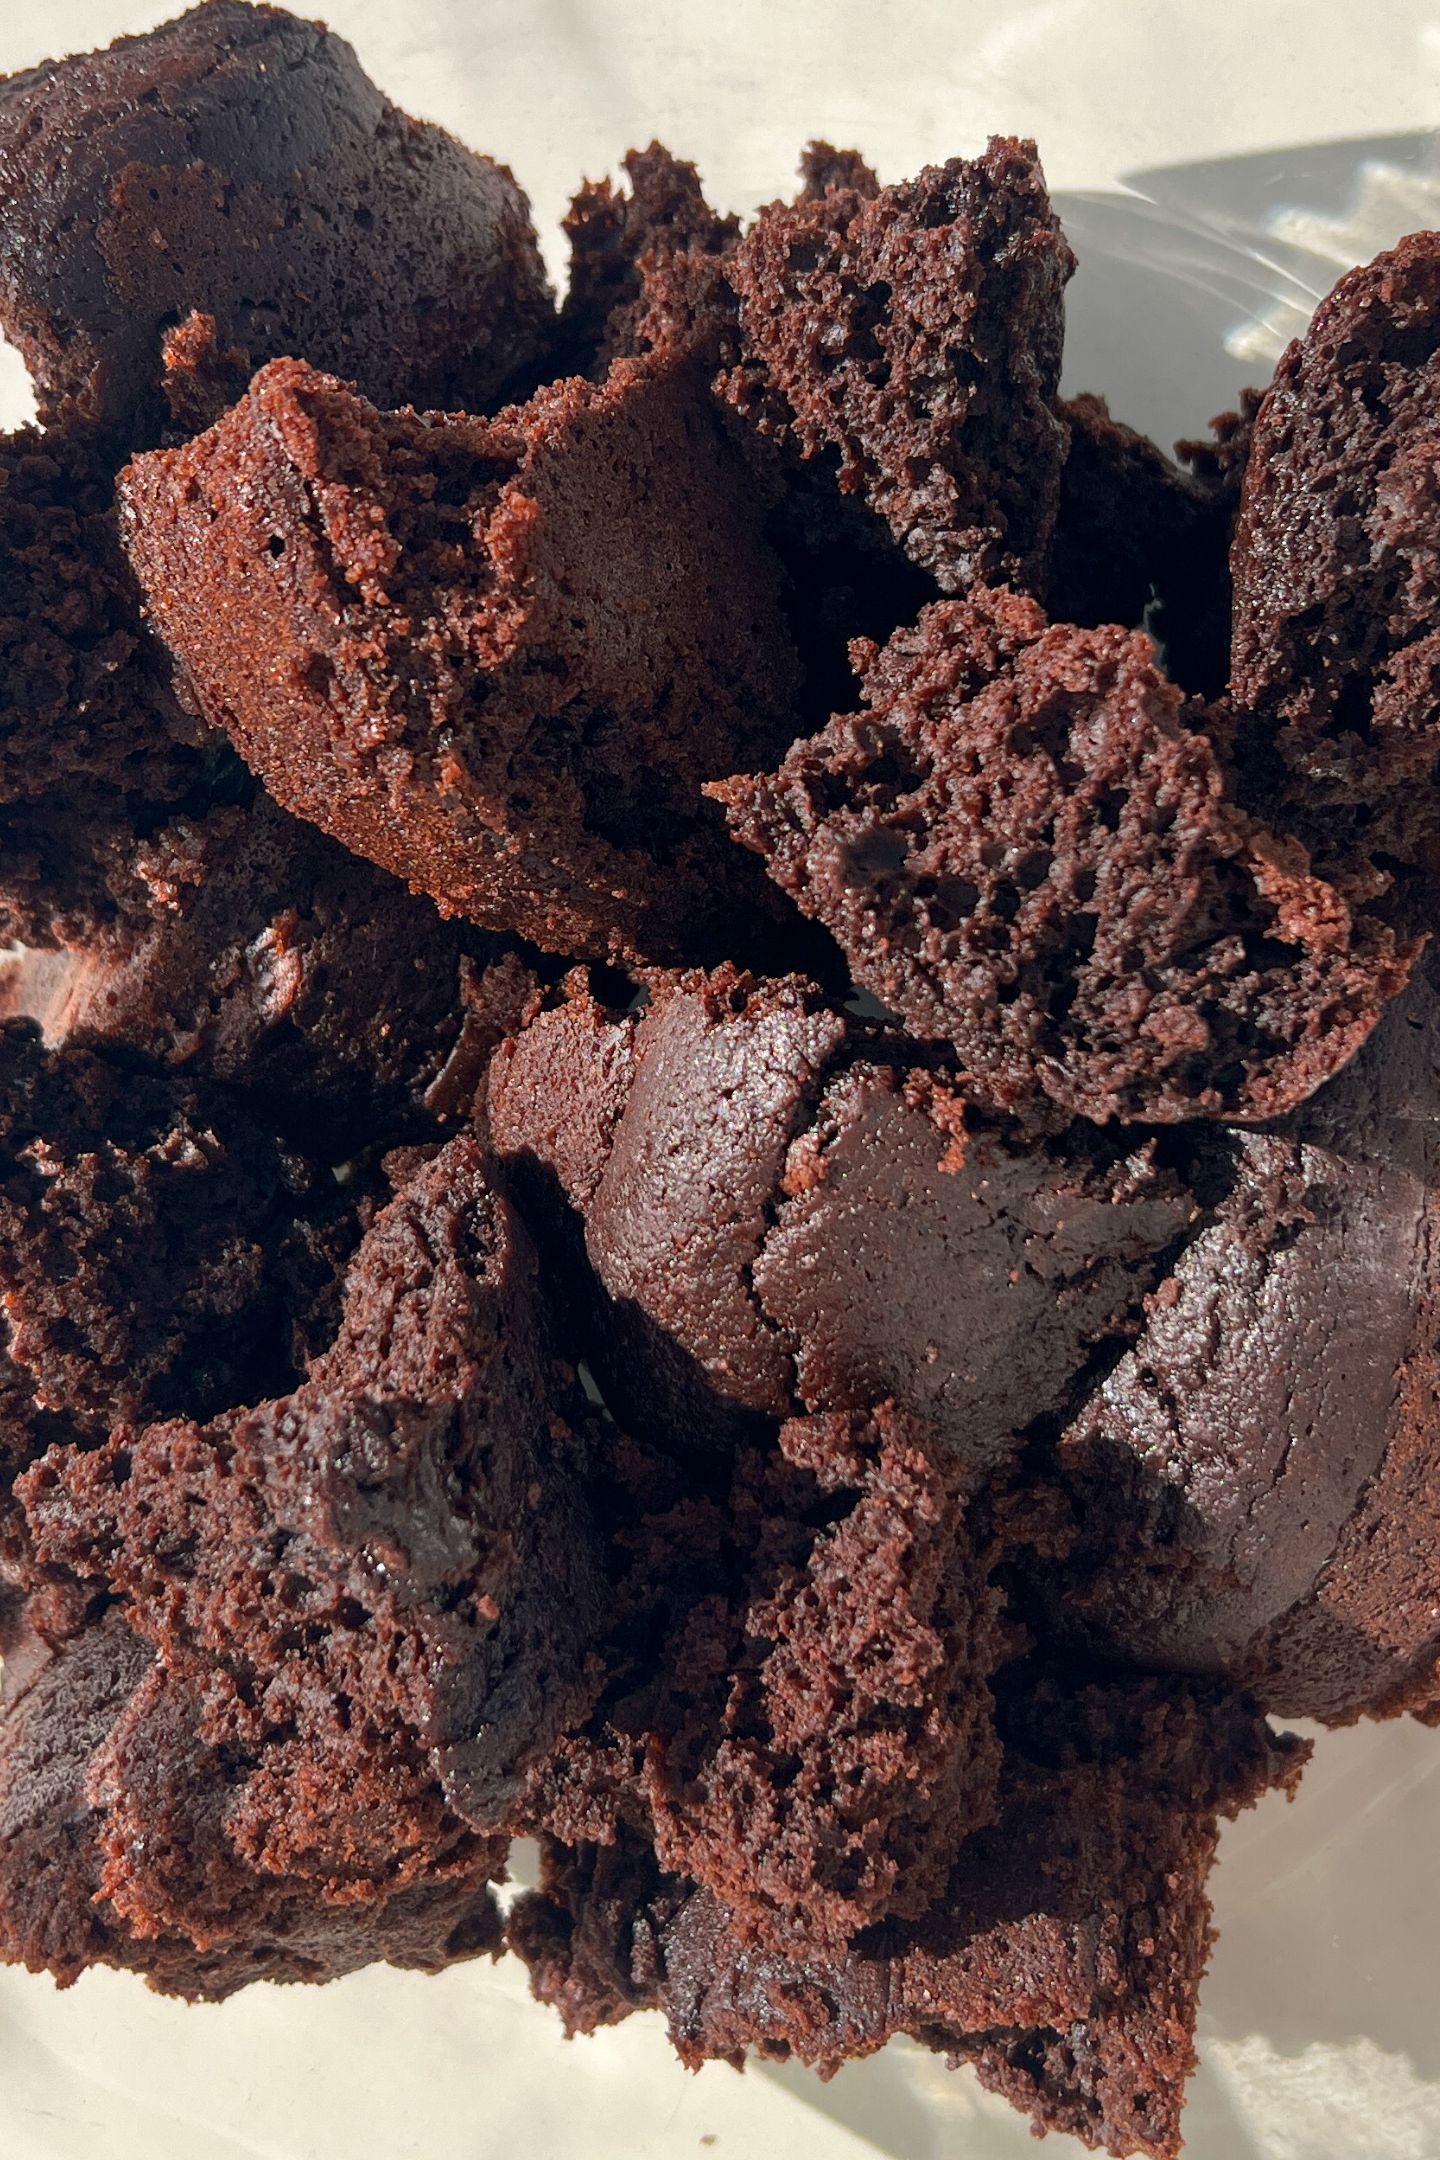
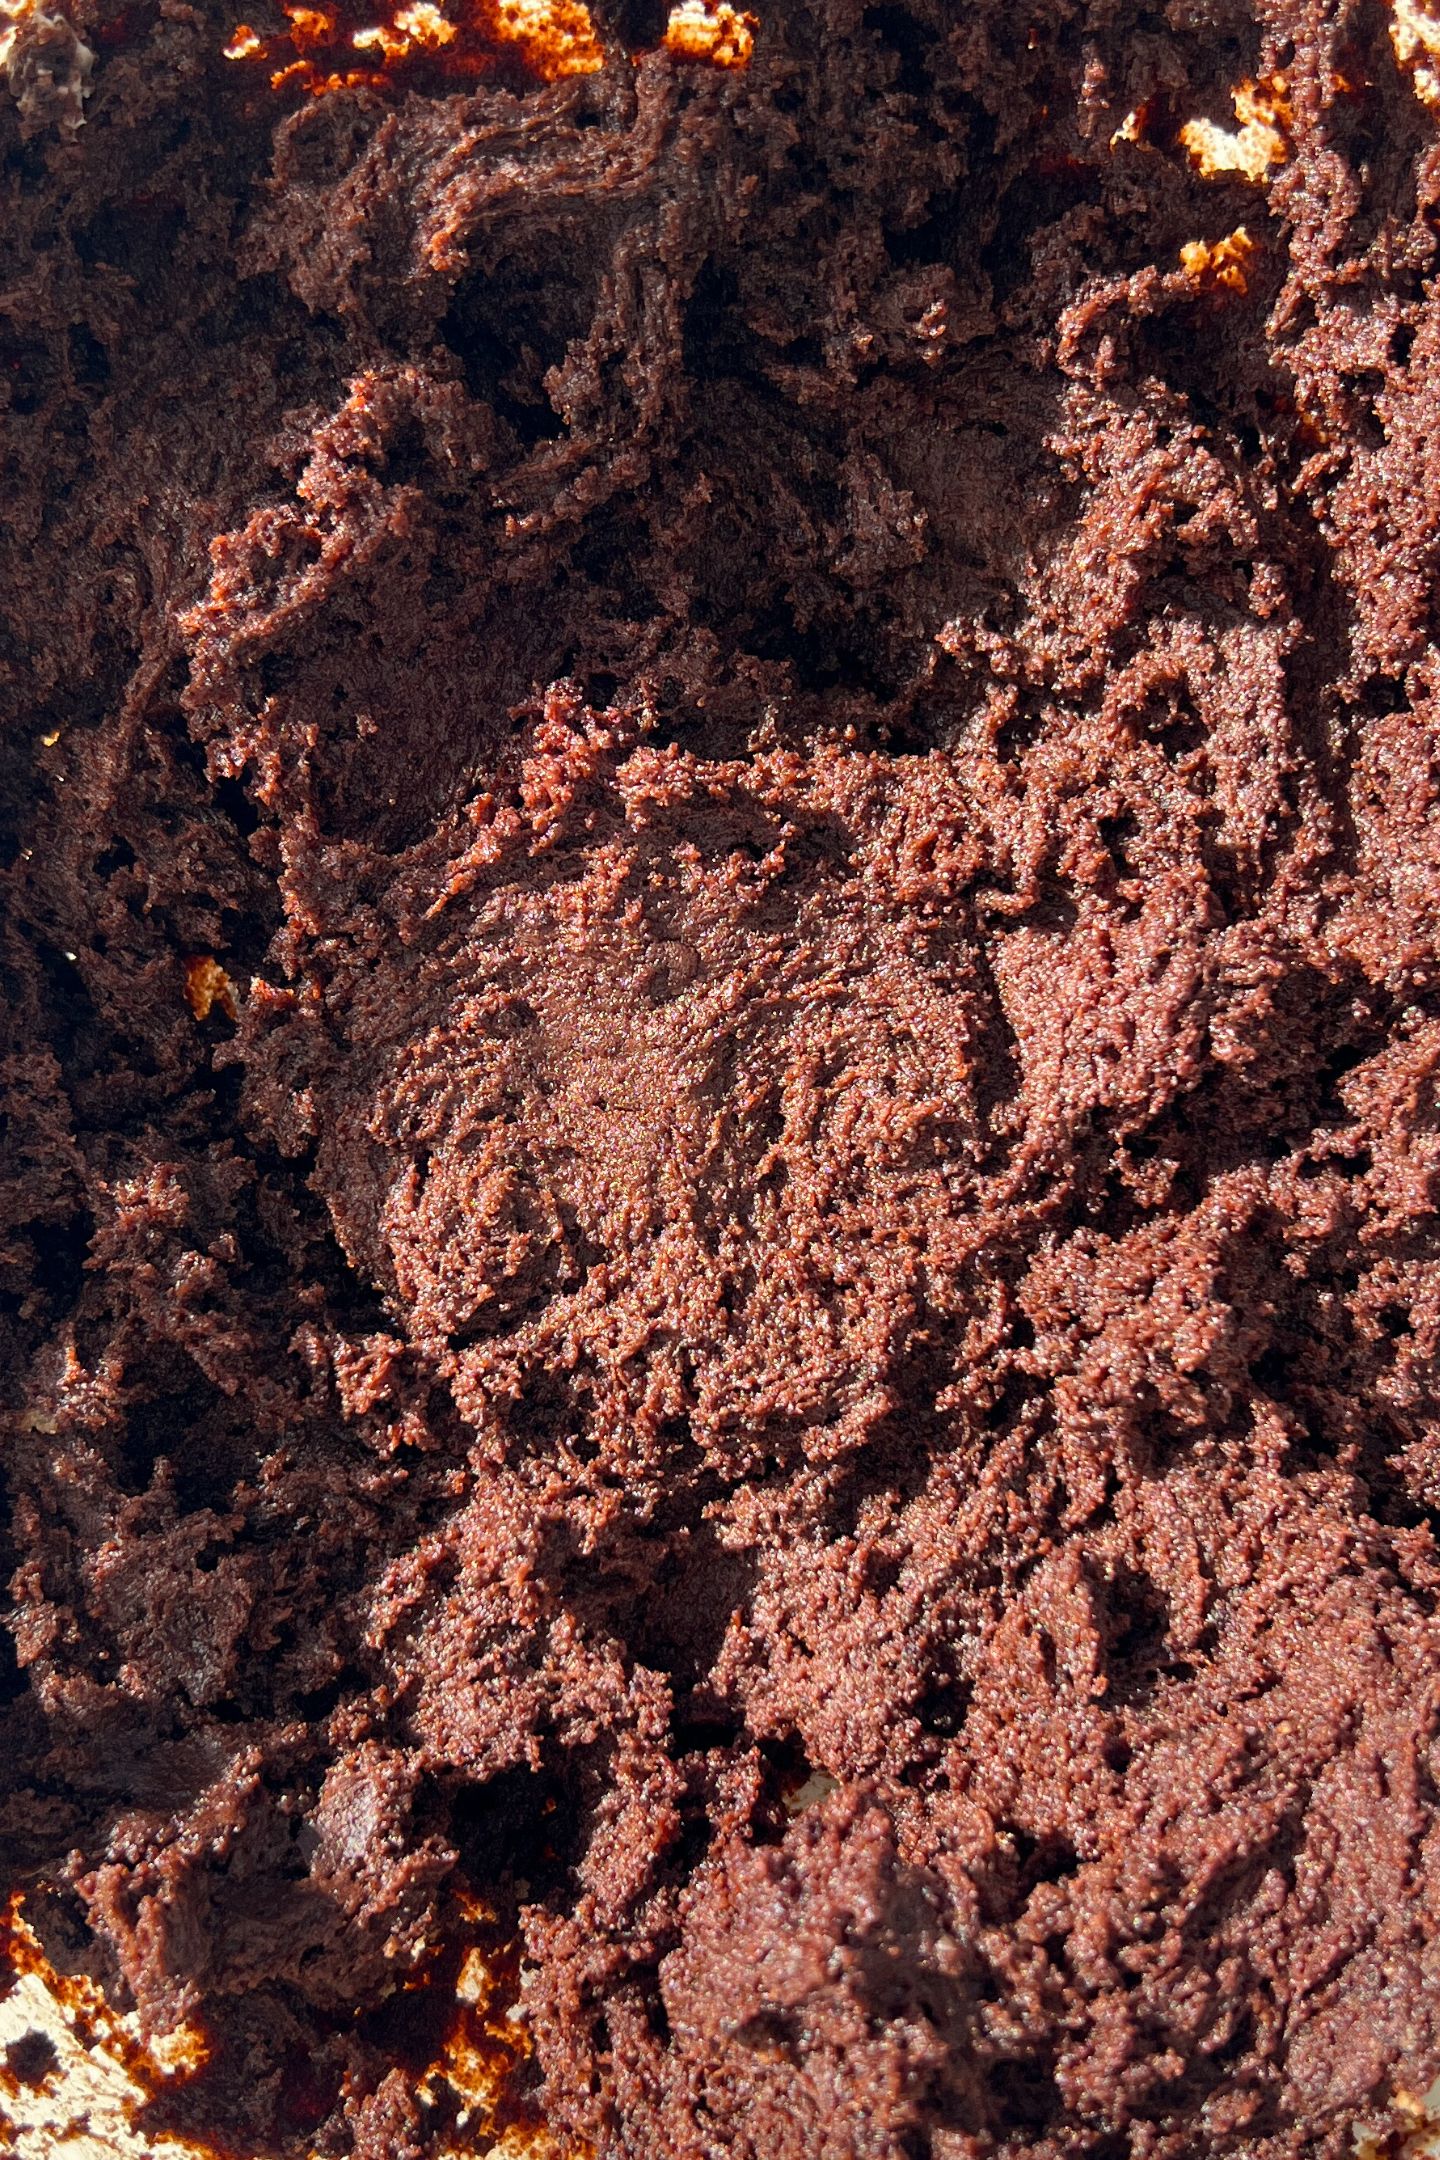
- Once the frosting is ready, crumble the cooled cake into a mixing bowl
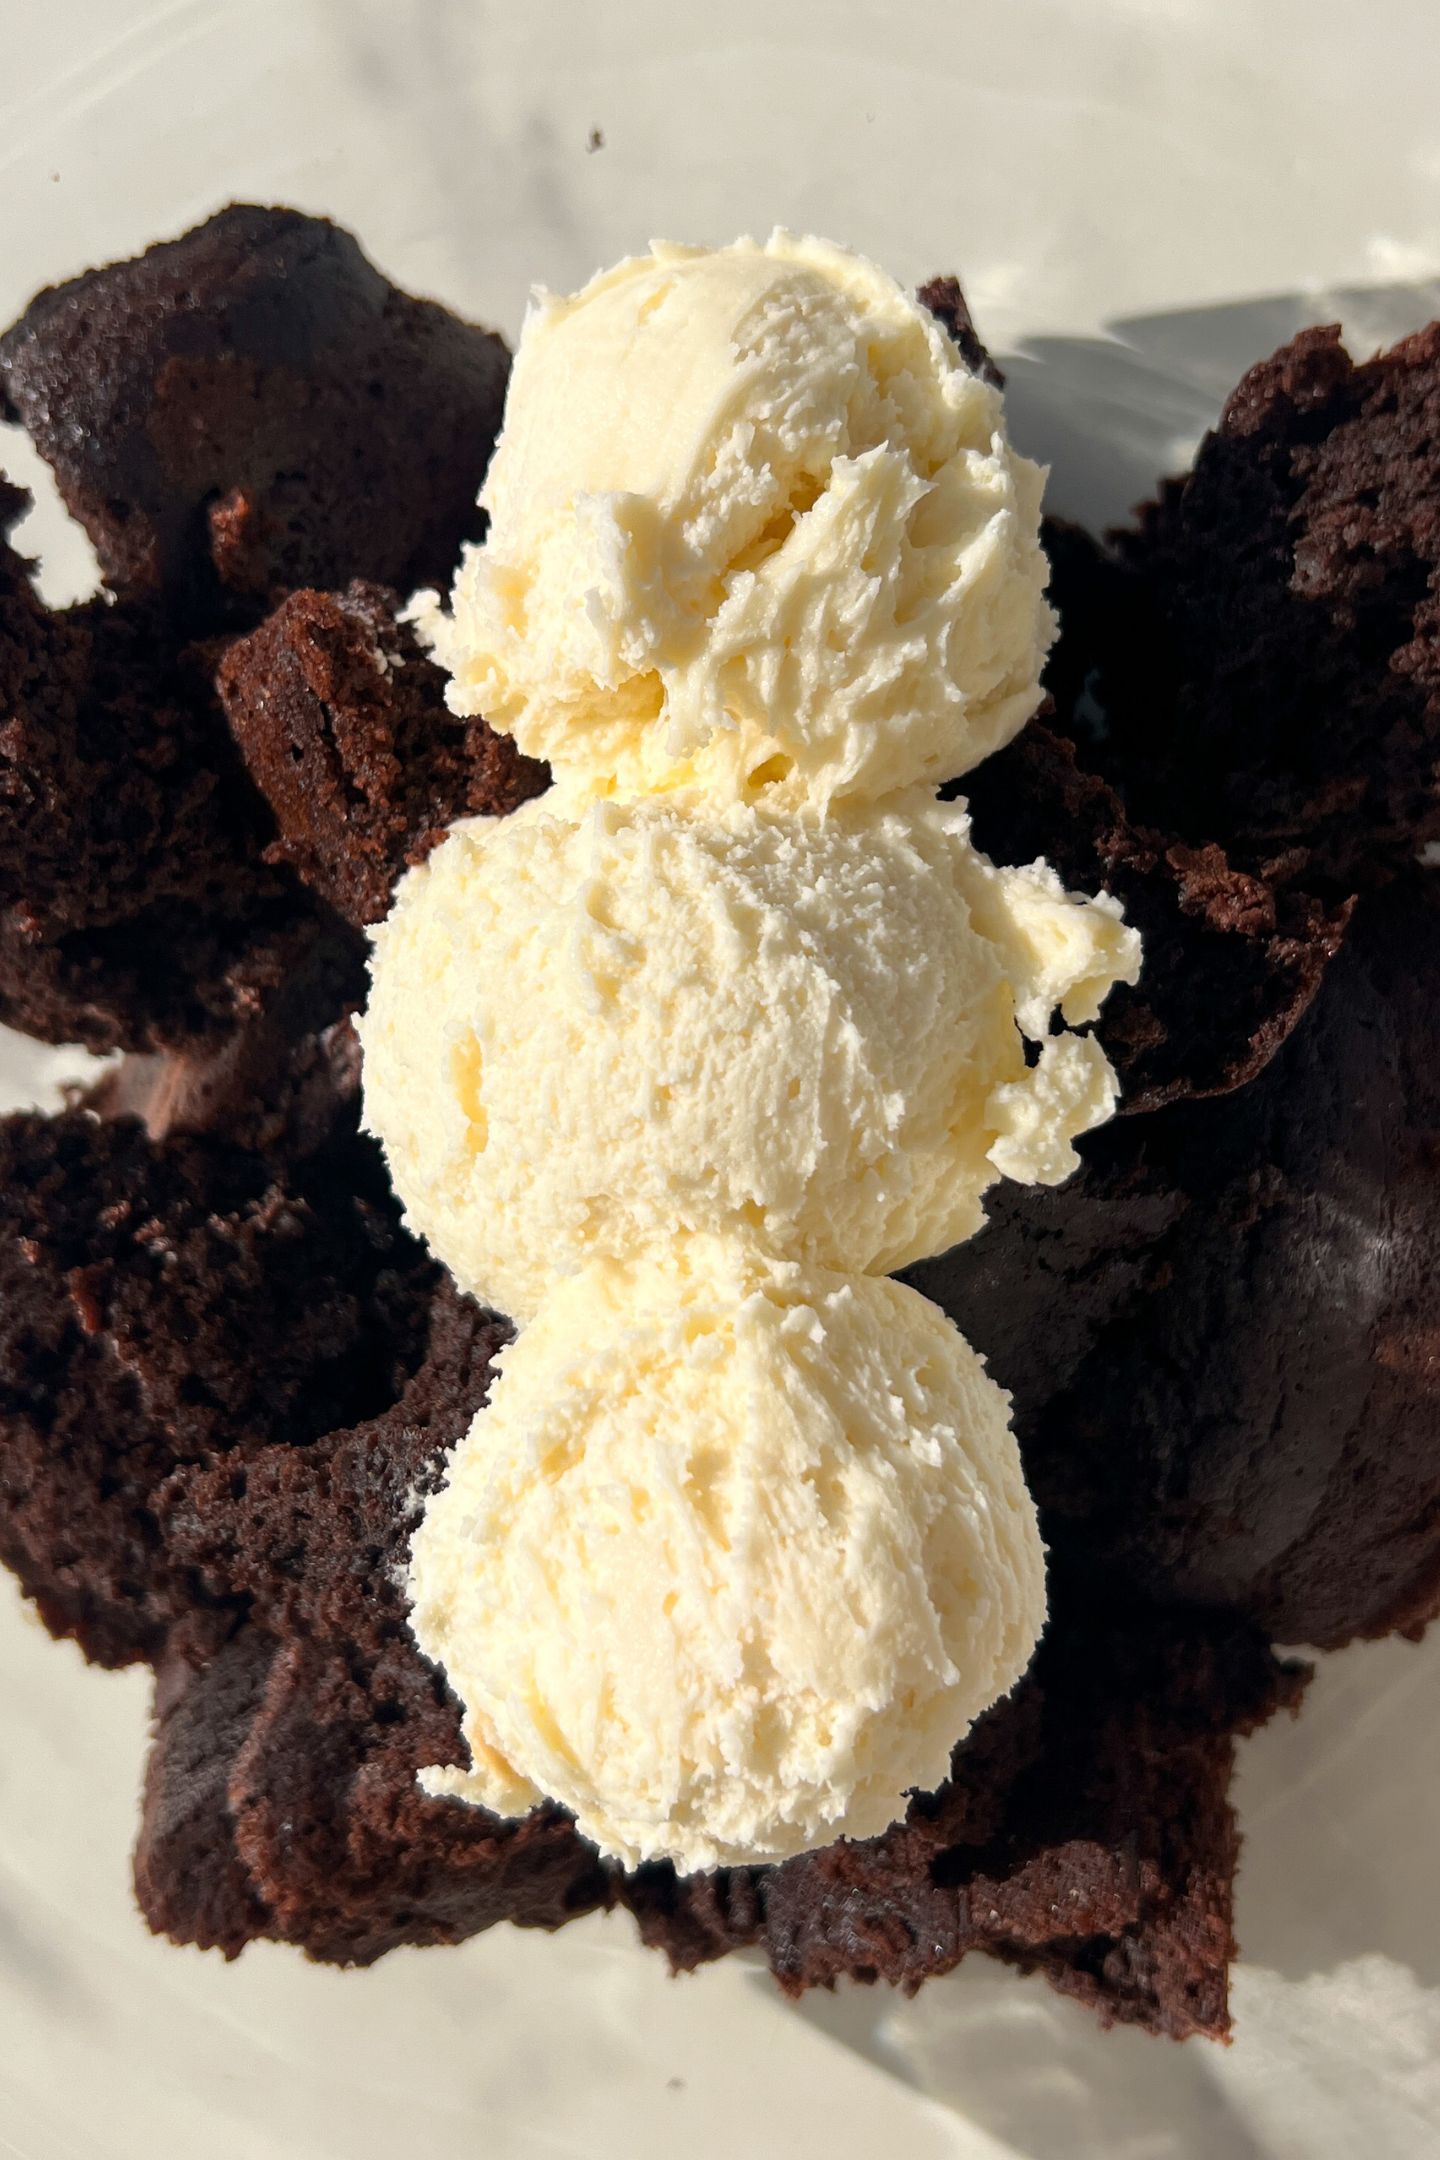
- Add about 1 cup of frosting
- Use the electric hand mixer to combined
- Once combined and at the desired texture, chill the cake pop batter in the fridge for 30 minutes
- After chilling, scoop about 1.5 tbsp of the cake pop batter and roll into a ball. Then place on a baking sheet lined with parchment paper
- Repeat until all the dough has been used
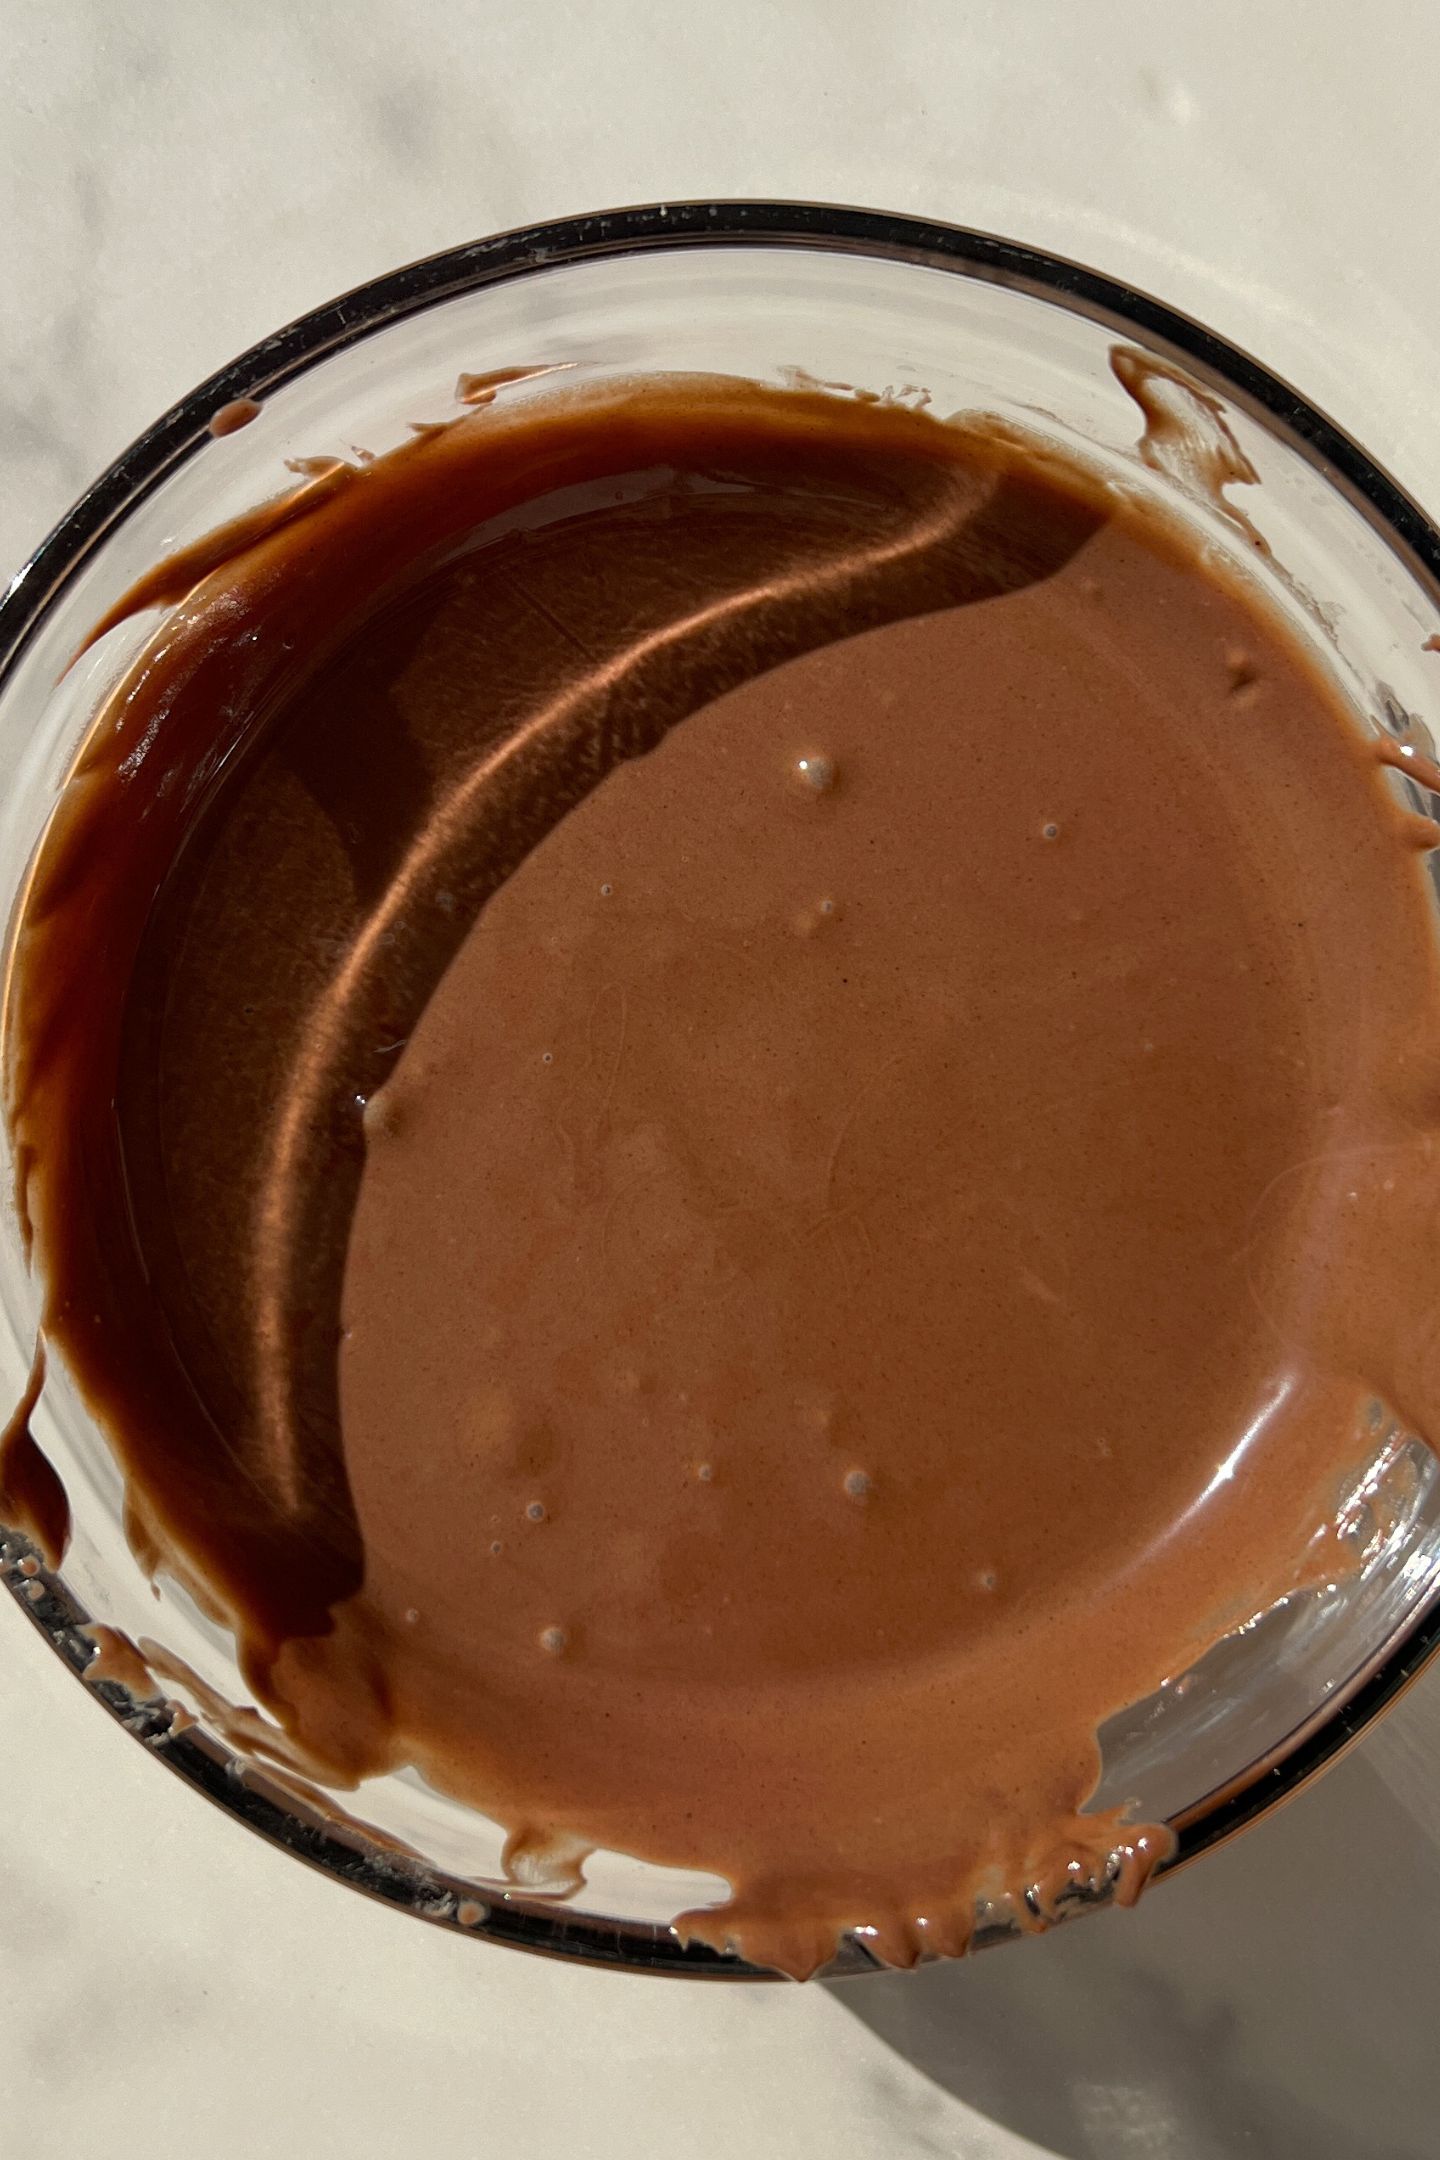
- Melt the chocolate melting wafers in a microwave safe dish
- Dip the end of a cake pop stick into the chocolate then into the cake pop ball
- Repeat until a stick has been placed in each cake pop
- Put the baking sheet in the fridge to chill for 45-60 minutes or in the freezer for 20-30 minutes
- Note: You may need to re-melt the candy wafers for the next steps
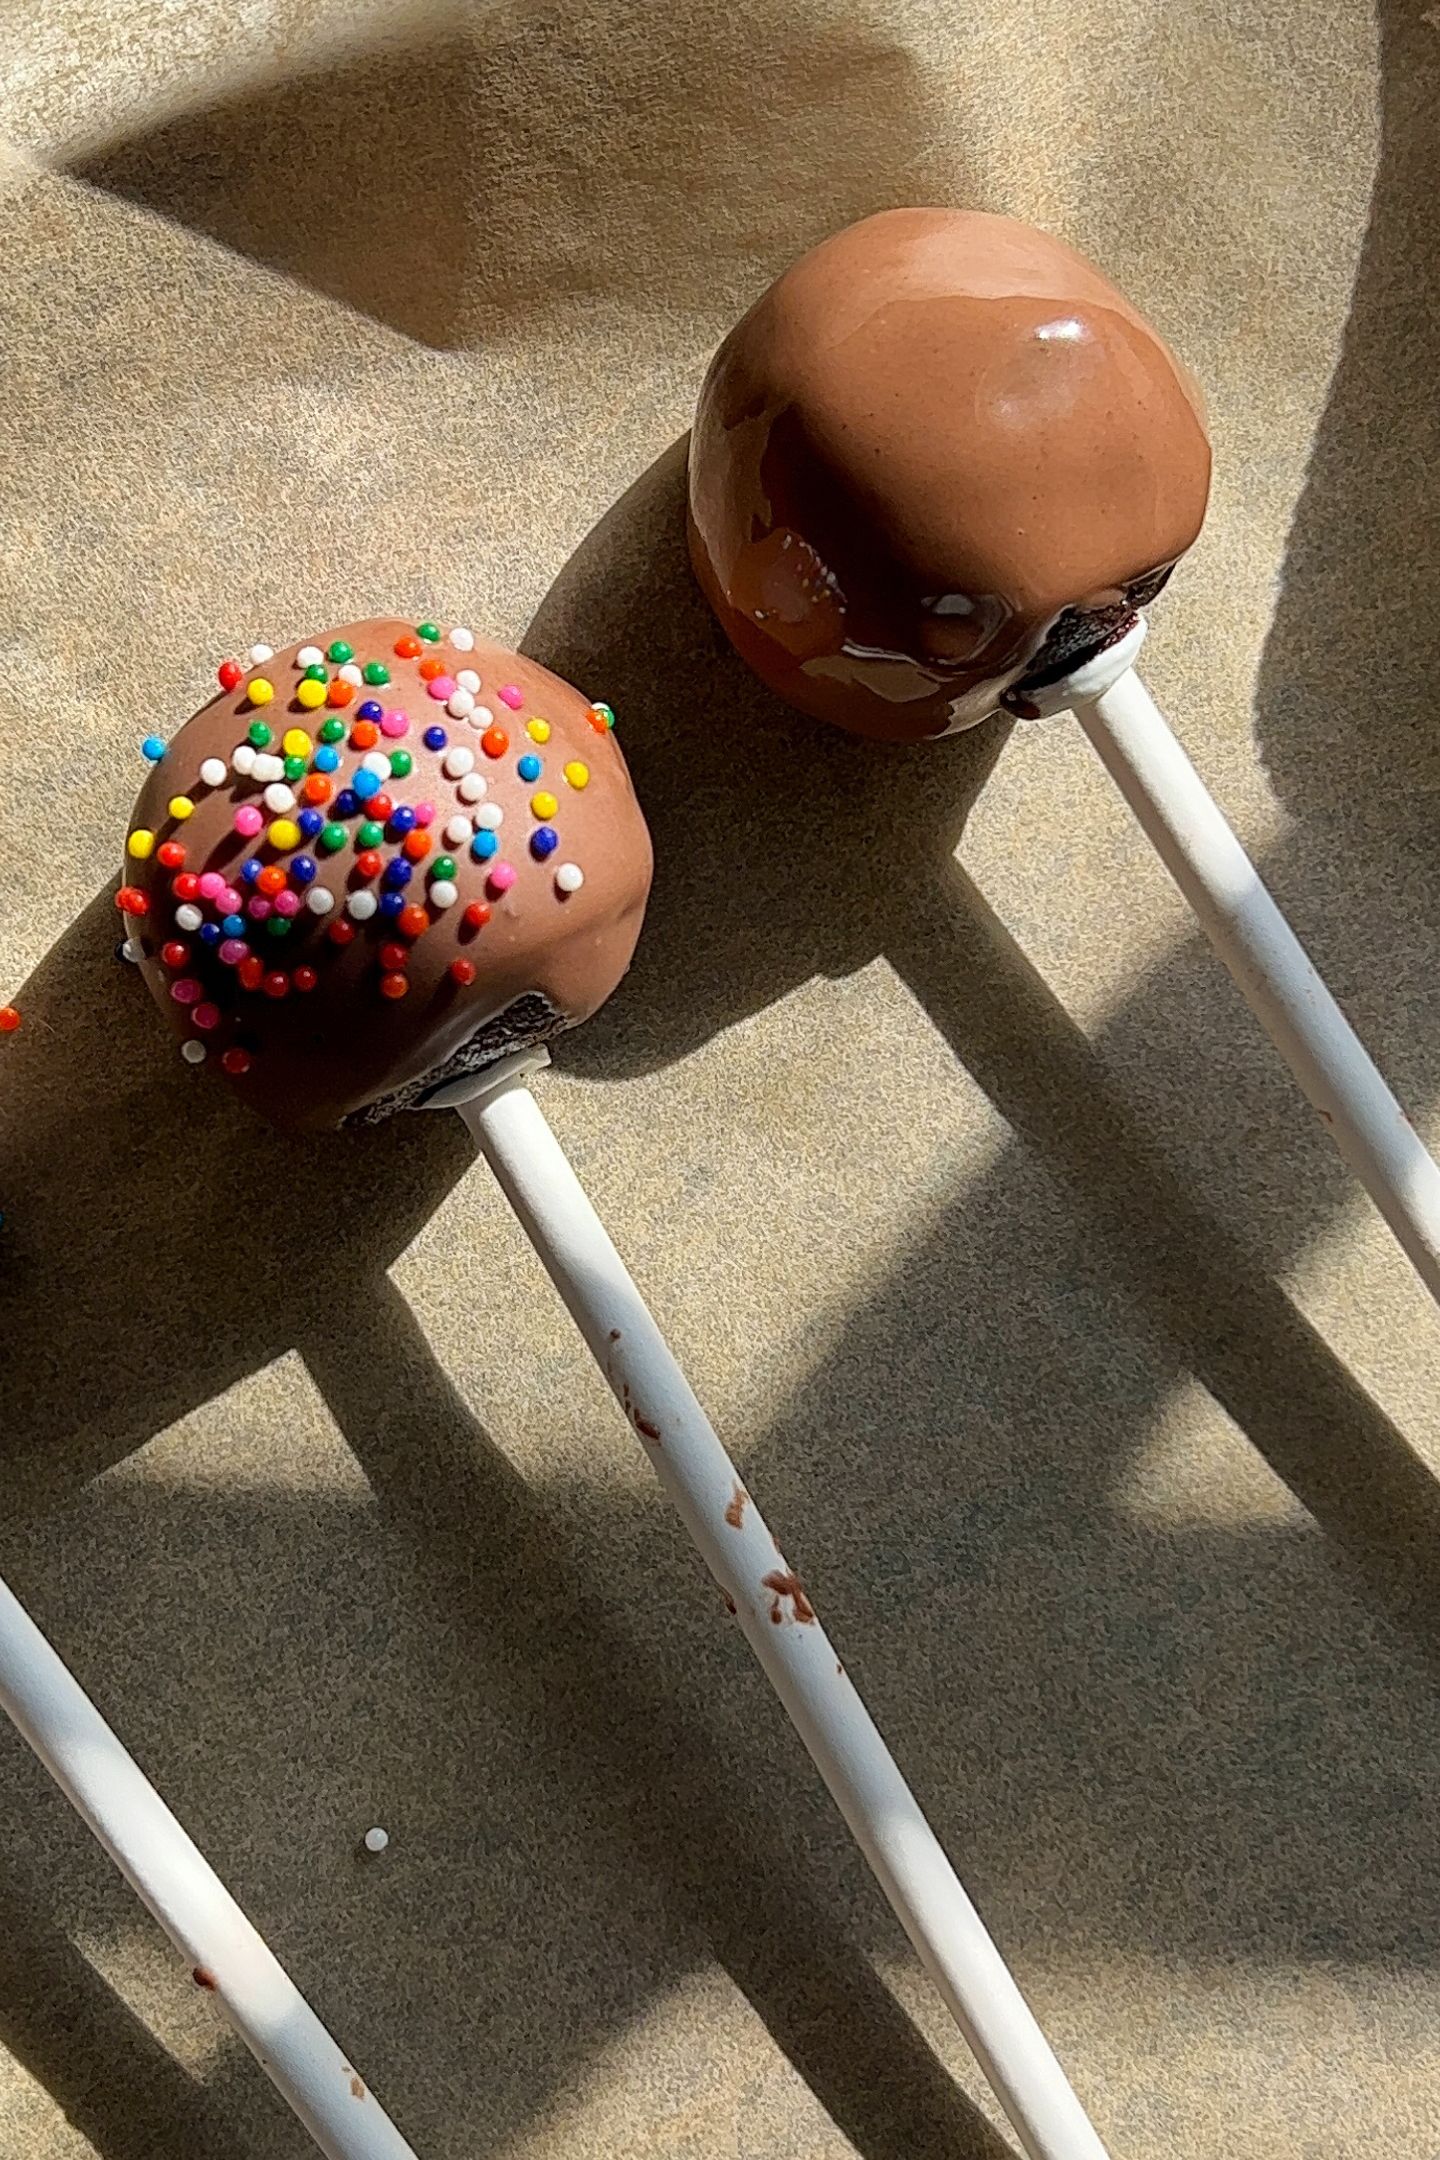
- Dip each cake pop into the melted chocolate
- Place back on the parchment paper and immediately top with sprinkles
- Repeat until all cake pops are coated
- Let the cake pops set completely at room temperature. You can also place them in the fridge so that they get a nice crunch on the outside
- Enjoy!
Frequently Asked Questions
Yes! Any brand will work, just make sure it is about 15 oz.
You can, however, it will take longer for the chocolate to harden and will create a thicker layer around the cake center. I highly recommend using chocolate candy wafers.
You can use avocado oil, a light olive oil, vegetable oil or canola oil. However, melted butter will also work at a 1:1 ratio!
Yes, if you don’t chill the batter, the cake pop won’t be able to hold up on the cake pop stick.
Store in an airtight container in the fridge for up to 7 days.

Chocolate Cake Pops
Ingredients
- 1 box Chocolate Cake Mix
- Additional ingredients to make the cake per box instructions
- 12 oz Chocolate Melting Wafers
- Sprinkles, for decoration
Cream Cheese Frosting
- 1/2 cup Salted Butter, softened to room temperature
- 8 oz Plain Cream Cheese, softened to room temperature
- 2 tsp Vanilla Extract
- 3 cups Powdered Sugar
Equipment
- 24 Cake Pop Sticks
Instructions
- Prepare and bake the chocolate cake mix according to package instructions. (Note: I typically substitute the water for milk for added richness)
- Once the cake is baked, let cool completely in the pan before transferring to a cooling rack
- When the cake is cooled, make the cream cheese frosting
- To a large mixing bowl, add the butter, cream cheese, vanilla extract and 1 cup of powdered sugar
- Use an electric hand mixer until combined
- Scrape the sides and add another cup of powdered sugar, mix
- Add the last cup of powdered sugar and mix until smooth and creamy
- Once the frosting is ready, crumble the cake into a separate, large mixing bowl
- Add about 1 cup of frosting
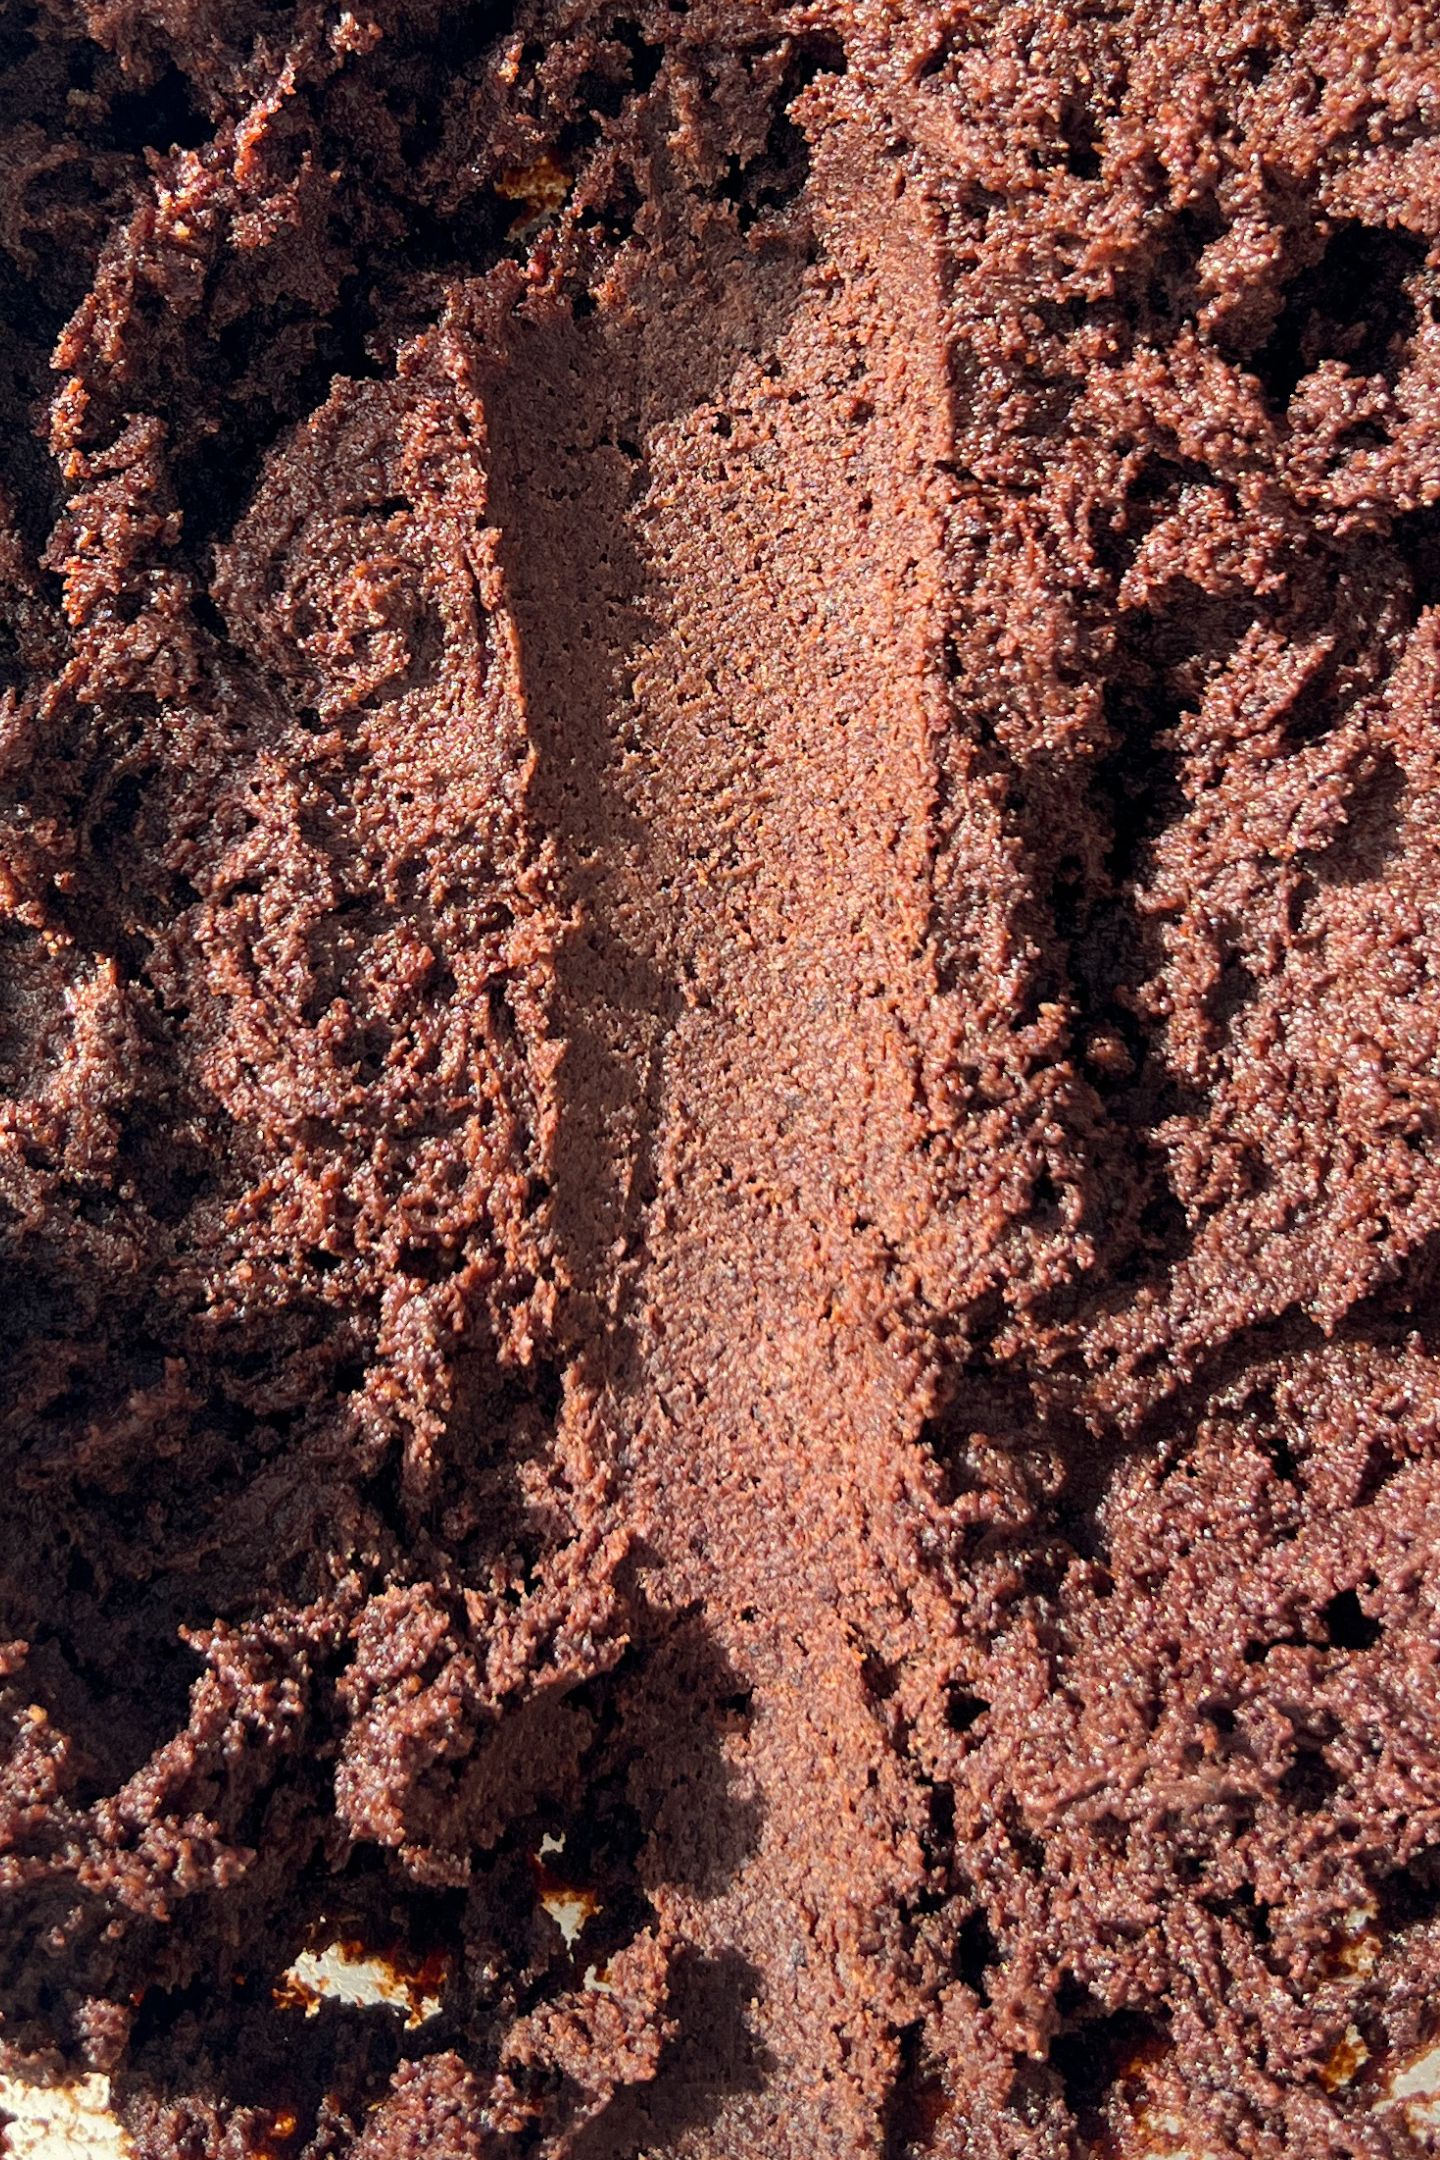
- Use the electric hand mixer to combine the cake and frosting
- If needed, add an additional 1/4 cup of frosting until it reaches a smooth texture that can be rolled into a ball (I used about 1.5 cups of frosting)
- Once combined and at the desired texture, chill the cake pop batter in the fridge for 30-45 minutes
- After chilling, scoop about 1.5 tbsp of the cake pop batter and roll into a ball. Then place on a baking sheet lined with parchment paper
- Repeat until all the dough has been used
- Place the baking sheet in the fridge while you melt the chocolate wafers
- Melt the chocolate wafers in a microwave safe dish. Heat in 30 second intervals, mixing in between each until all is melted
- Remove the cake pop balls from the fridge
- Dip the end of a cake pop stick into the chocolate then into the cake pop ball. Place back on the parchment paper
- Repeat until a stick has been placed in each cake pop
- Put the baking sheet back into the fridge to chill for 30-45 minutes or in the freezer for 20-30 minutes. This gives plenty of time for the chocolate to set
- Remove from the fridge/freezer
- Note: You may need to re-melt the candy wafers for the next steps
- Dip each cake pop into the melted chocolate until covered
- Let the excess chocolate drip off
- Place back on the parchment paper and immediately top with sprinkles before the chocolate hardens
- Repeat steps 23-25 until all cake pops are coated
- Let the cake pops set completely at room temperature. You can also place them in the fridge so that they get a nice crunch on the outside
- Enjoy!
Absolutely delightful and so easy to make!
Thank you so much! Glad you enjoyed 🙂
yummy! These looks so delicious!!