

Oreo Cake Pops Recipe
These Oreo Cake Pops are the perfect treat for anyone who loves the nostalgic taste of this classic cookie. Each cake pop has a soft, moist center that is coated in a crisp chocolate shell, creating the ideal balance of textures. Each bite has a rich cookies and cream flavor, reminding you of the iconic chocolate-creme combination.
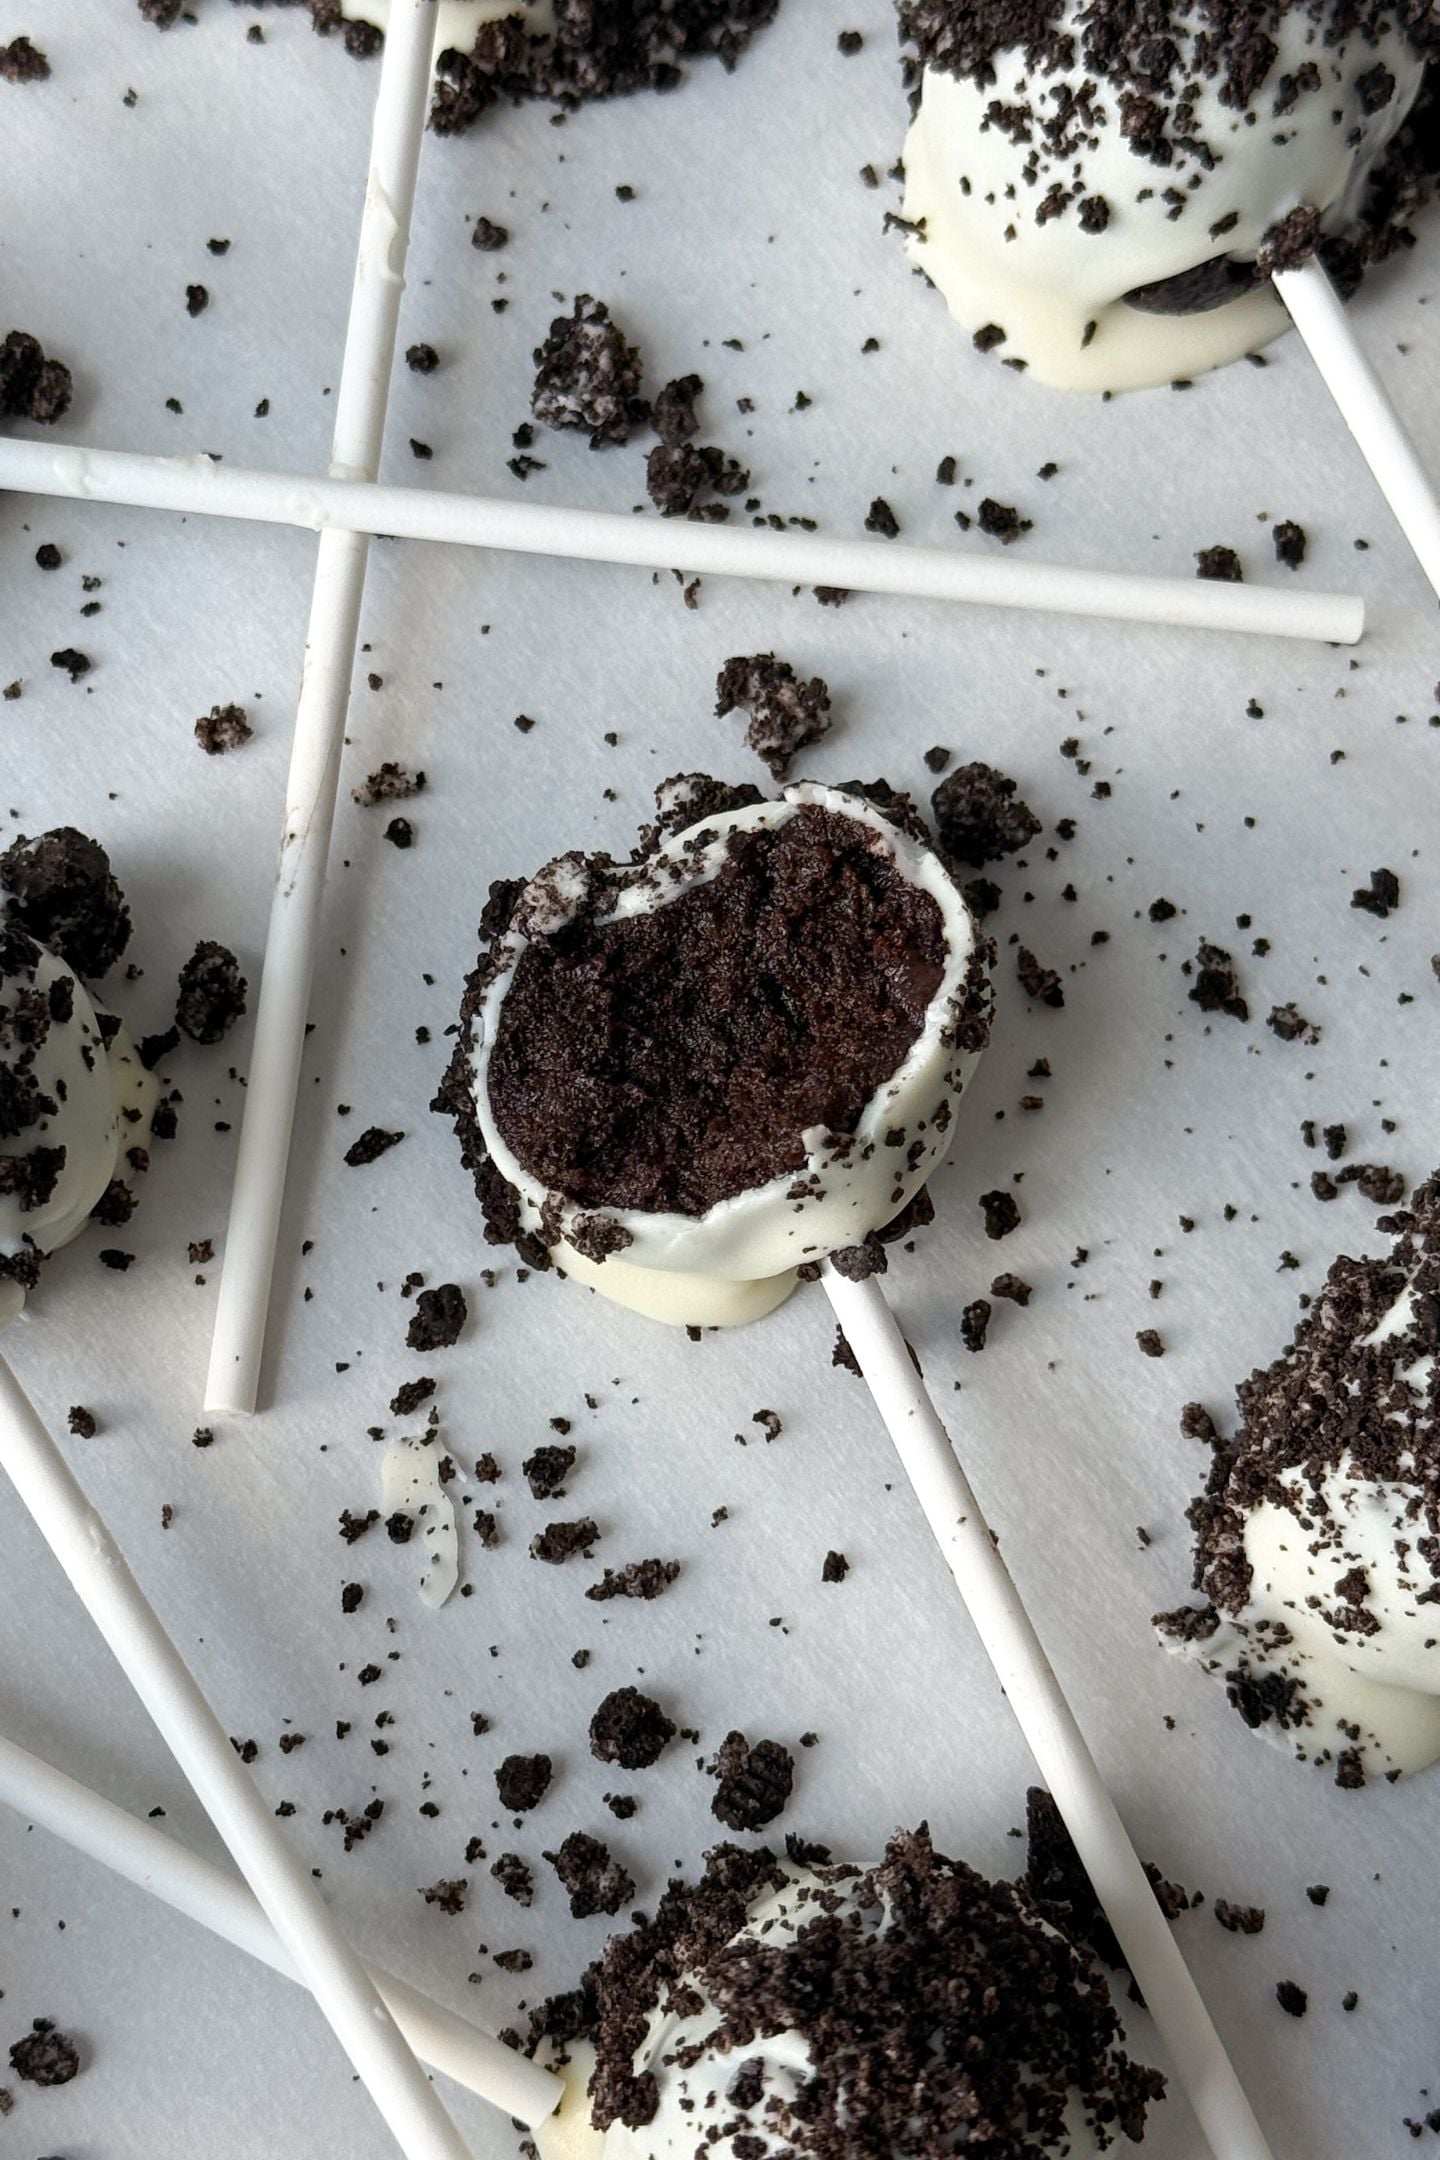
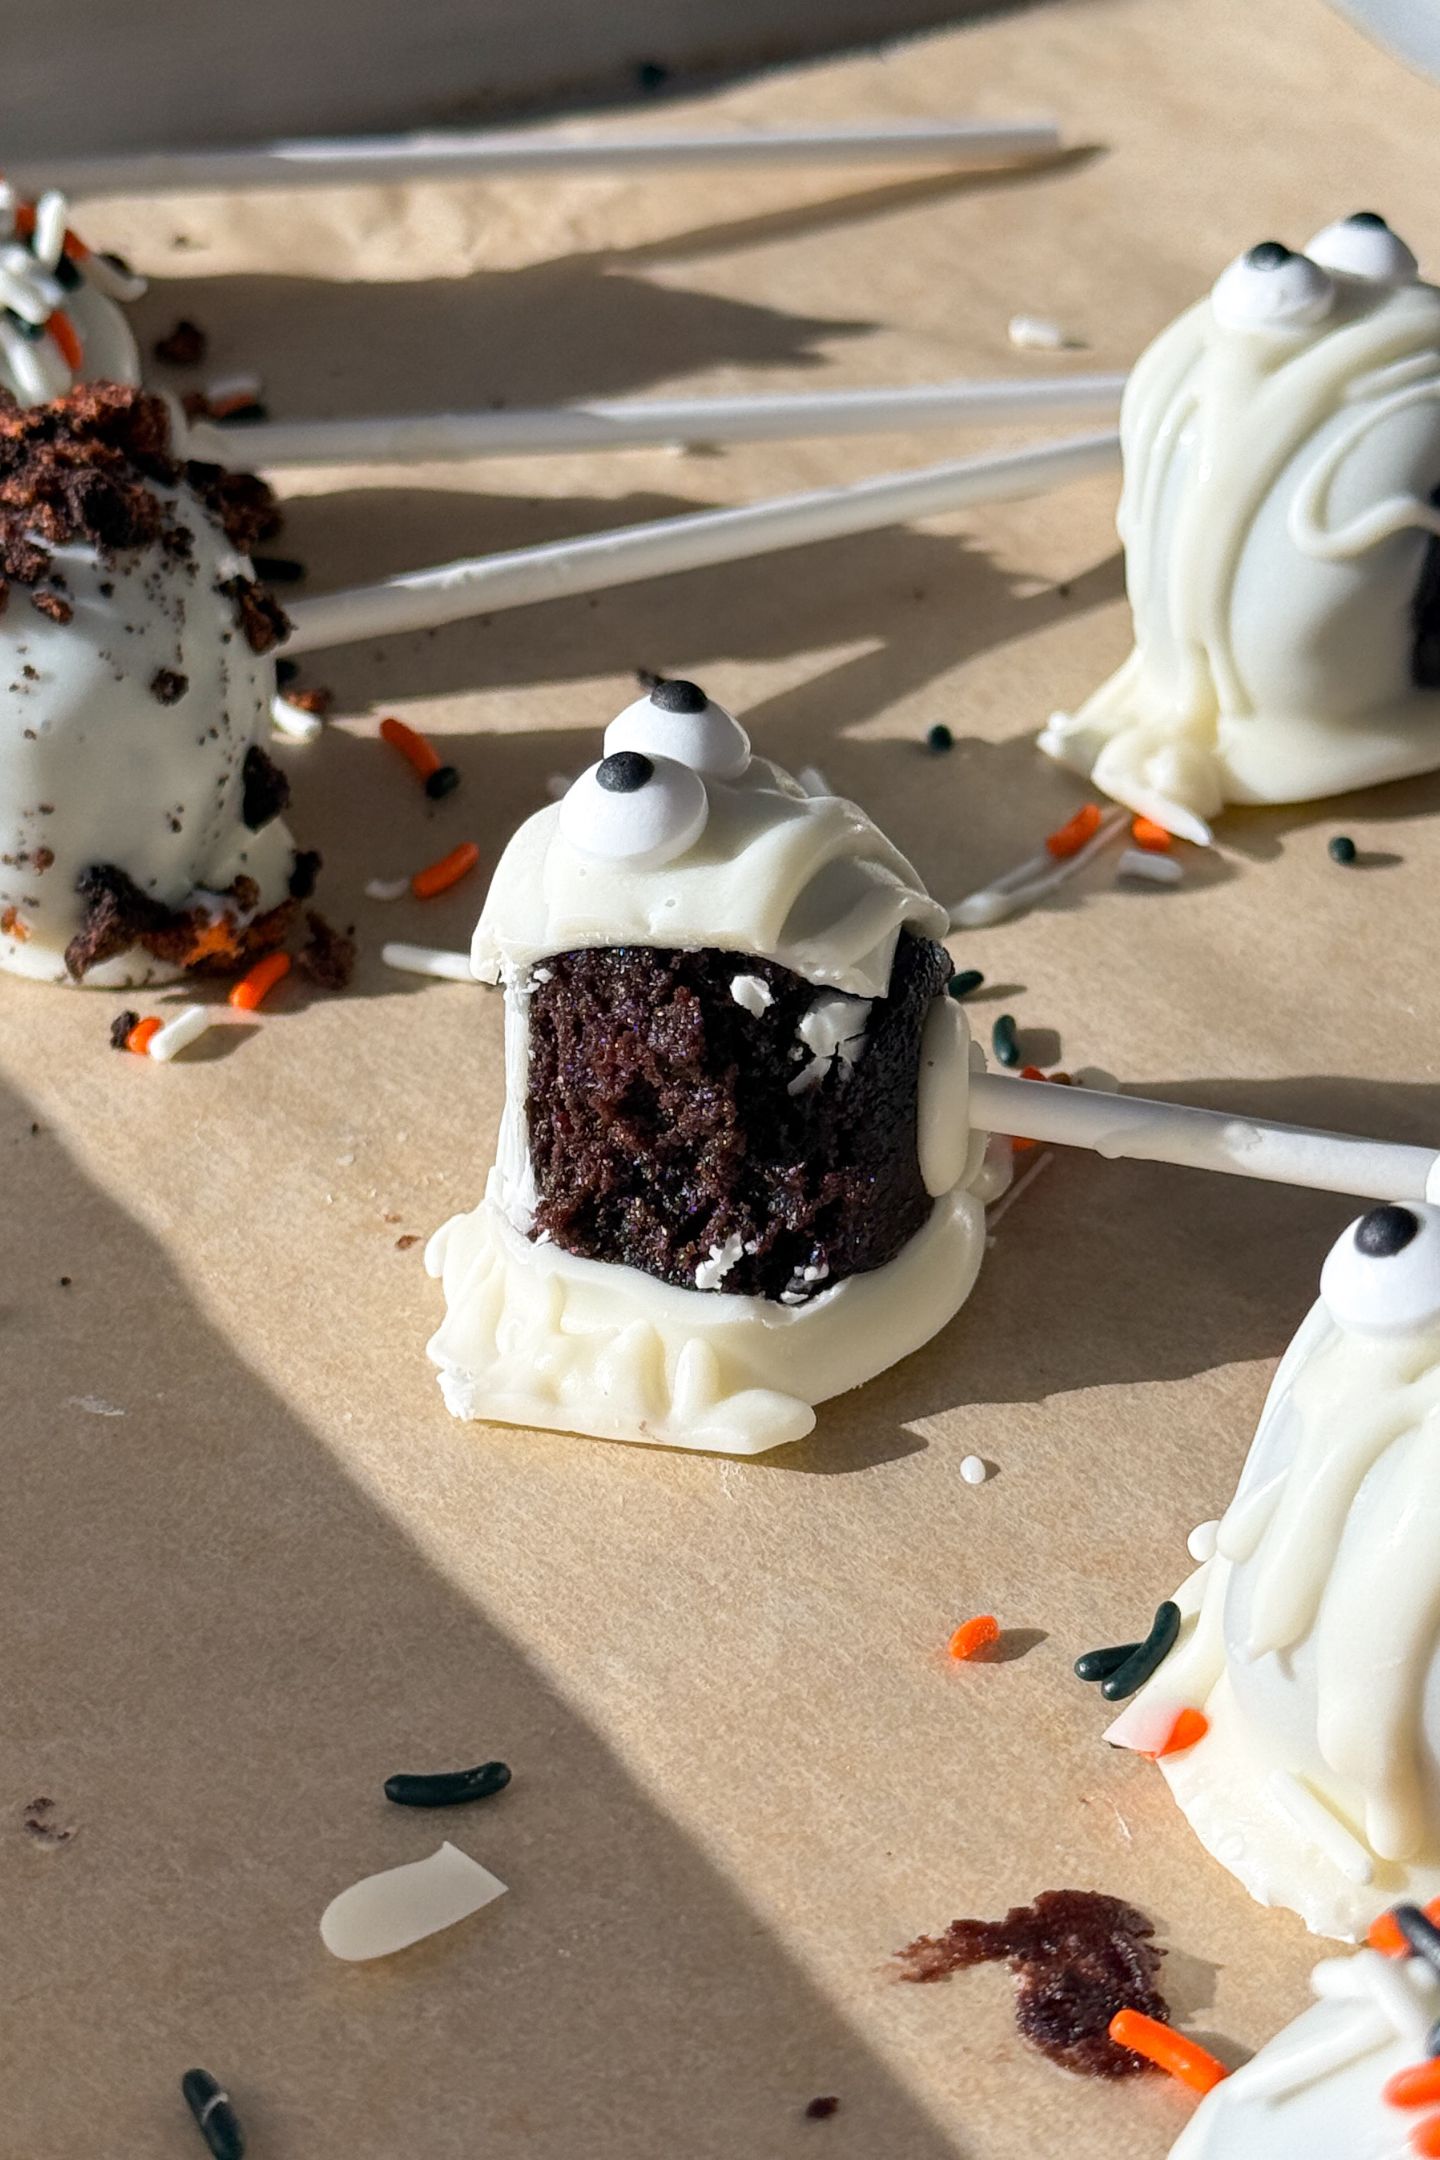
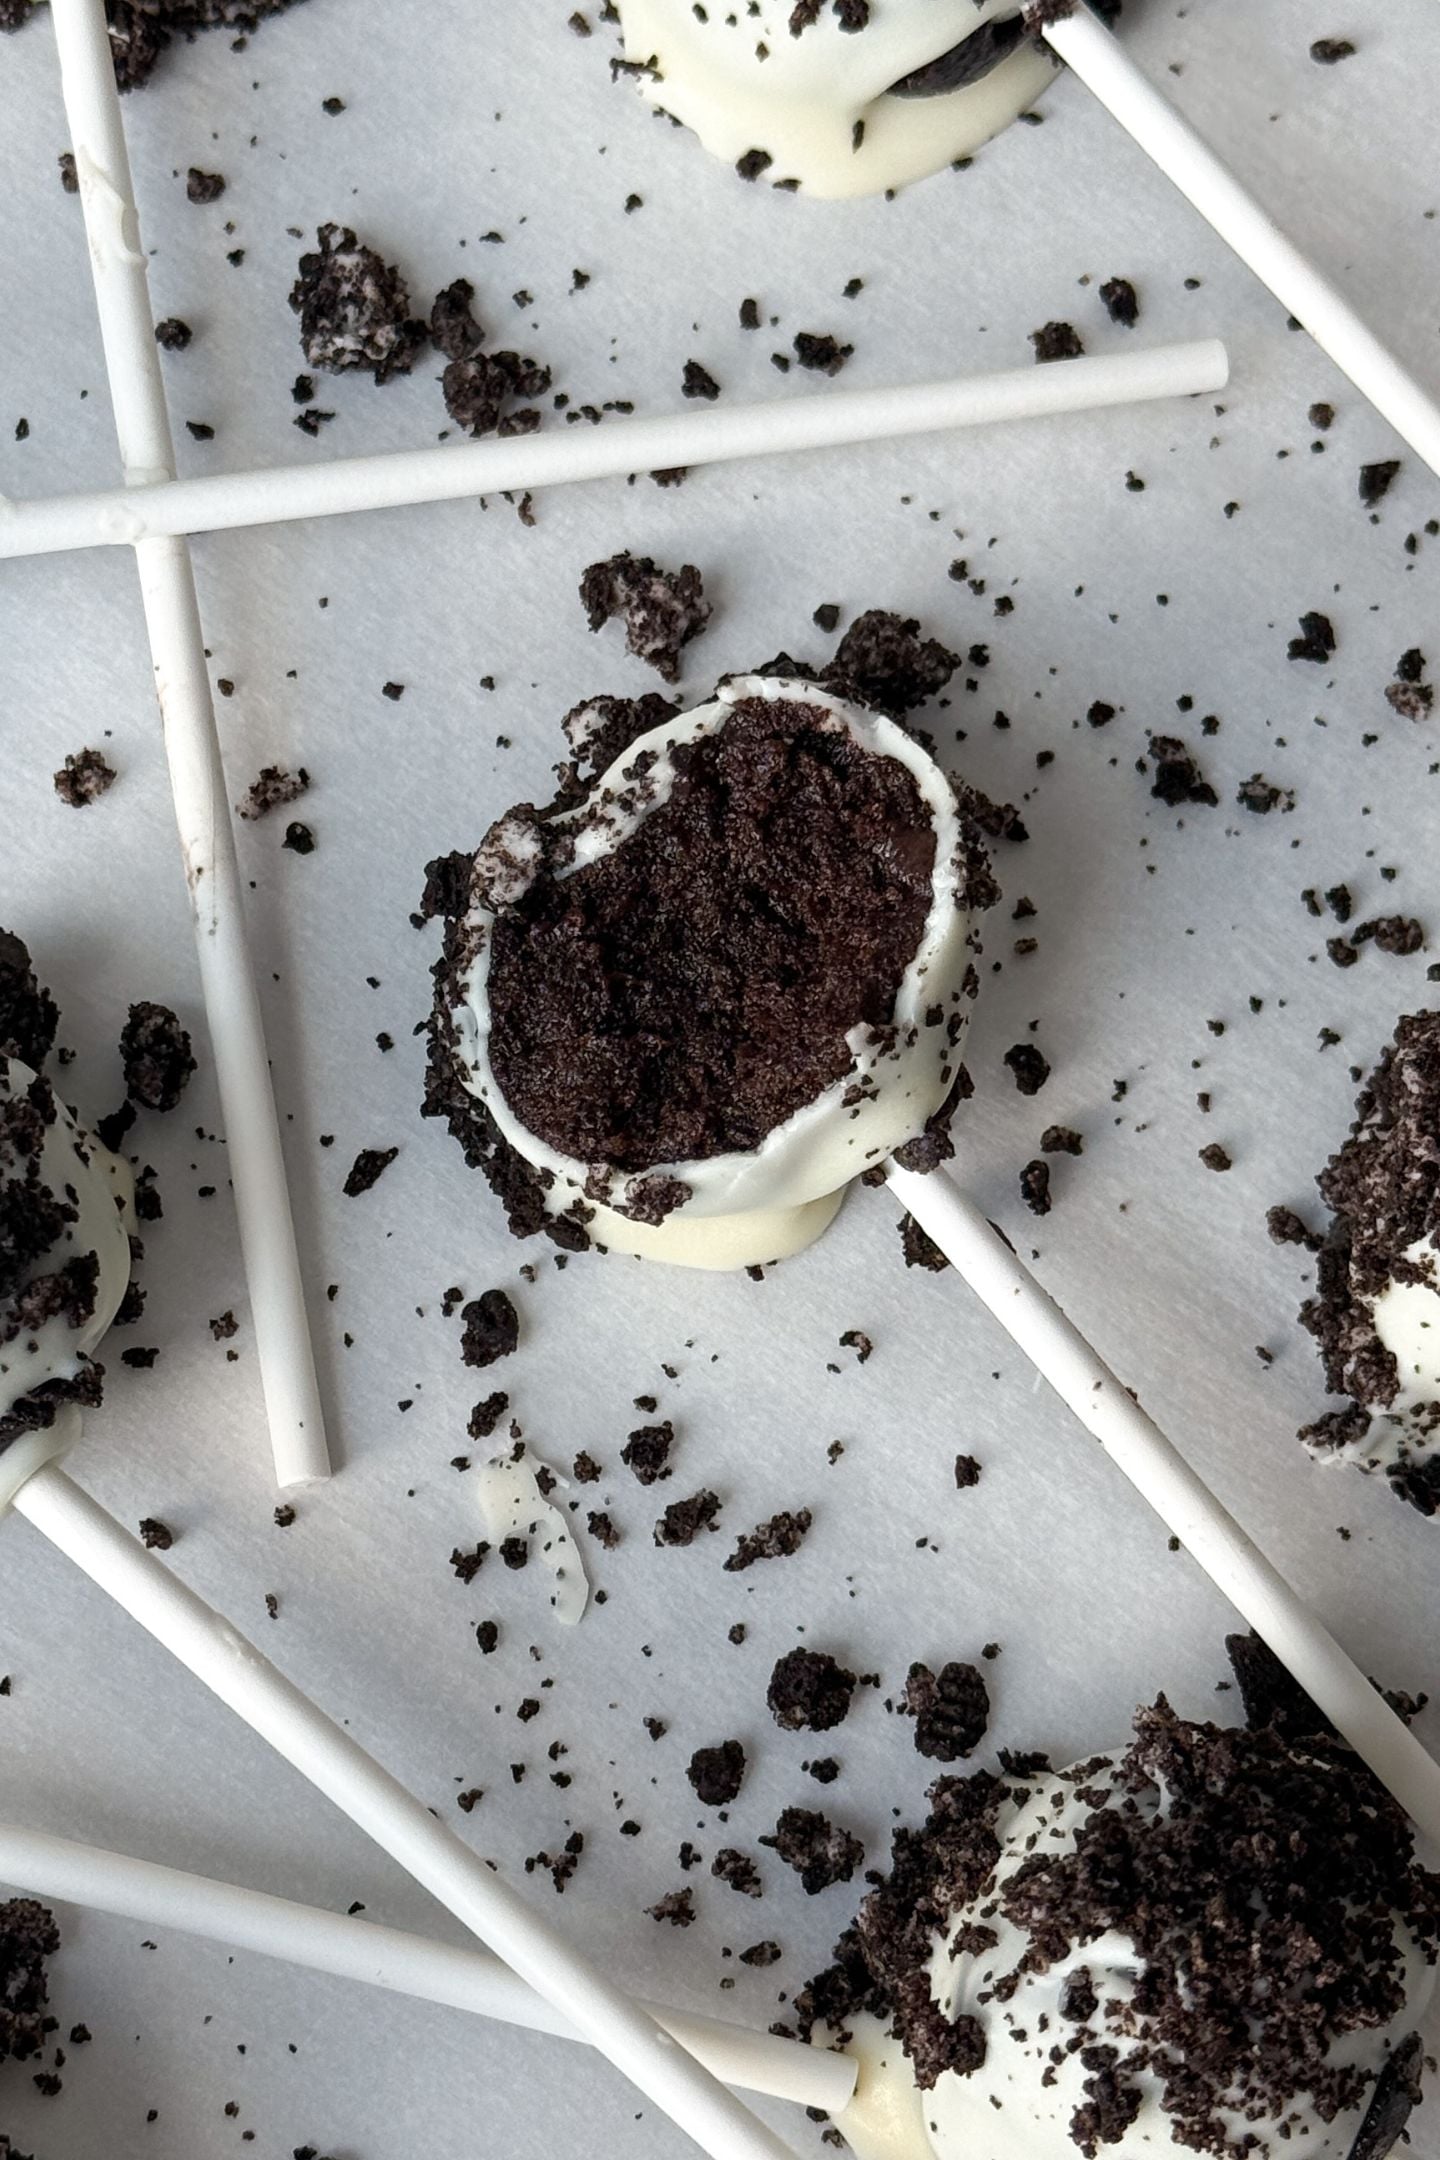
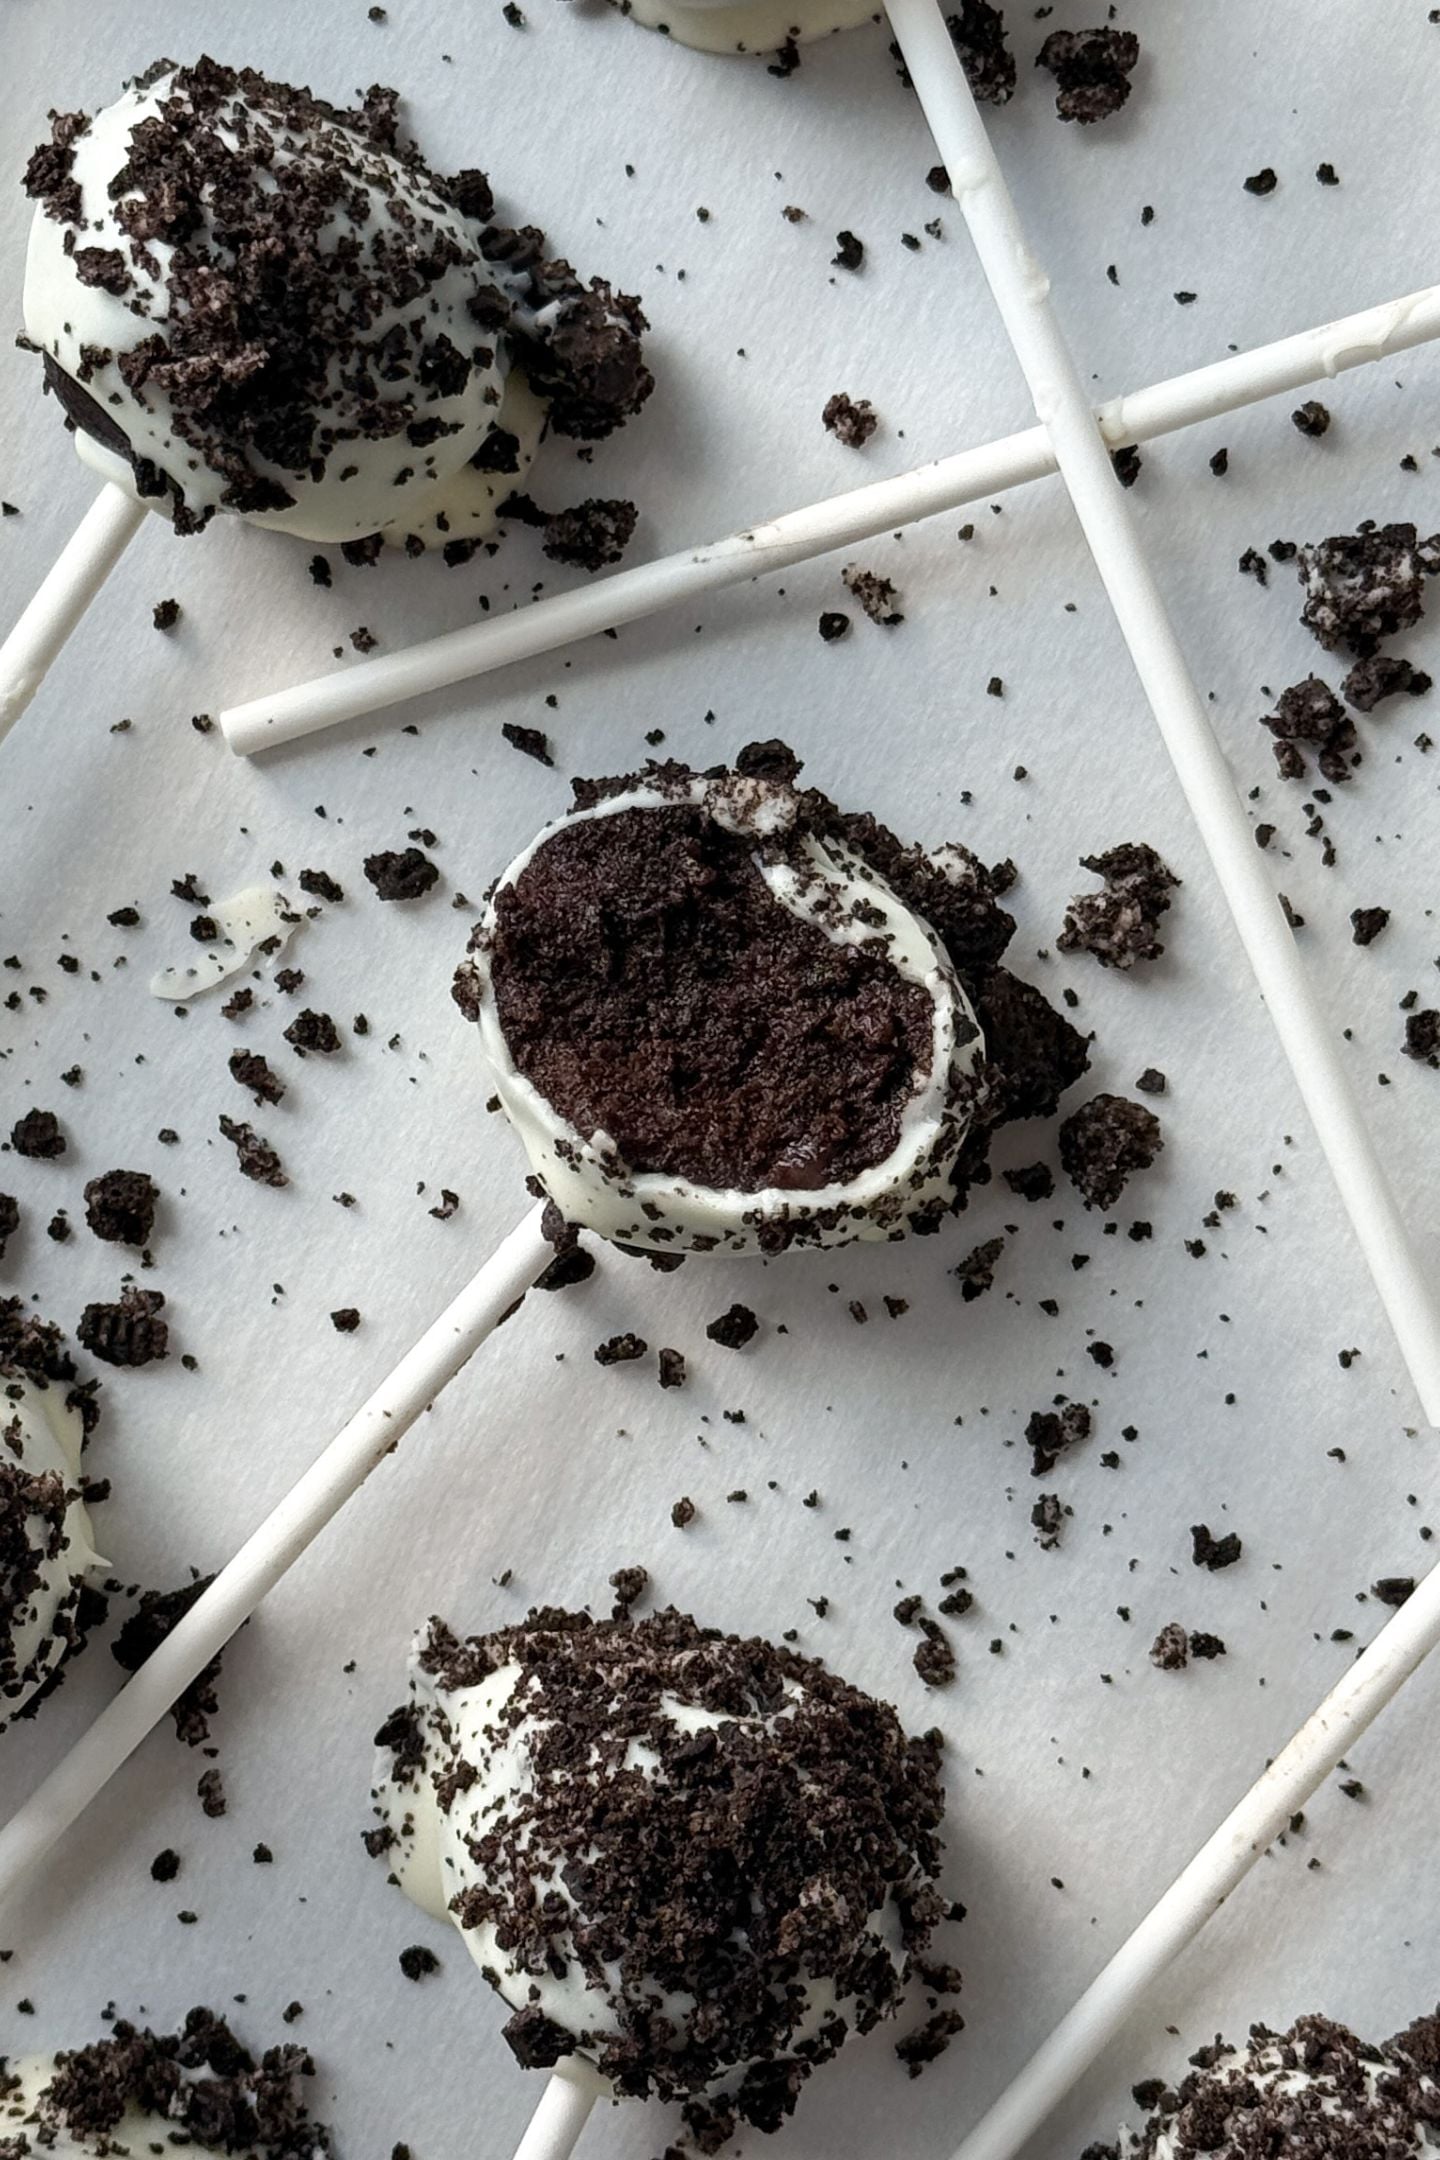
These Oreo Cake Pops might be better than eating an actual Oreo cookie. The texture is soft and deliciously moist in the center. But don’t worry, you still get a nice crunch on the outside from the white chocolate coating and crushed chocolate creme sandwich cookies.
Ingredient Notes and Substitutions
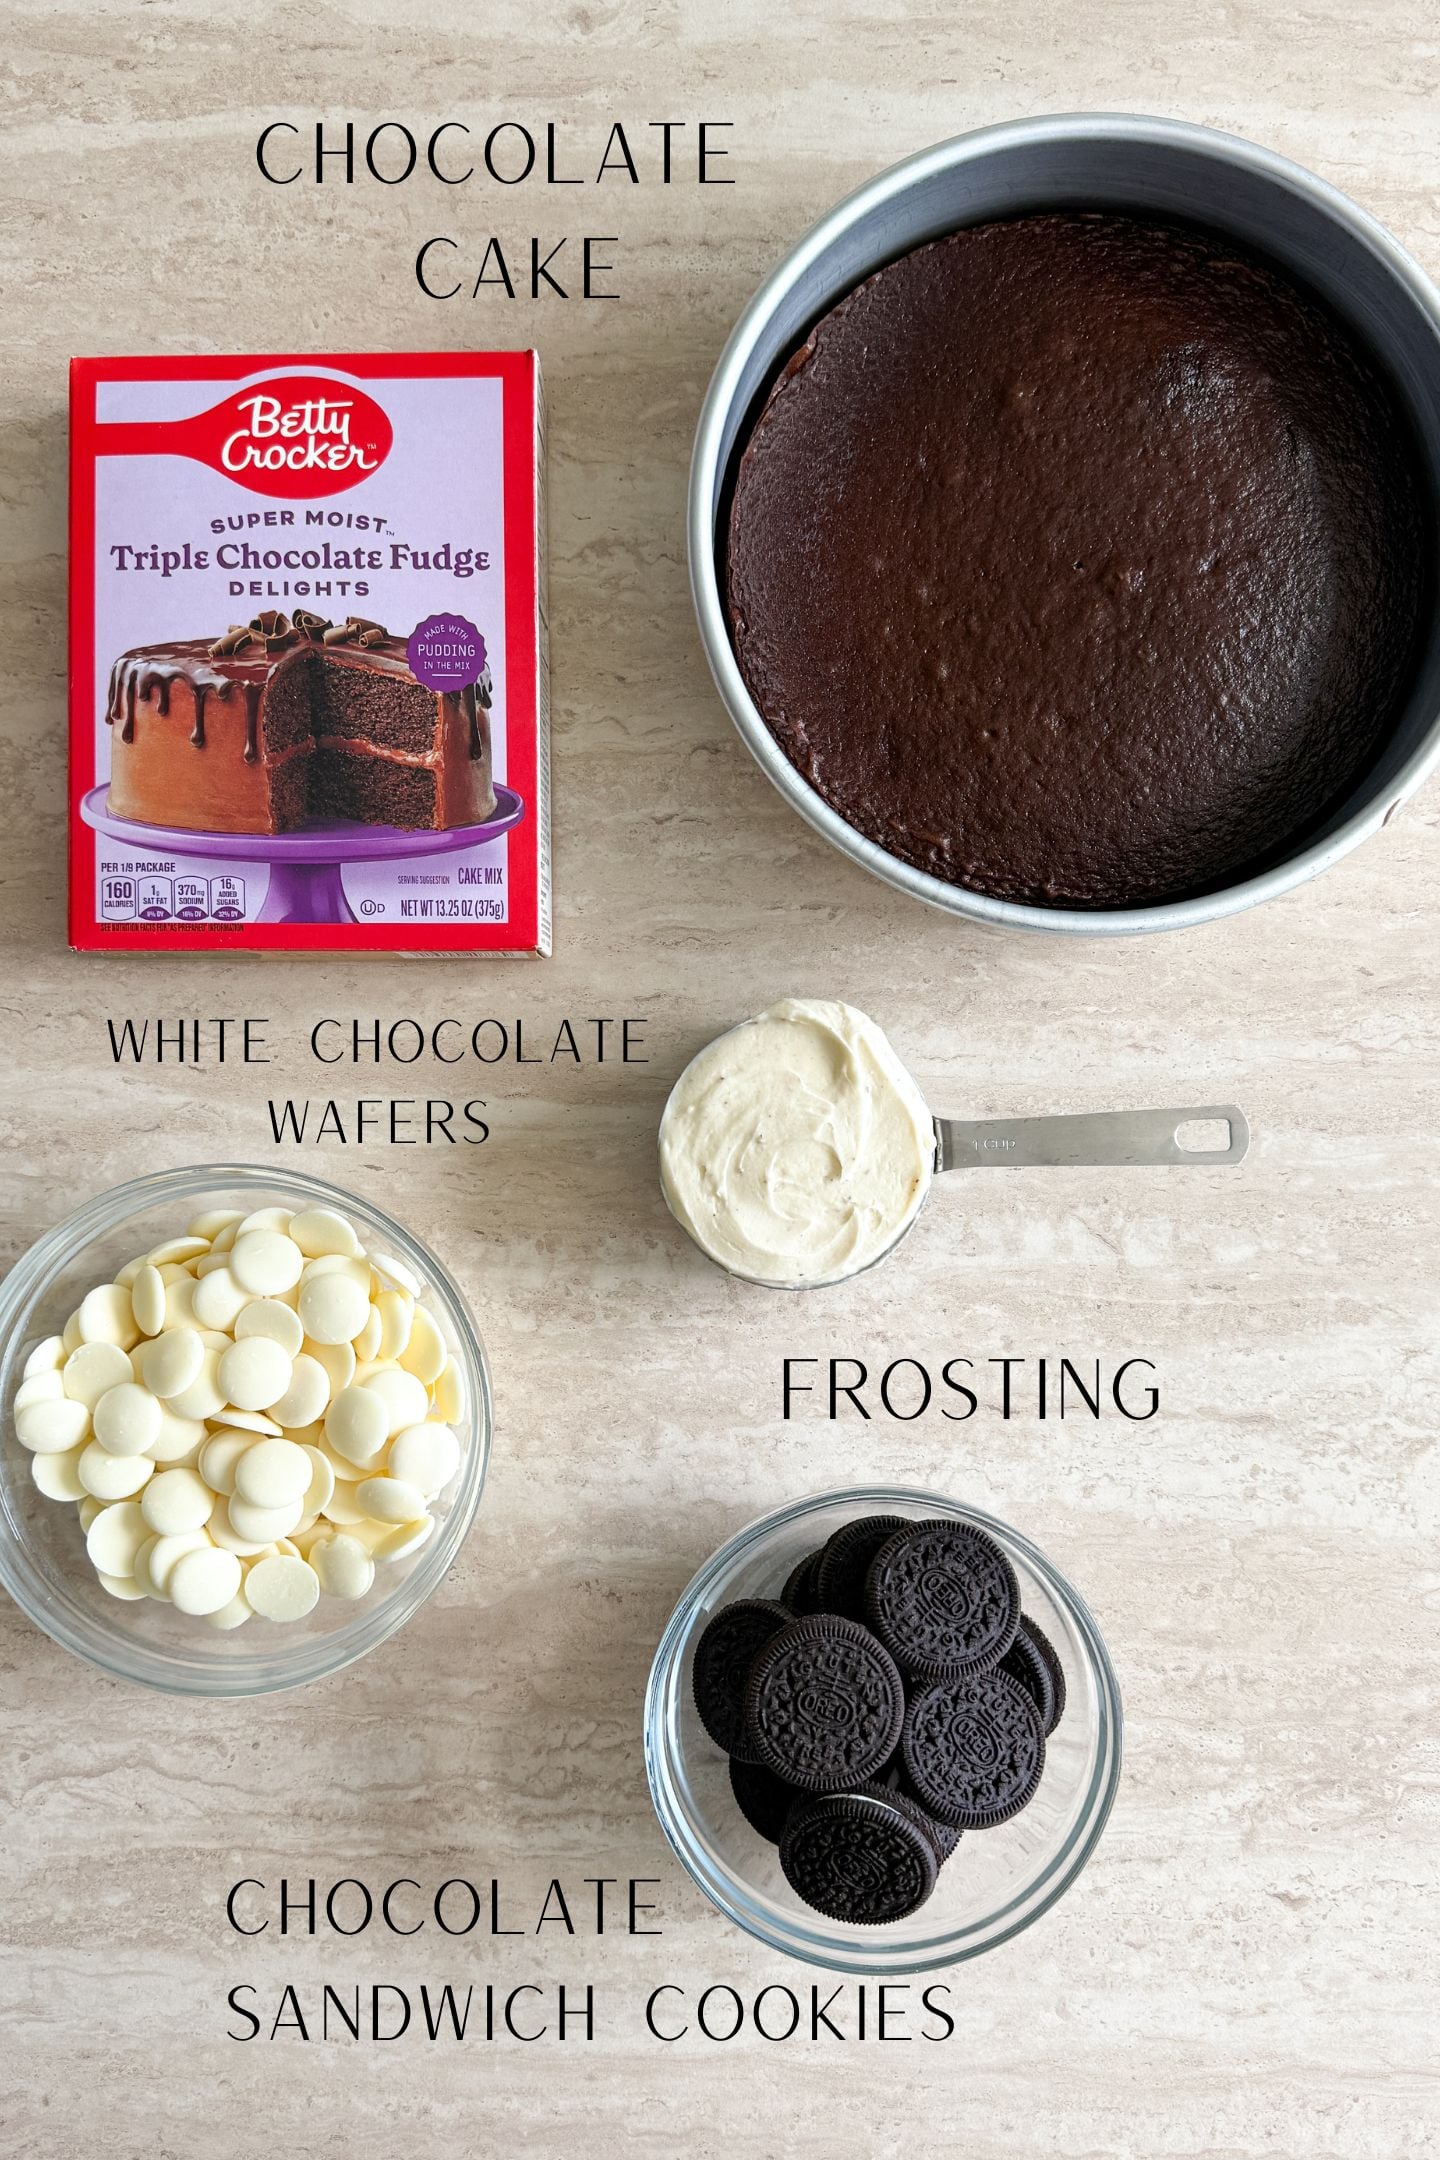
These are the ingredients you will need to make this recipe. However, the measurements can be found in the recipe card below.
- Box Chocolate Cake Mix – Any brand will work. Just try to stick to the similar size for accurate measurements with the other ingredients.
- Frosting – Store-bought or homemade frosting will work for this recipe. However, do not use a thin frosting, as you want it to hold up and be the glue that holds the cake together.
- White Chocolate Wafers – My favorite brand to use is the Ghirardelli chocolate melting wafers. They melt smoothly, coat the cake pops evenly and taste amazing.
- Chocolate Creme Sandwich Cookies – Your classic Oreo cookie will work, however, you can use any store brand that you desire.
Tips for Making Oreo Cake Pops
When it comes to adding the frosting, always start with less. You can always add more but can’t take it out once it’s mixed in. By adding frosting to the cake crumbs a little at a time, you will achieve the perfect texture.
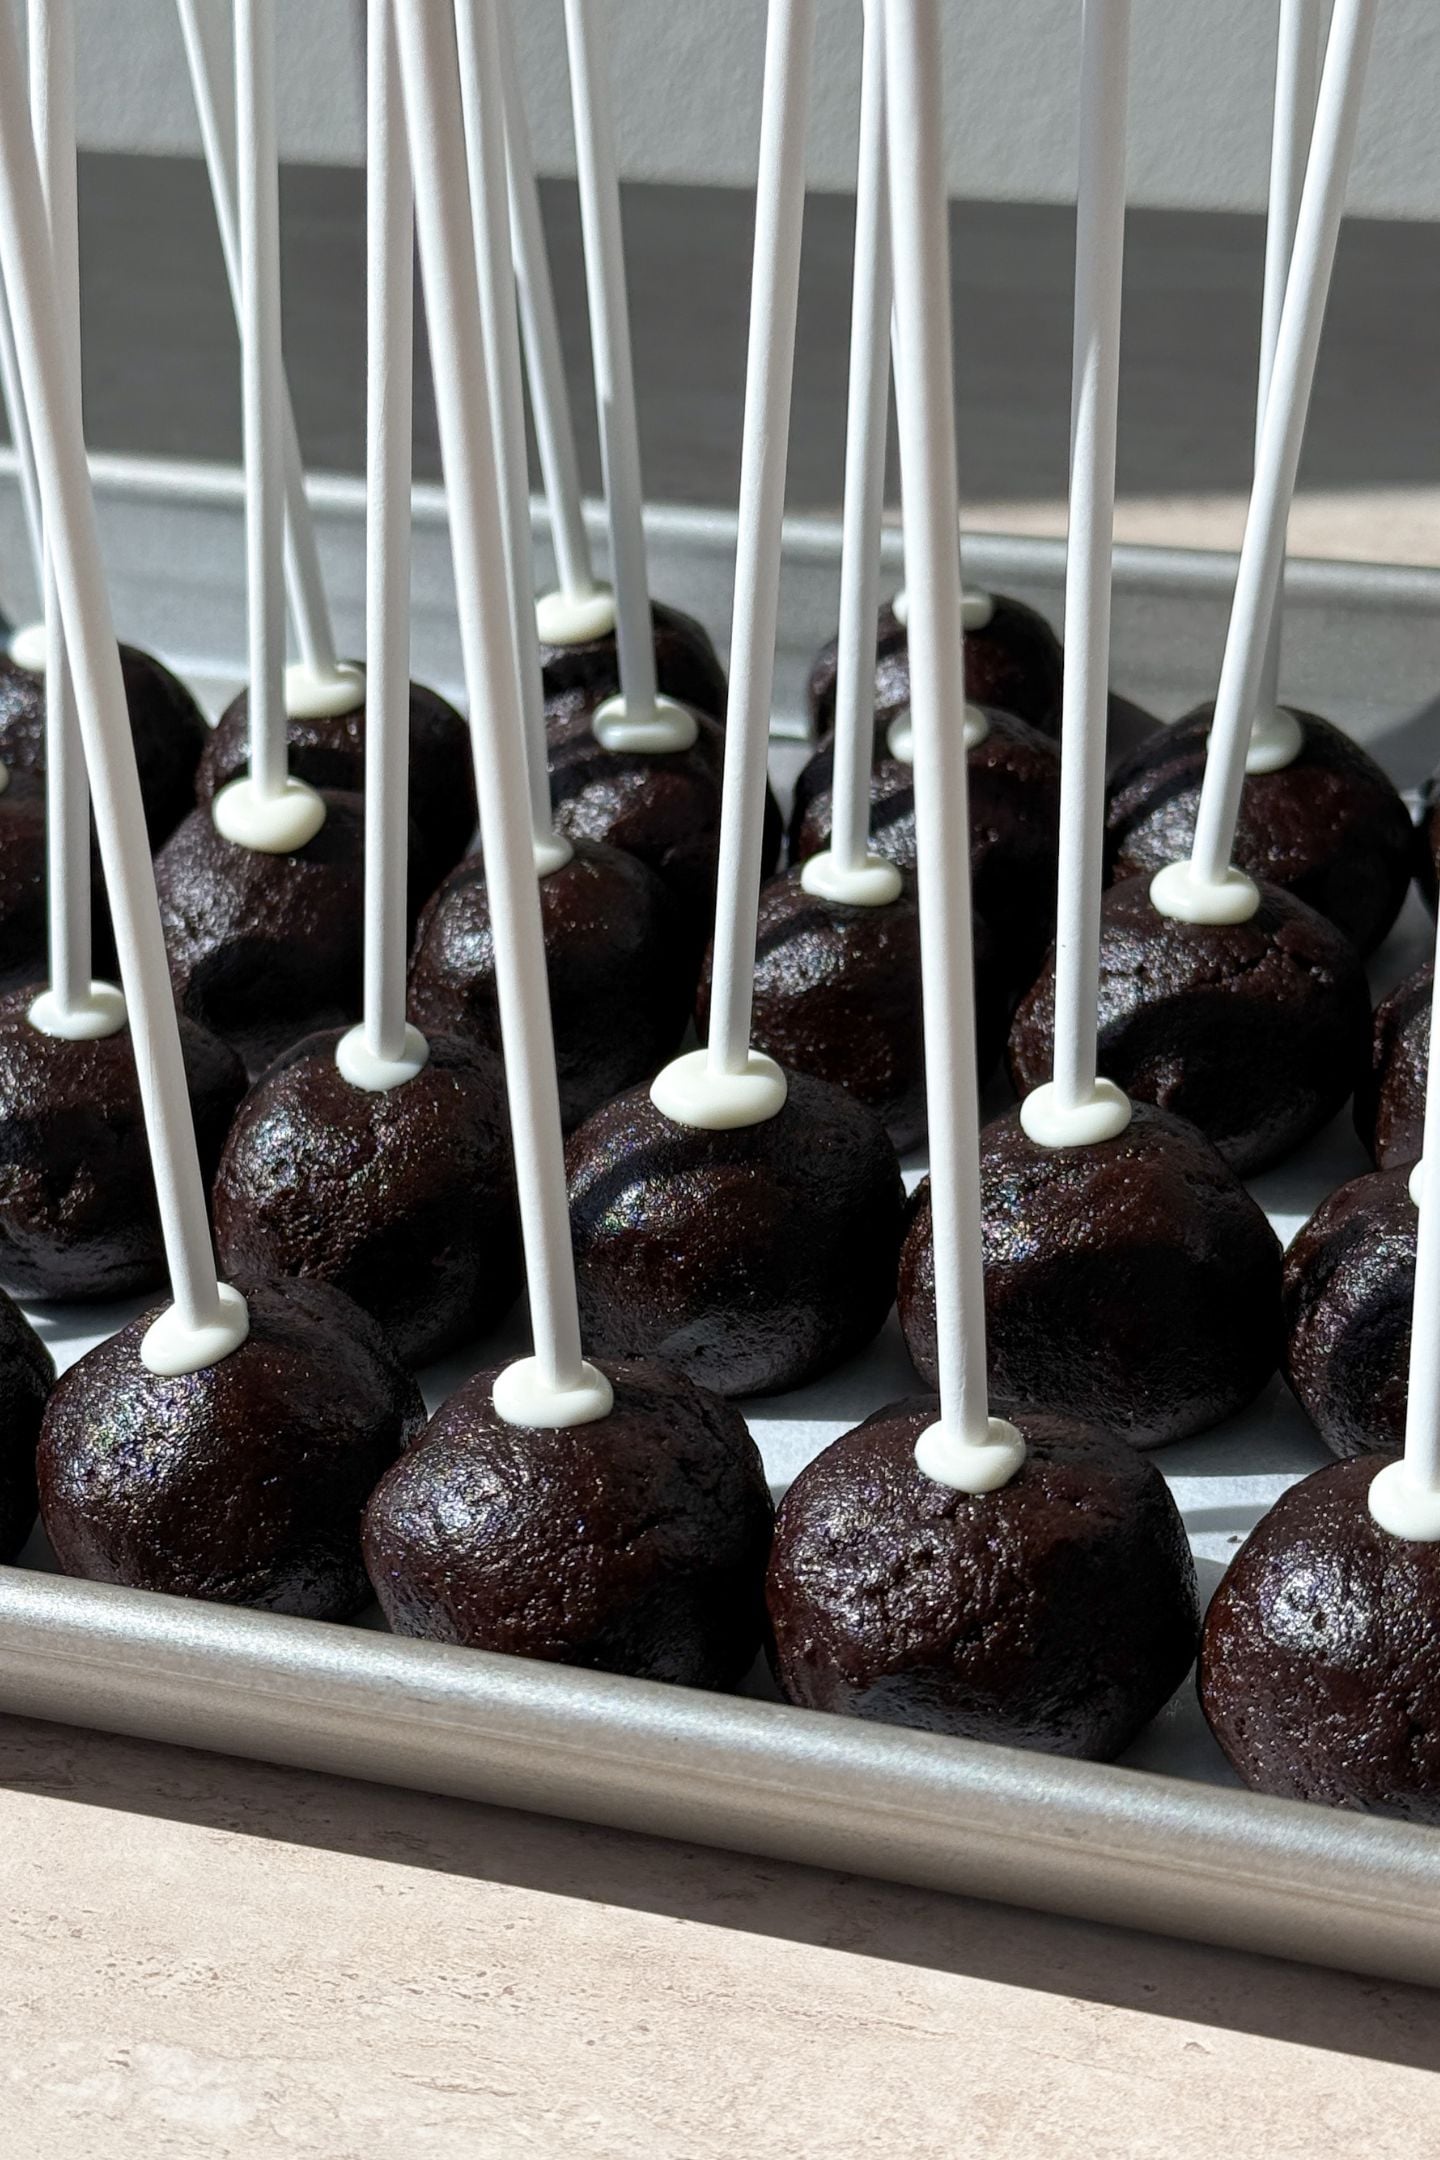
Another very important tip when making cake pops, is to chill the cake pop after the stick is dipped in chocolate and inserted into the cake pop. This ensures that the cake pop ball will not fall off when covering it entirely in the melted chocolate.
Decorating and Styling Variations
These Oreo Cake Pops can be decorated for a type of occasion or celebration. So far, I have made the traditional and a Halloween version with this specific cake pop recipe. However, these would also be great to make for a birthday party, fall gathering, Christmas, New Year’s celebration and more!
How to Decorate for the Halloween Version
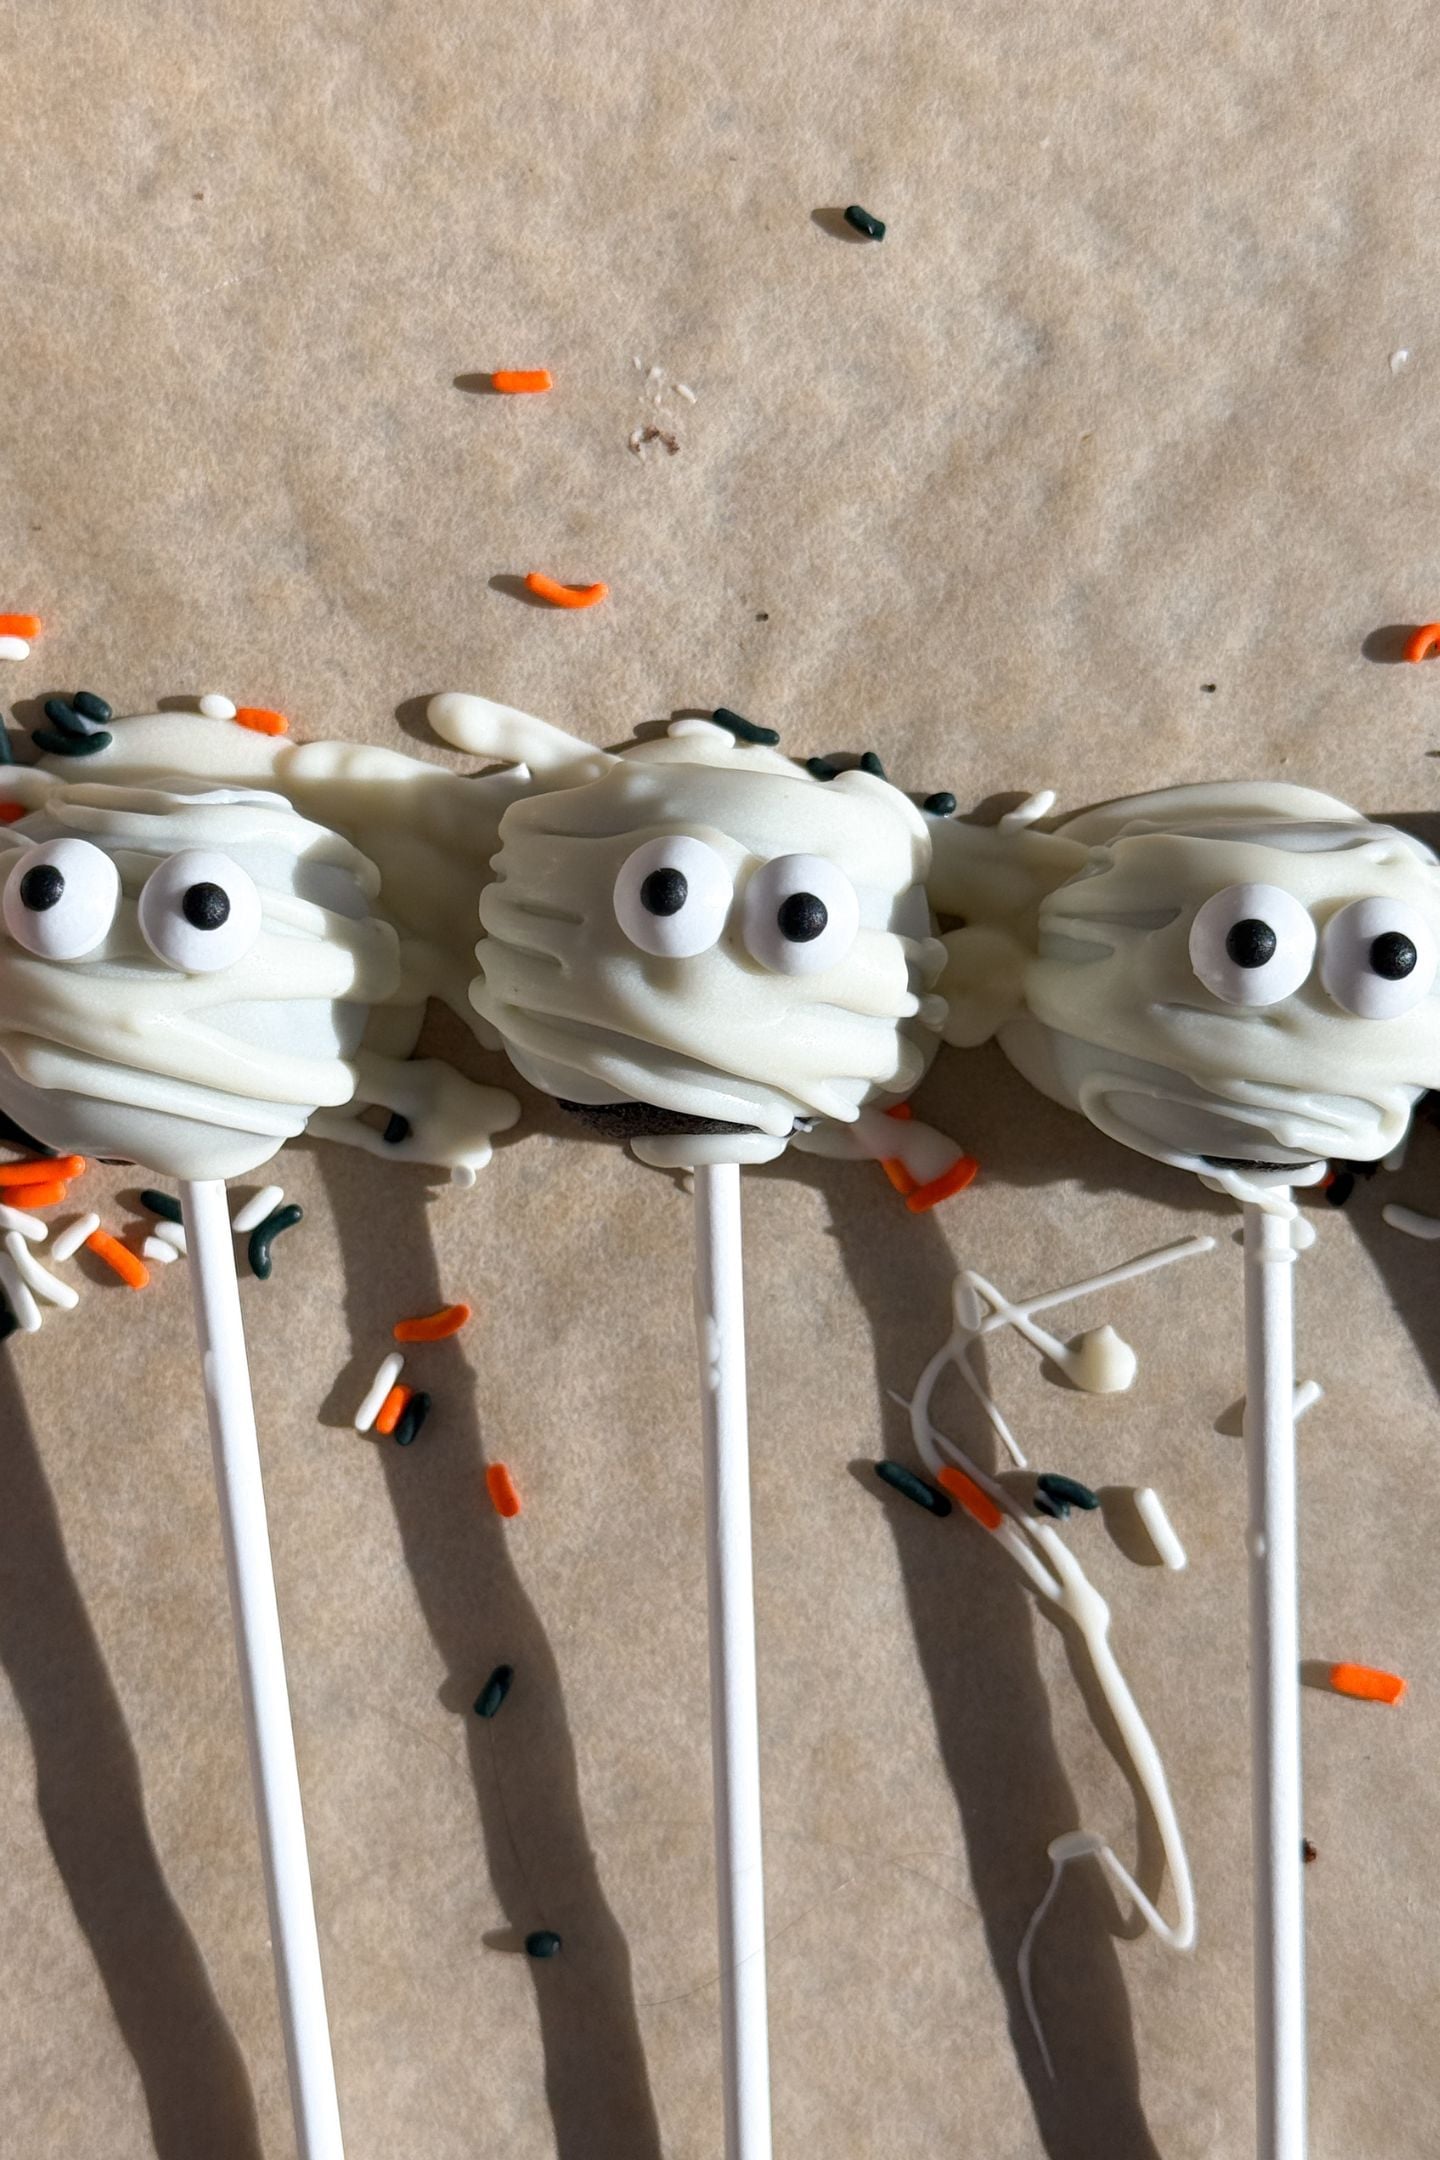
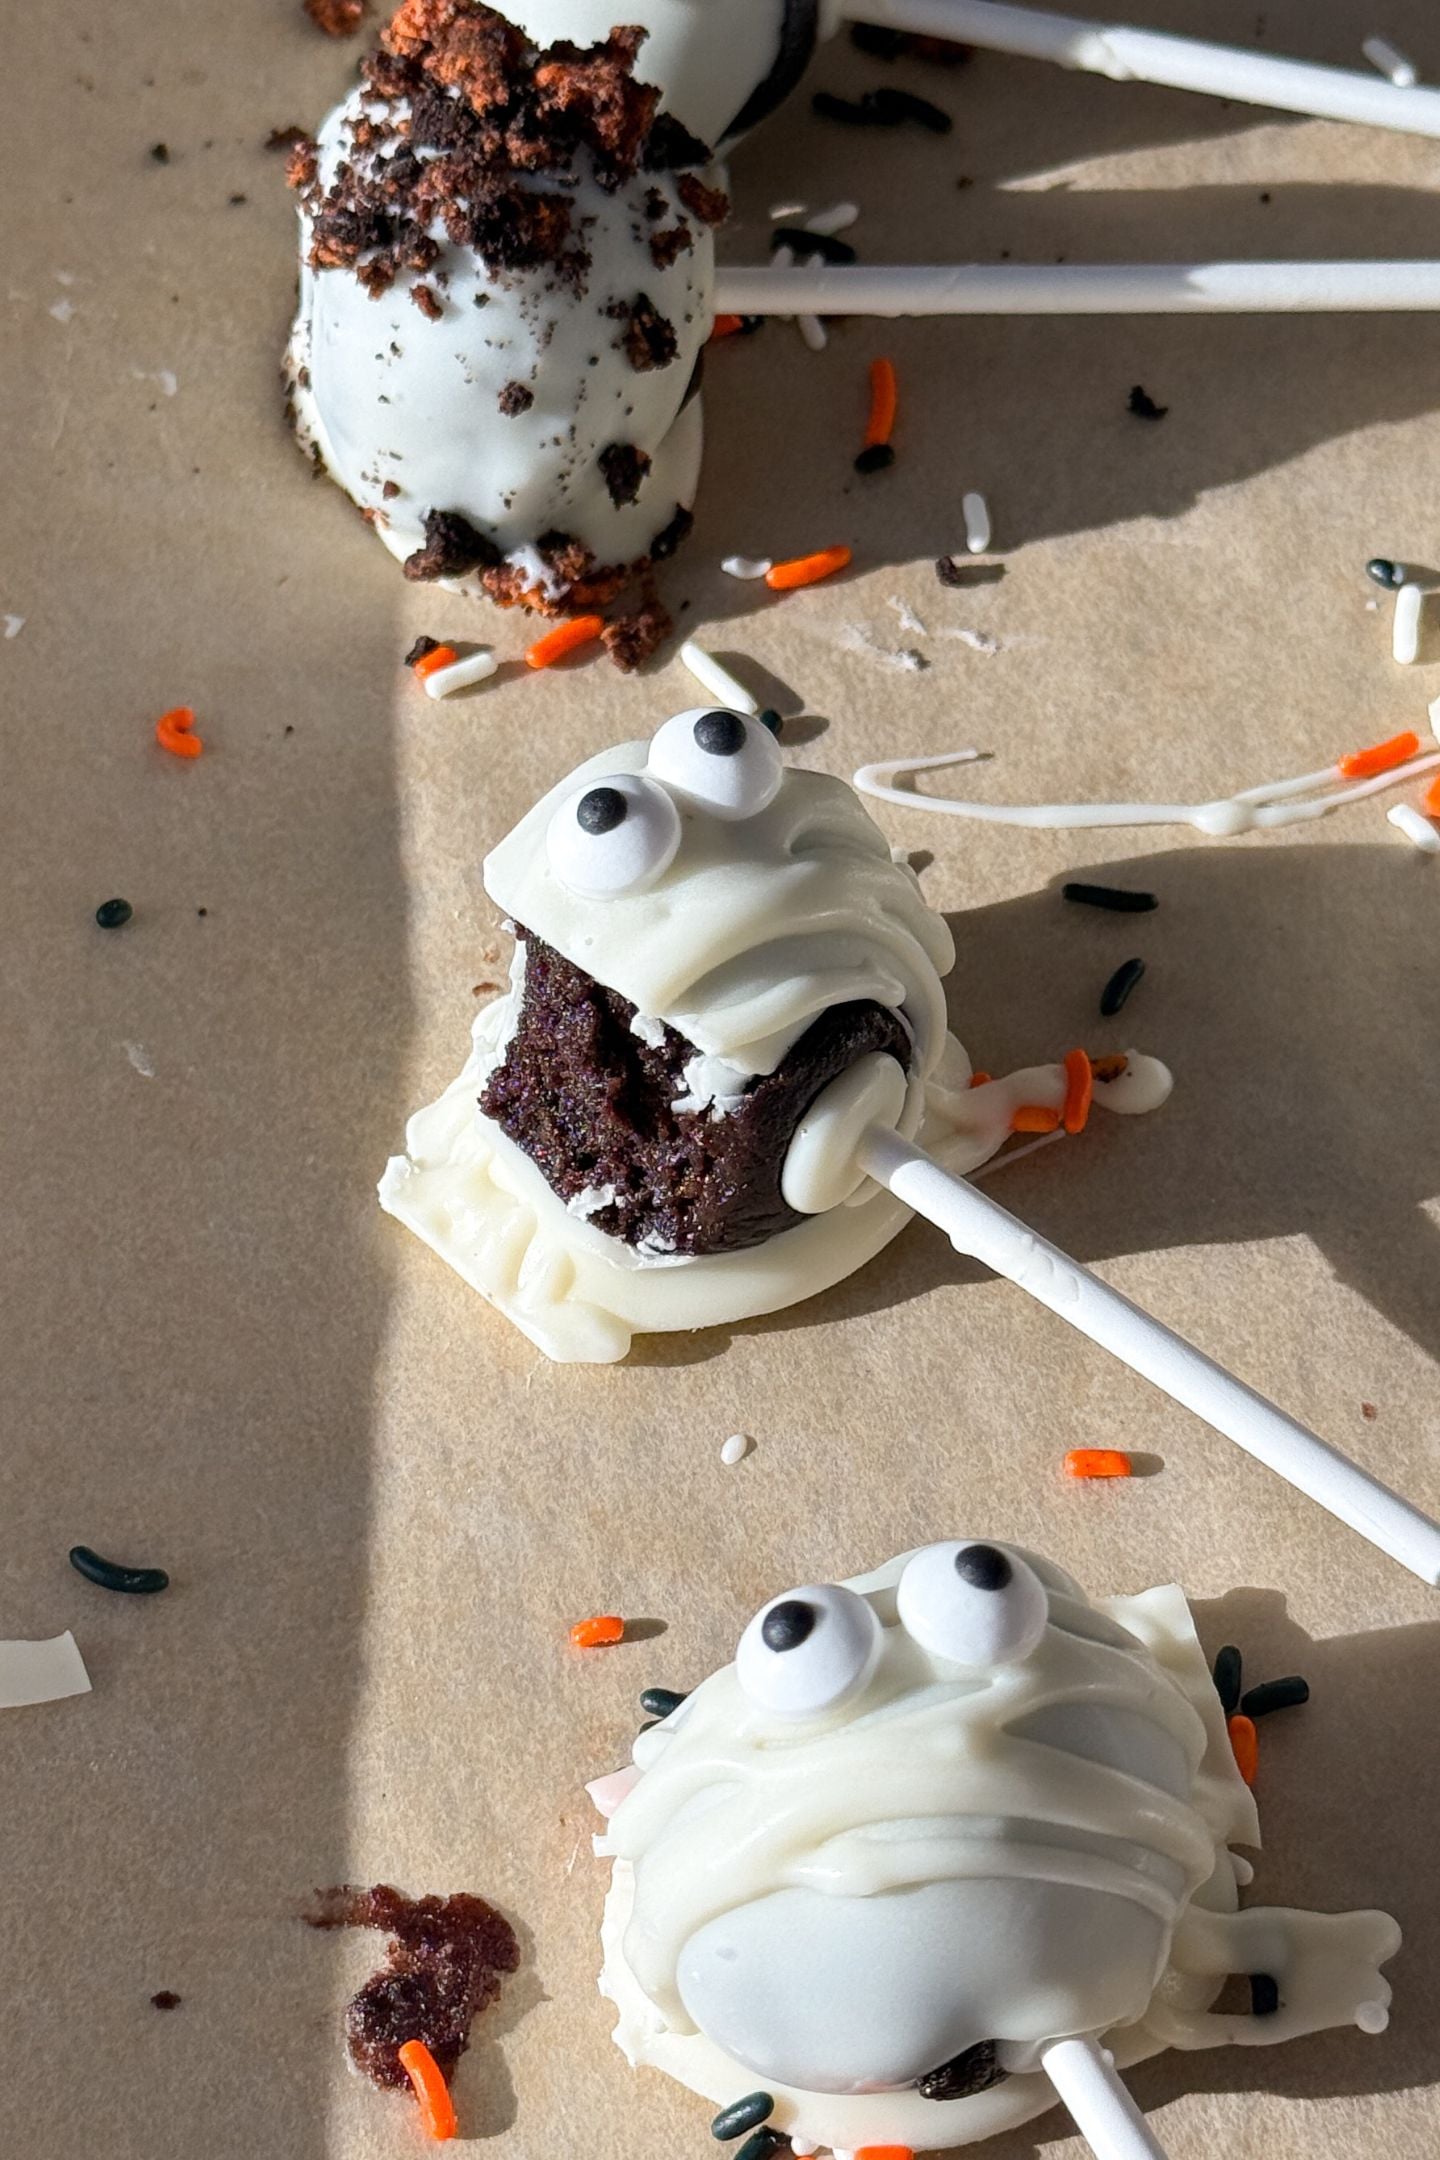
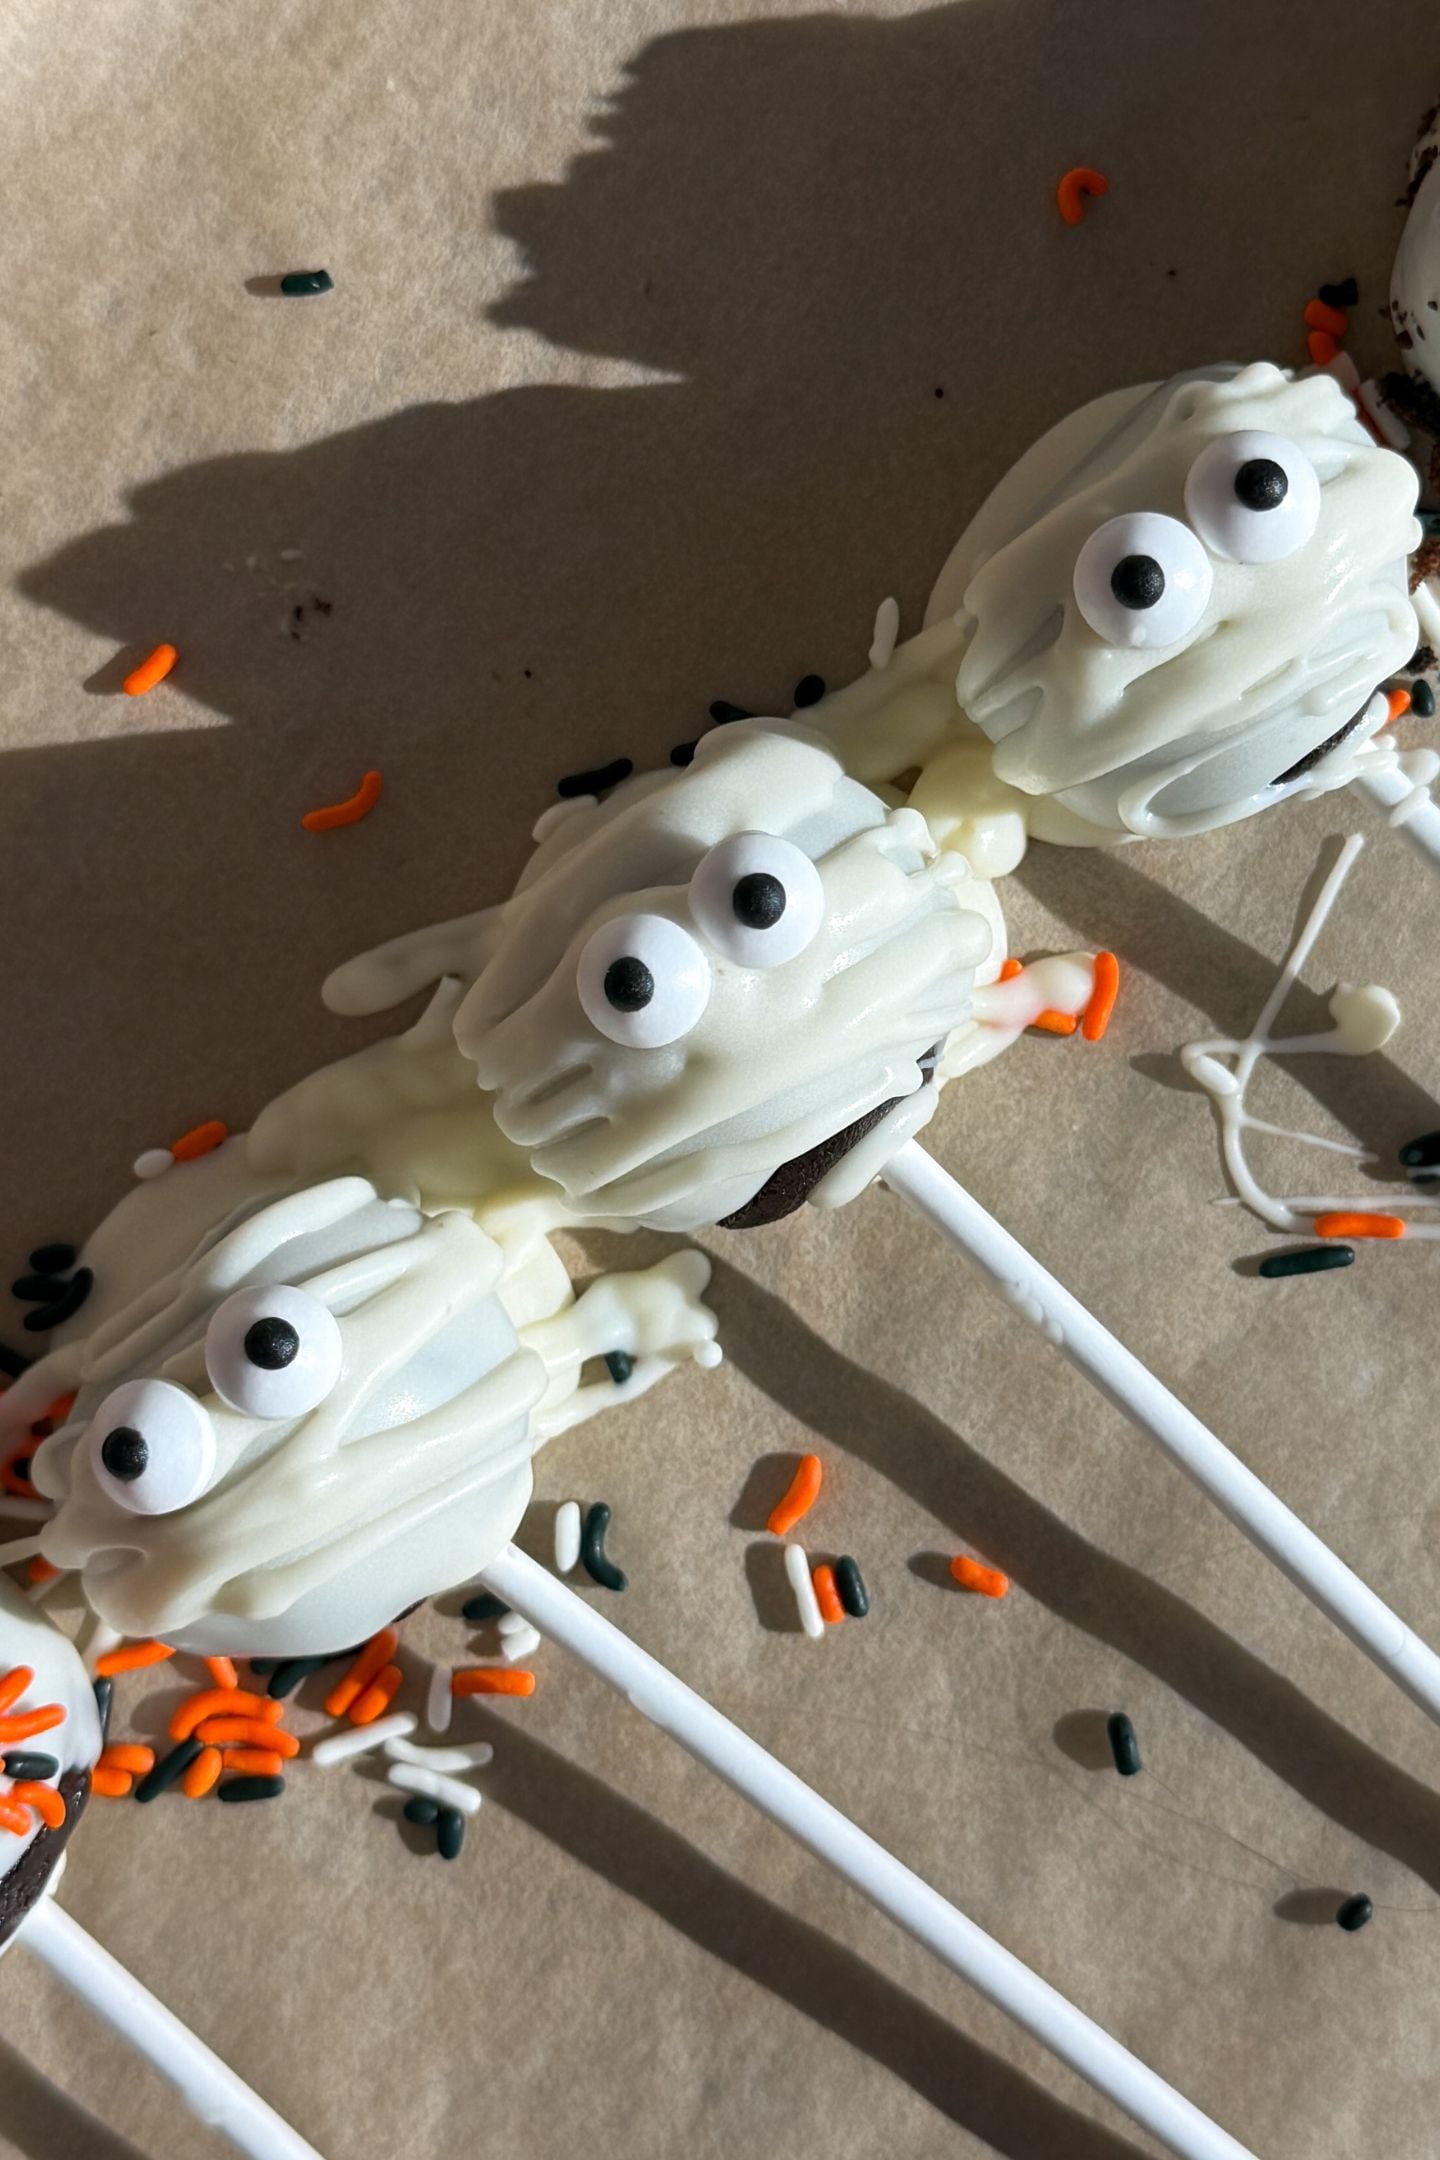
- To Make the Mummies: Coat the Oreo Cake Pops in white chocolate per the instructions. Then, once the chocolate has set, drizzle on more melted white chocolate for a mummy effect. Before that chocolate dries, add two candy eyes.
- Use cookie crumbs from the Halloween version of Oreos to add some orange and black colors as decoration. Make sure to do this before the chocolate dries.
- Before the white chocolate coating sets, add on Halloween sprinkles for a fun decoration.
How to Make Oreo Cake Pops
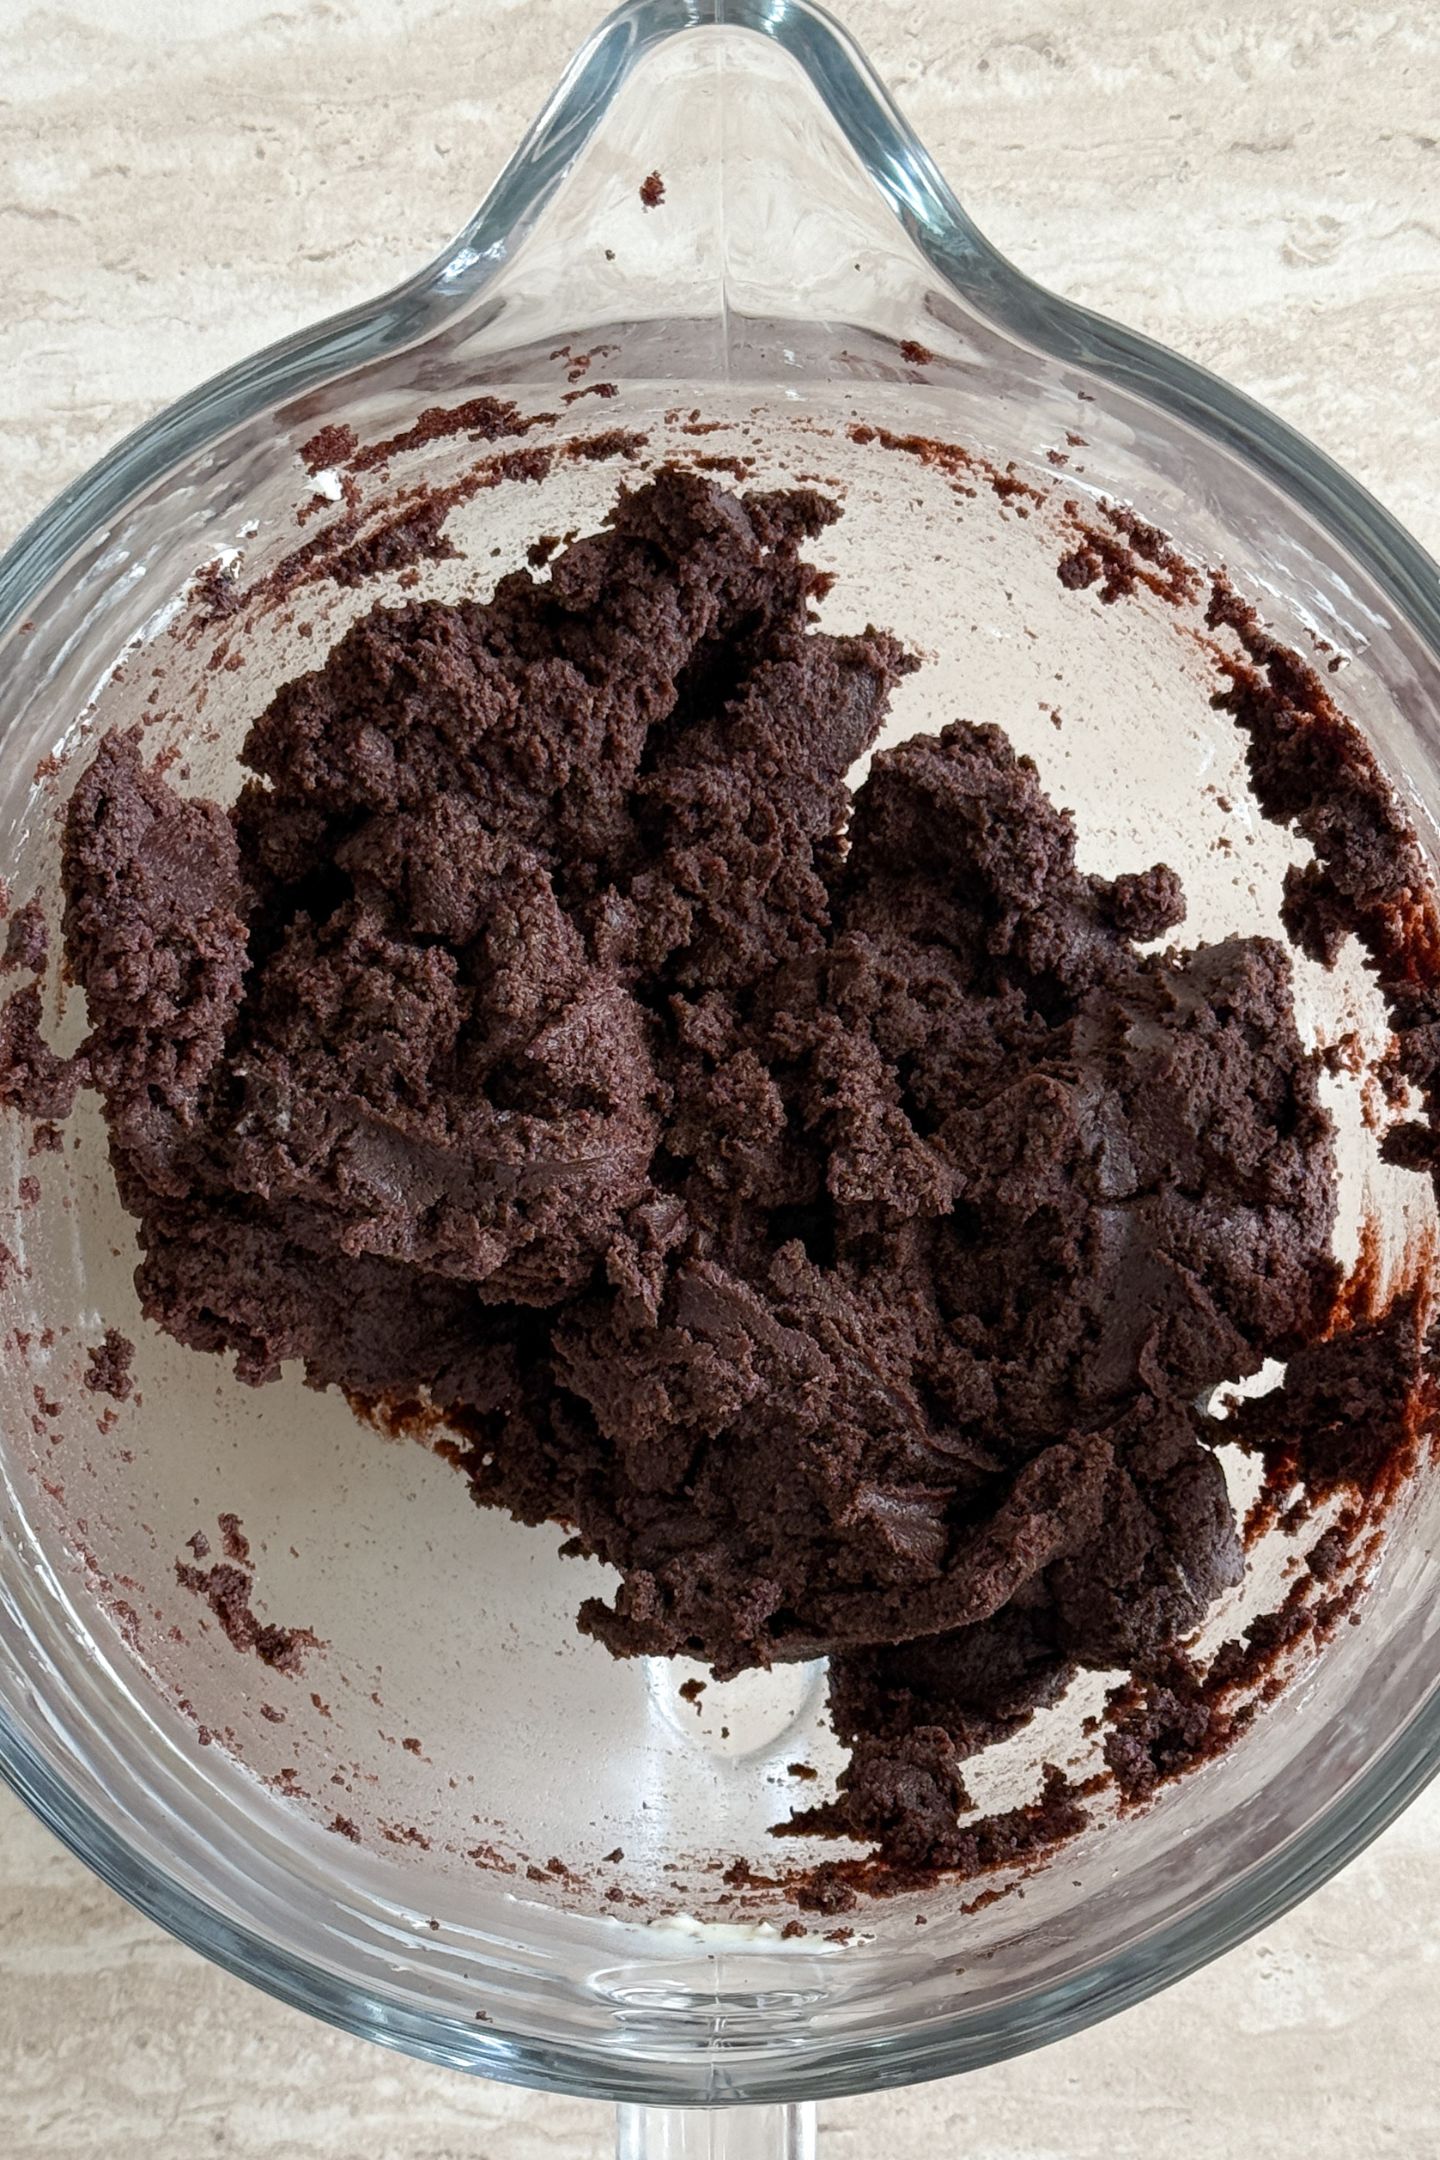
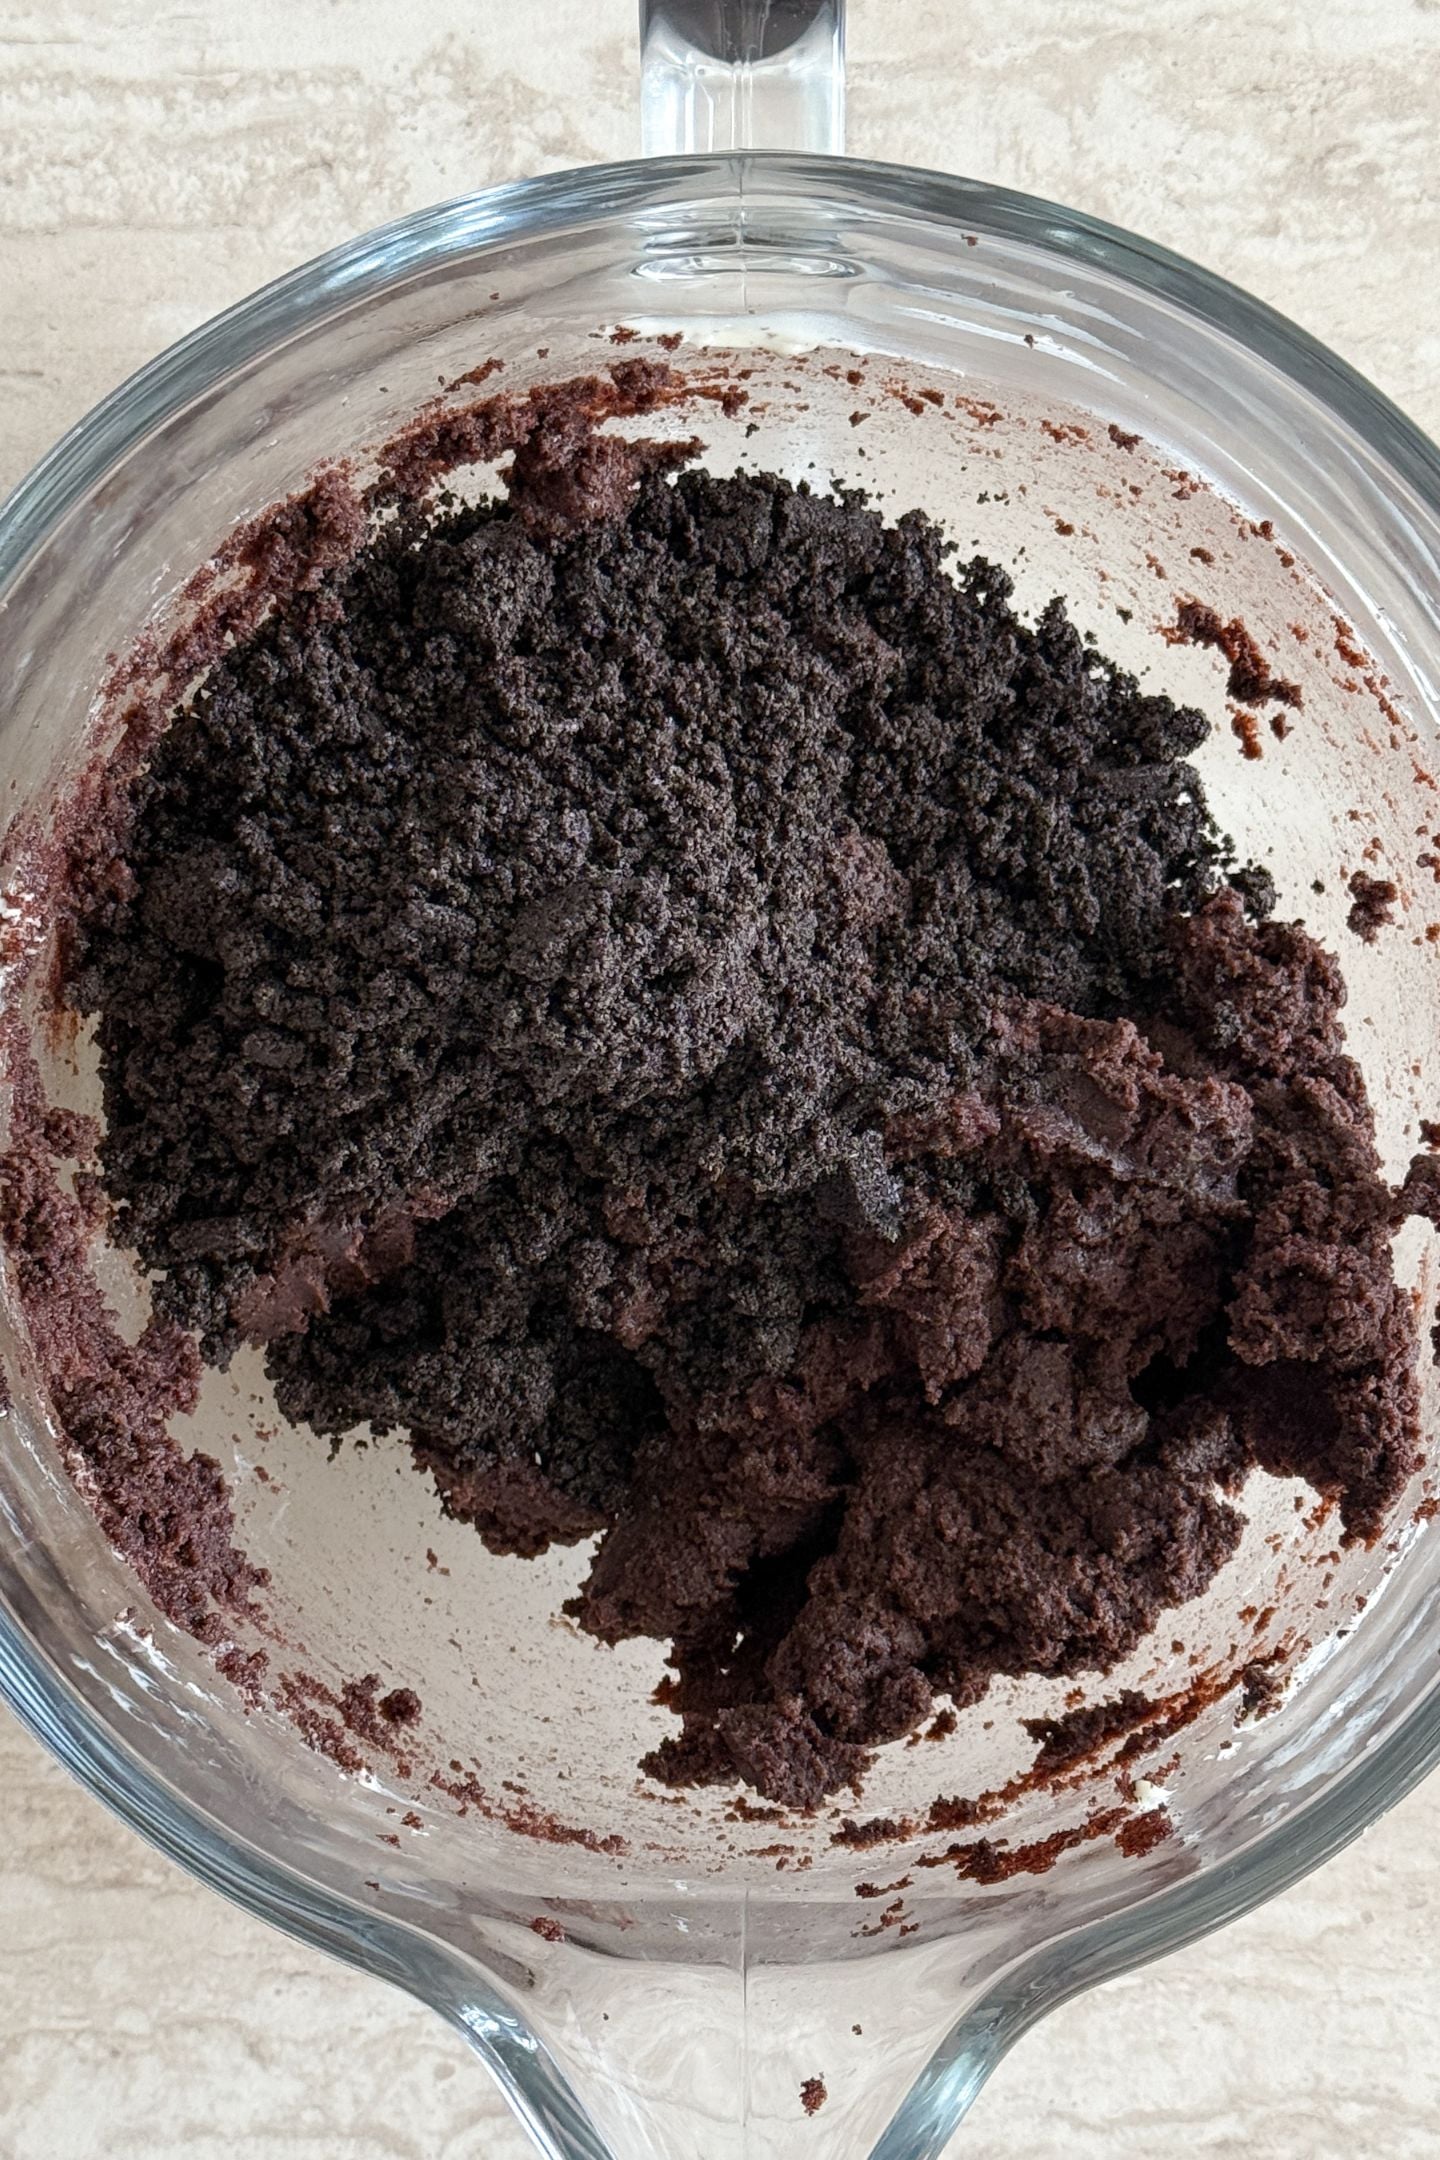
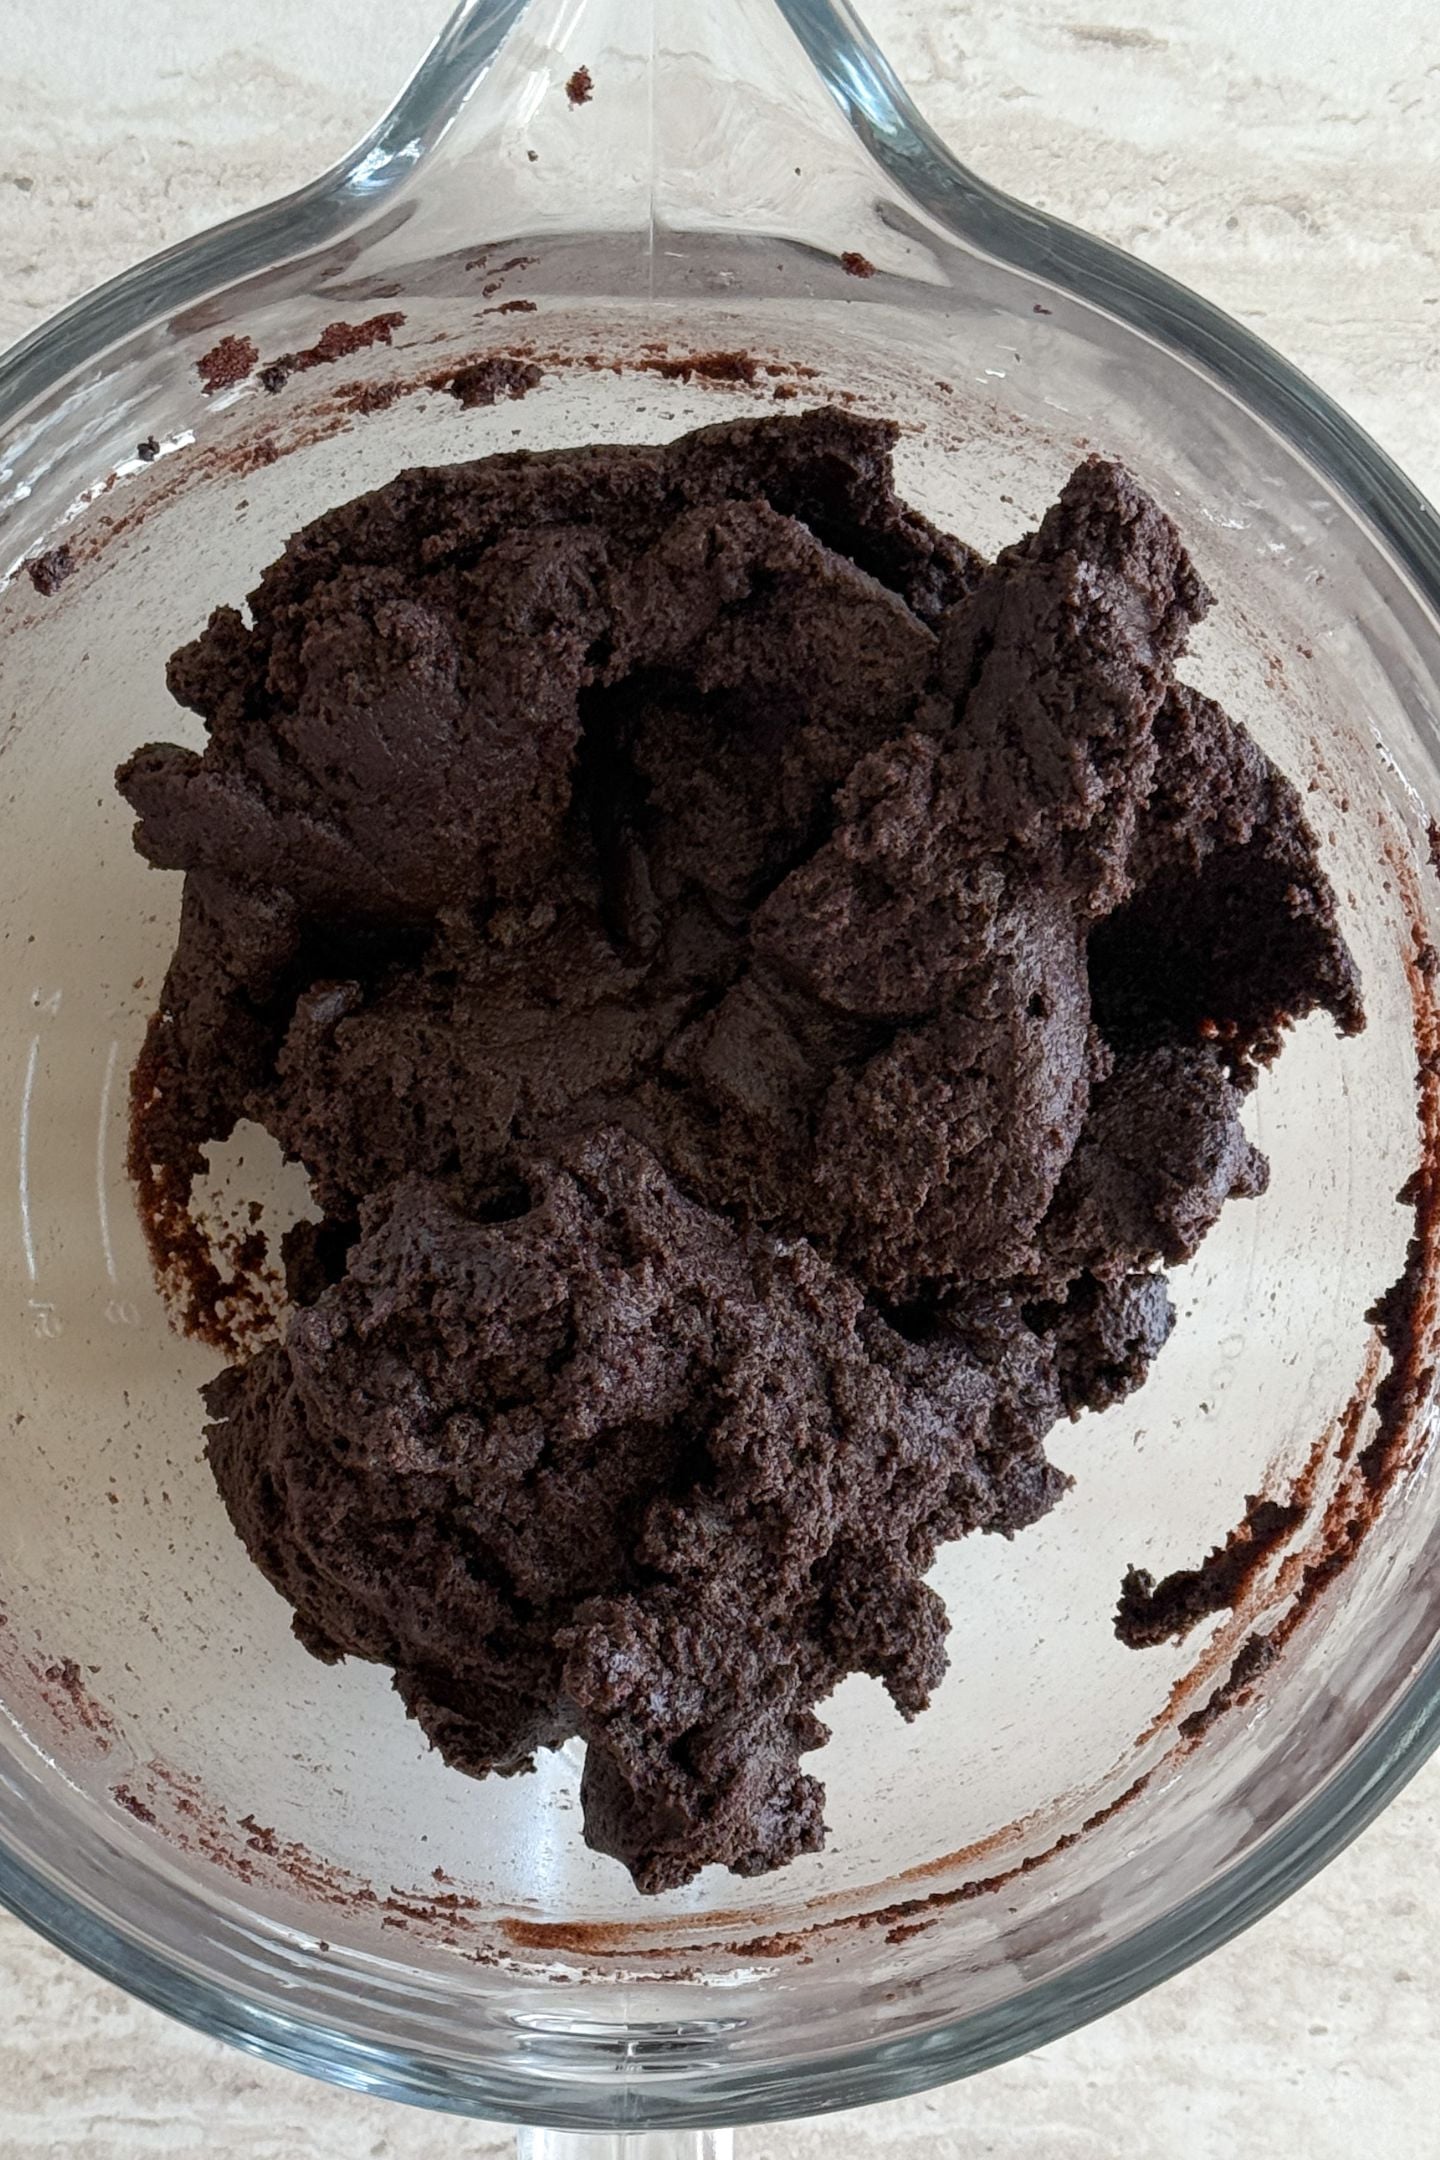
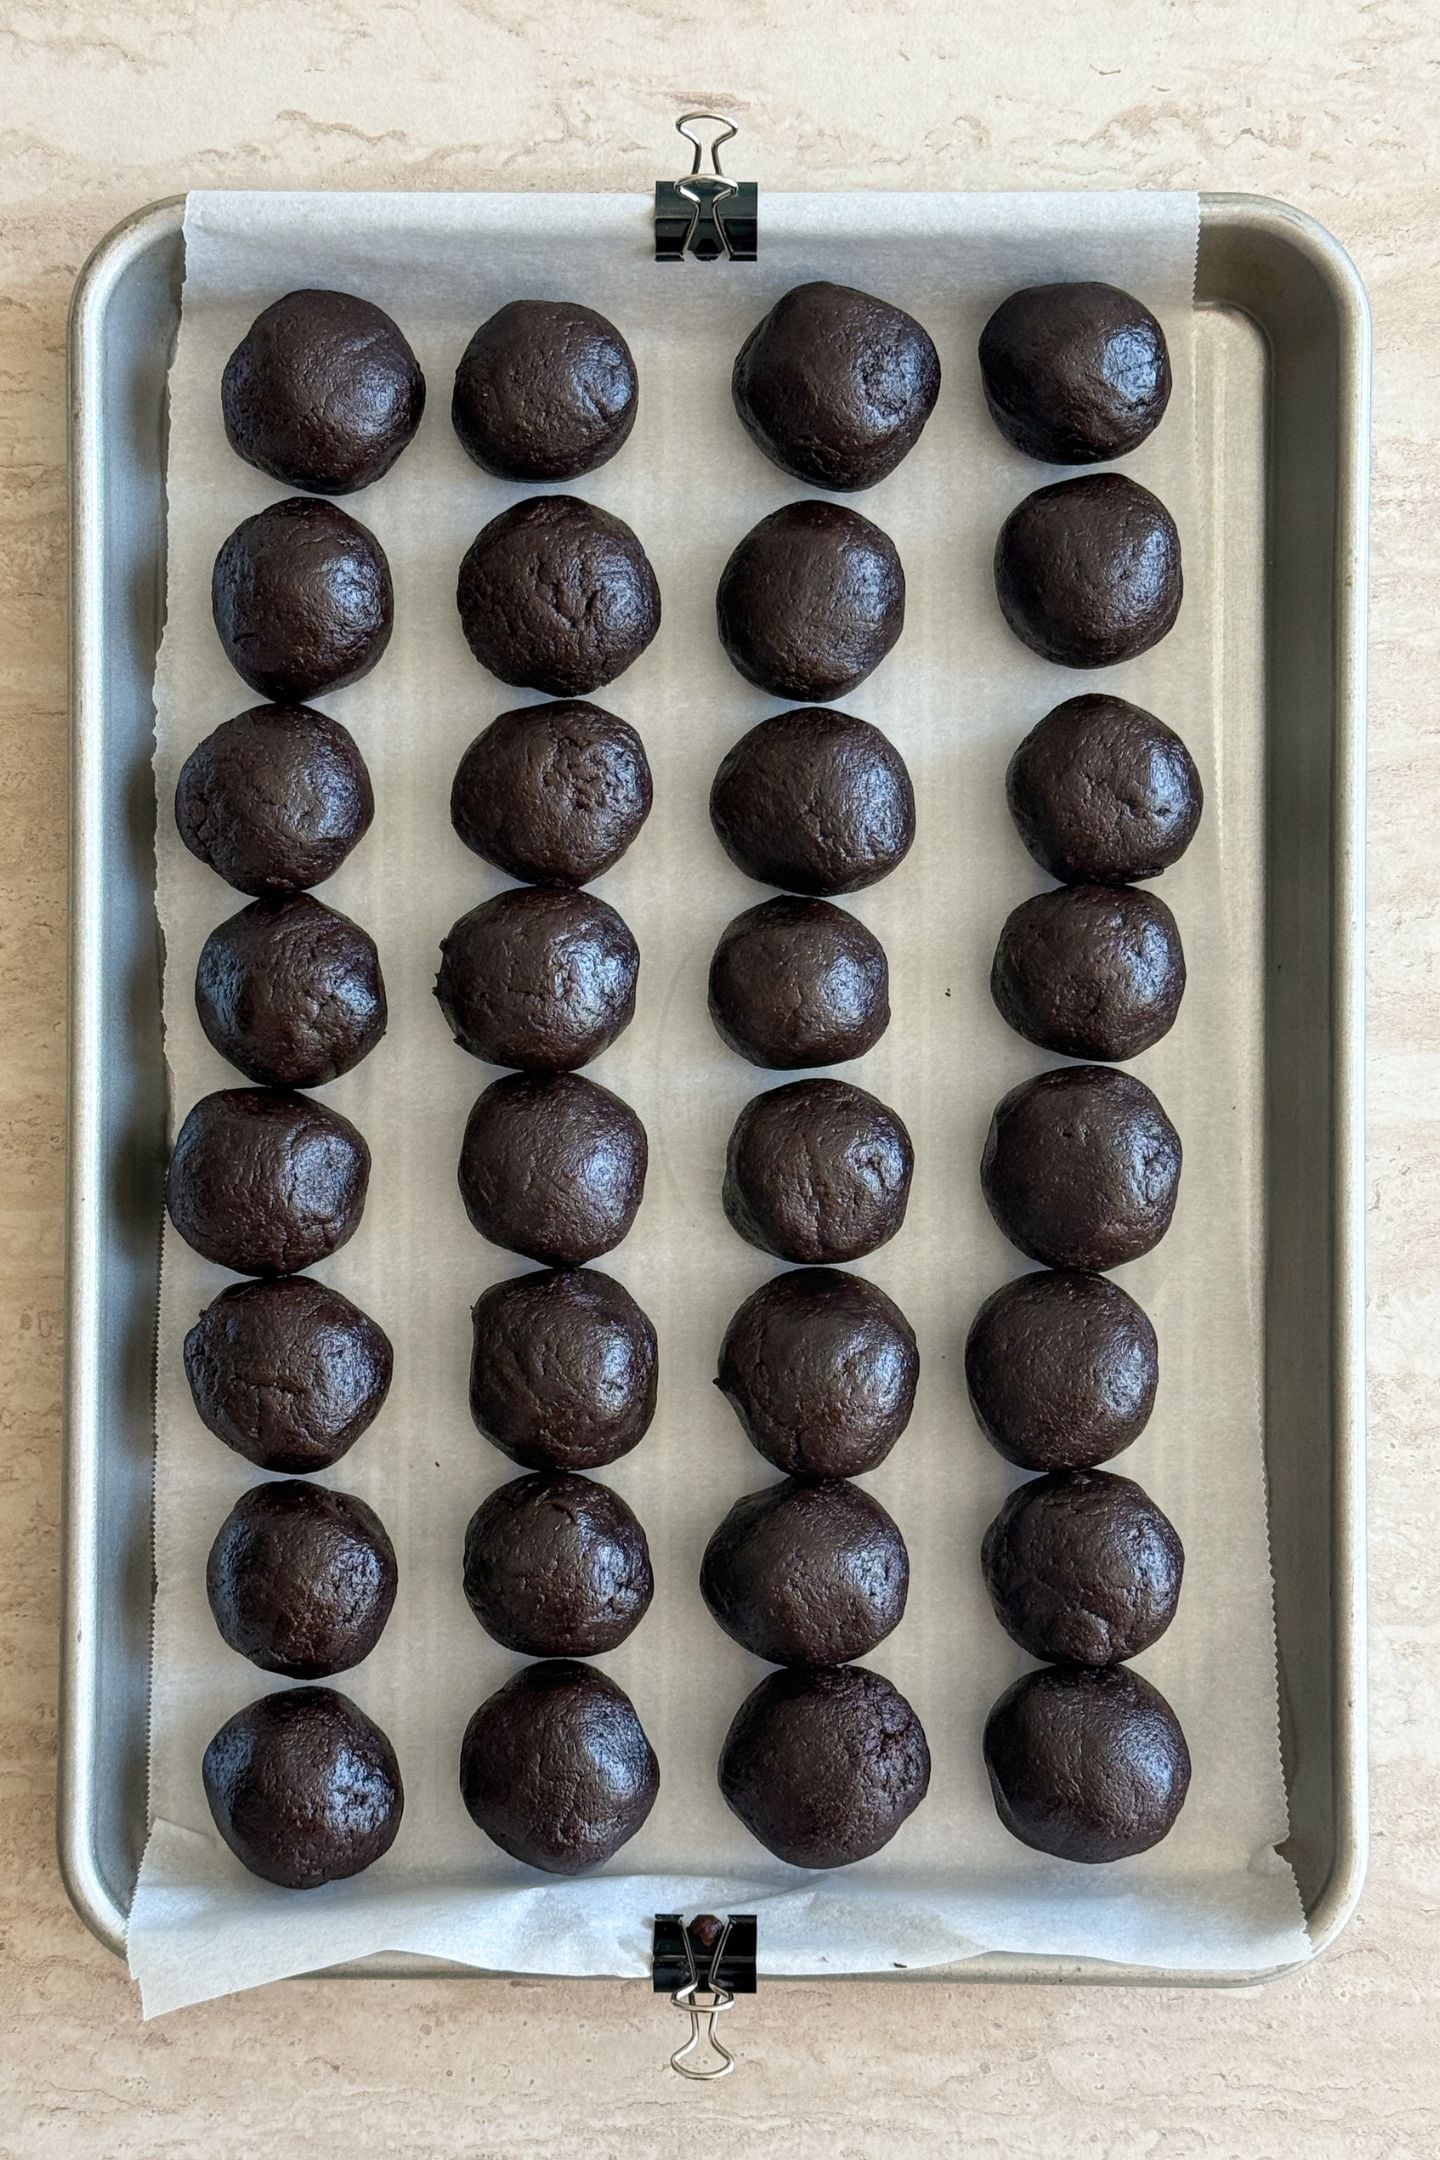
The full-detailed instructions are written out in the recipe card below. Use these images to help guide you as needed when following the directions.
- Bake the chocolate cake according to the box package instructions.
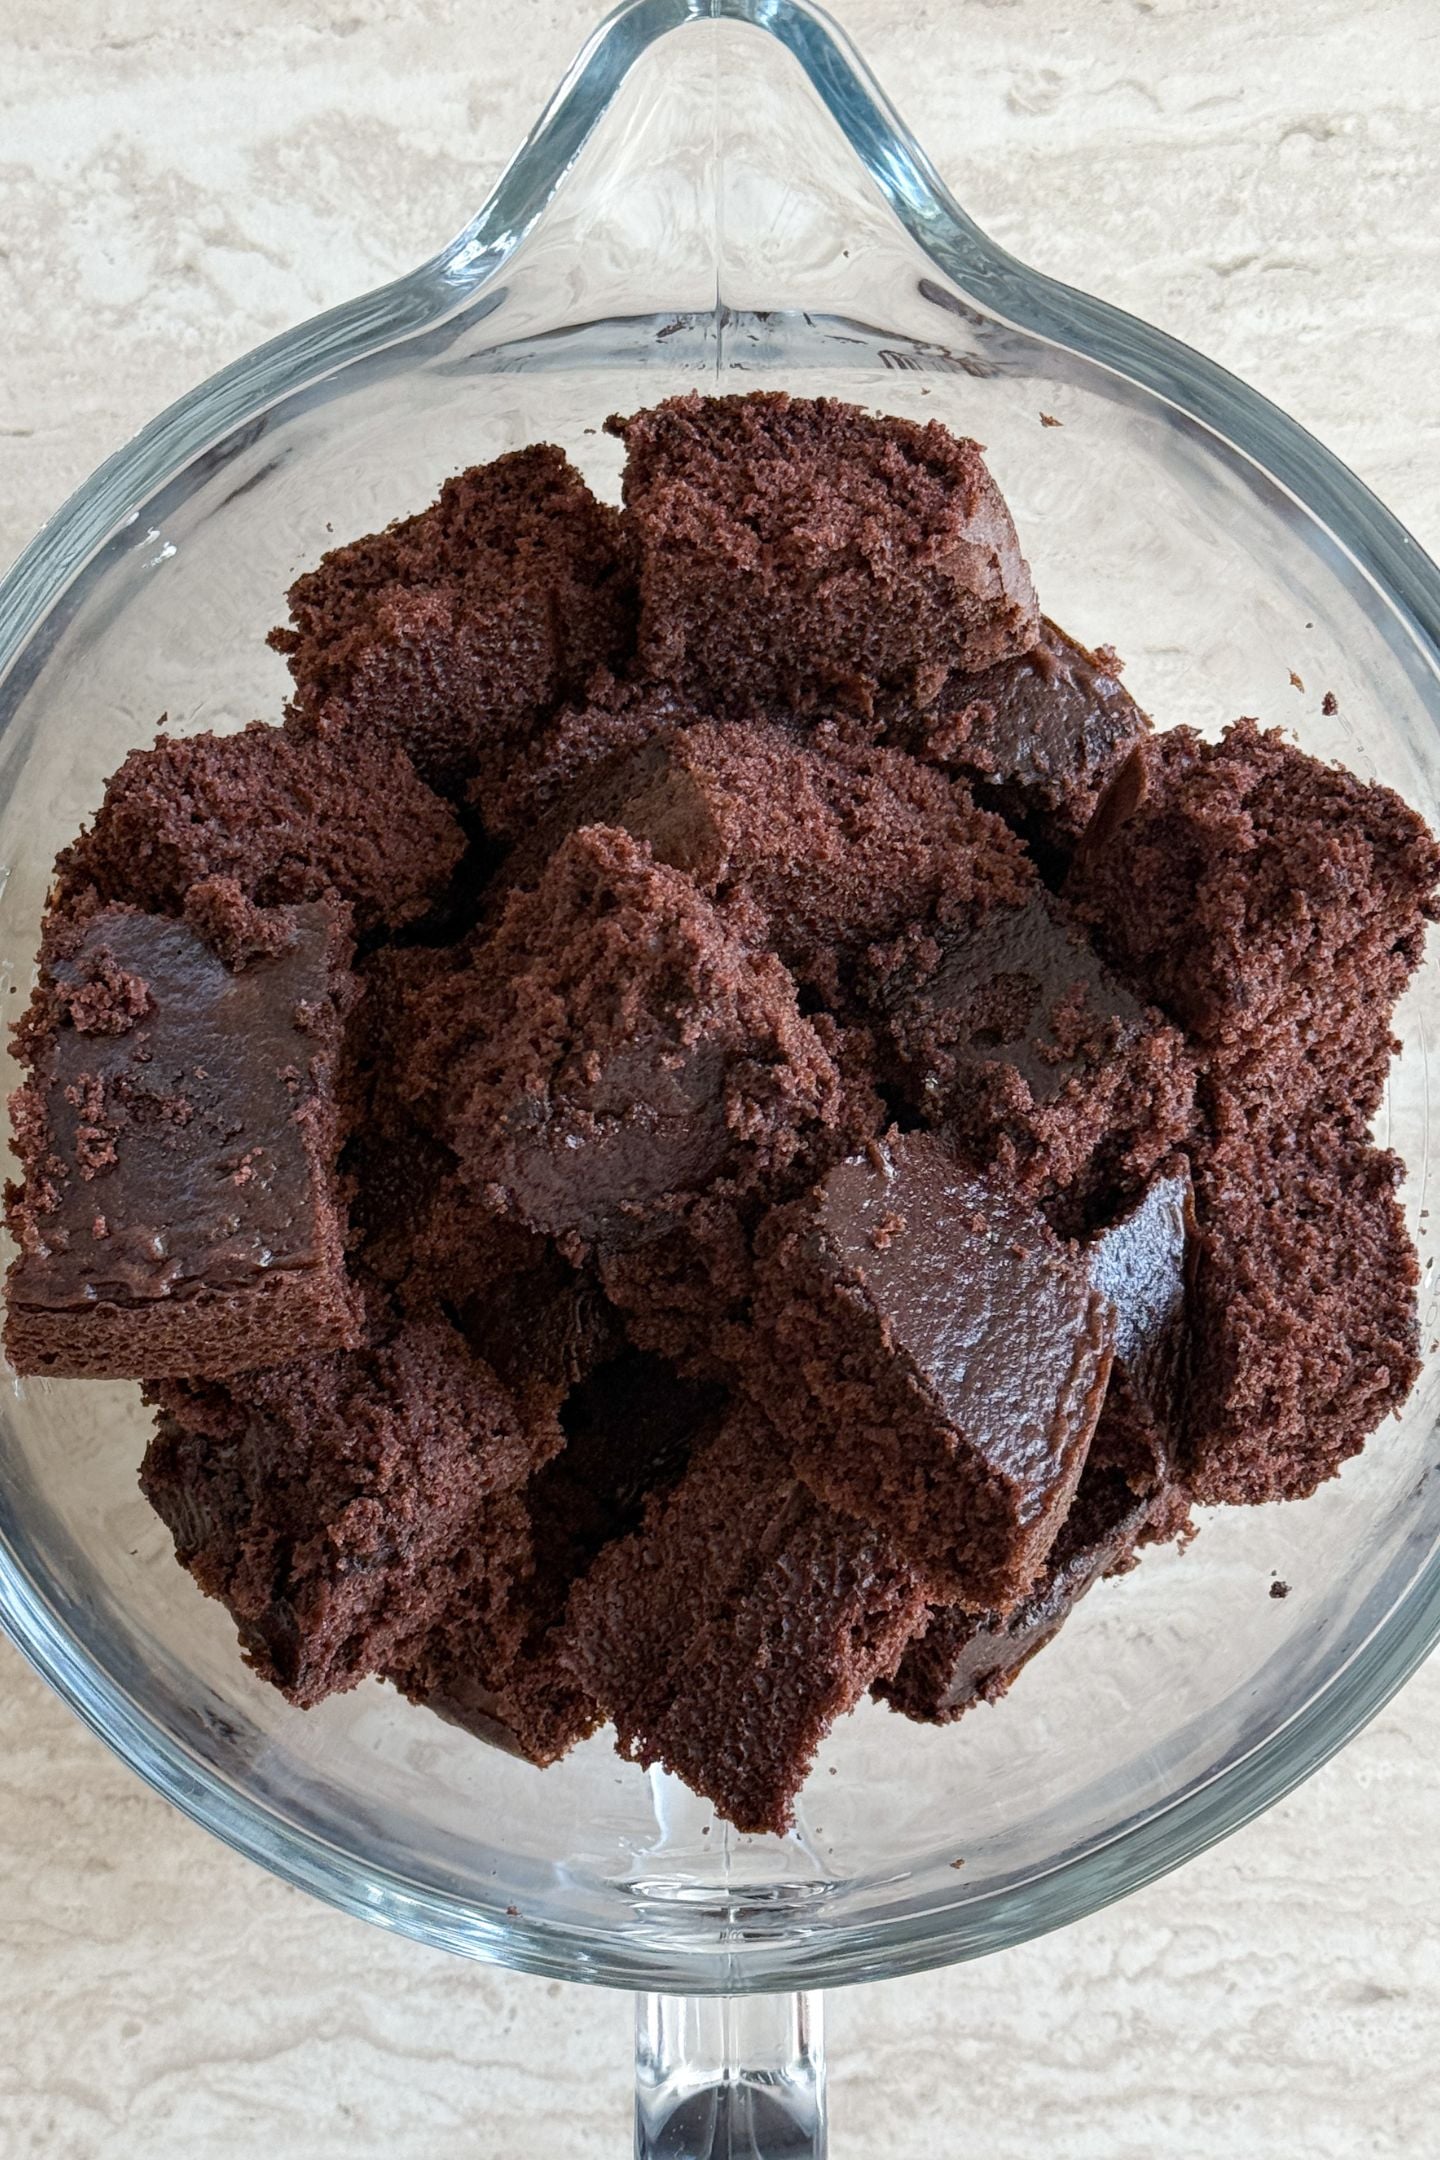
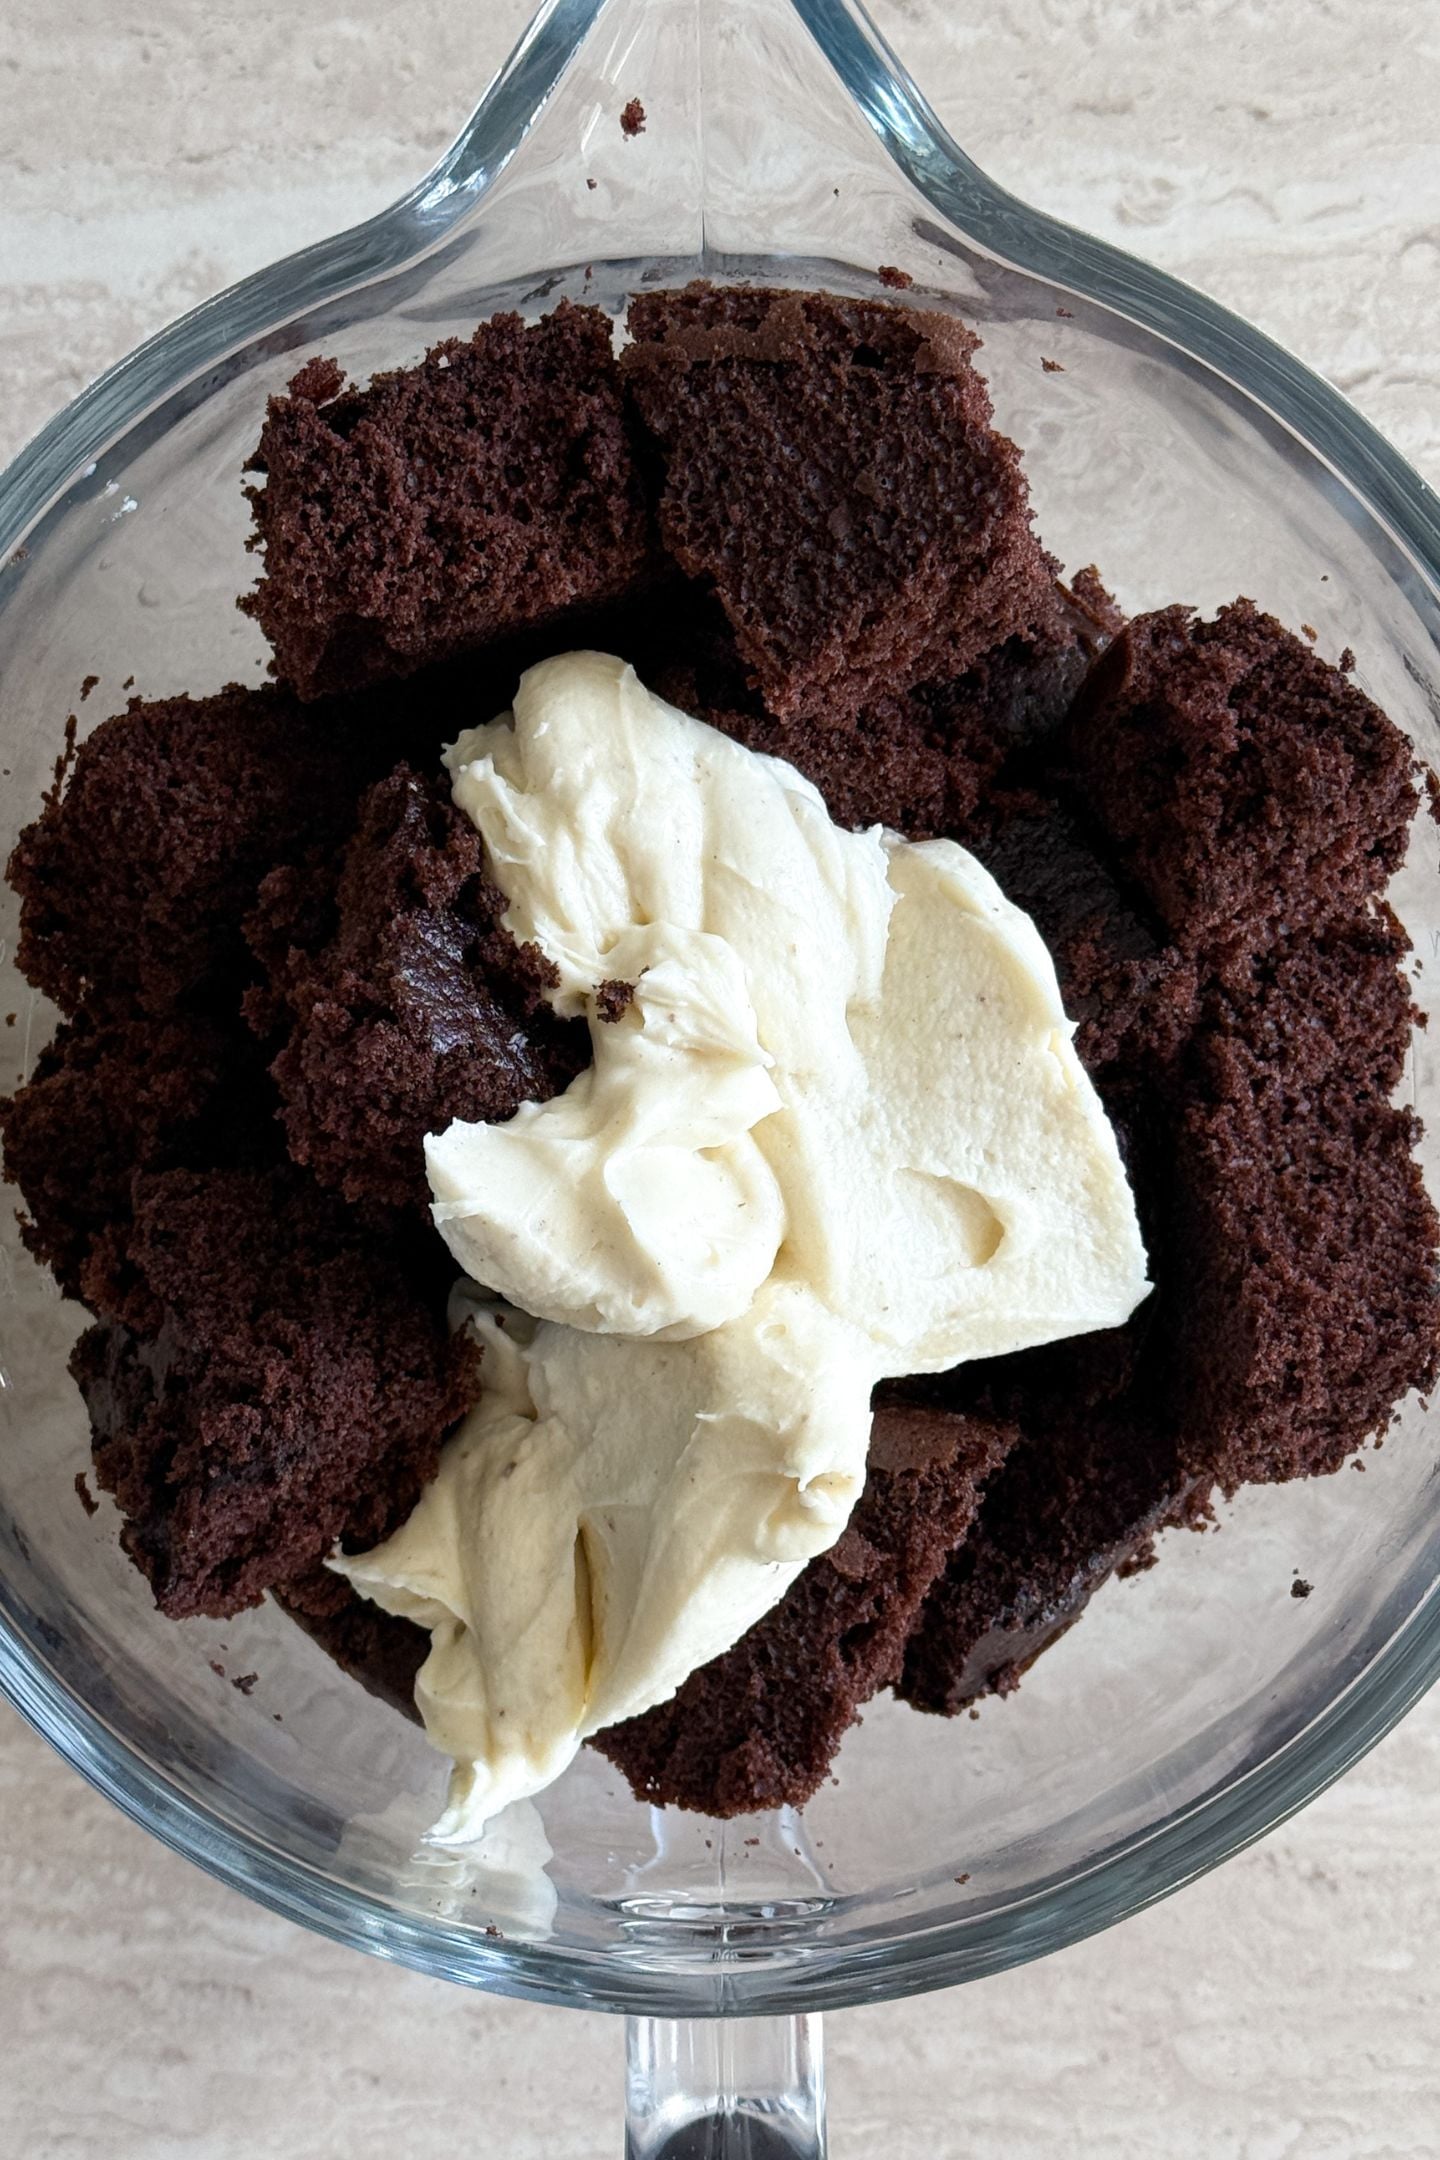
- Once the cake is cooled, combine it with the frosting. Then add the crushed Oreo cookies and incorporate until combined.
- Chill the dough.
- Insert the cake pop sticks (see detailed instructions and further chilling instructions in the recipe card).
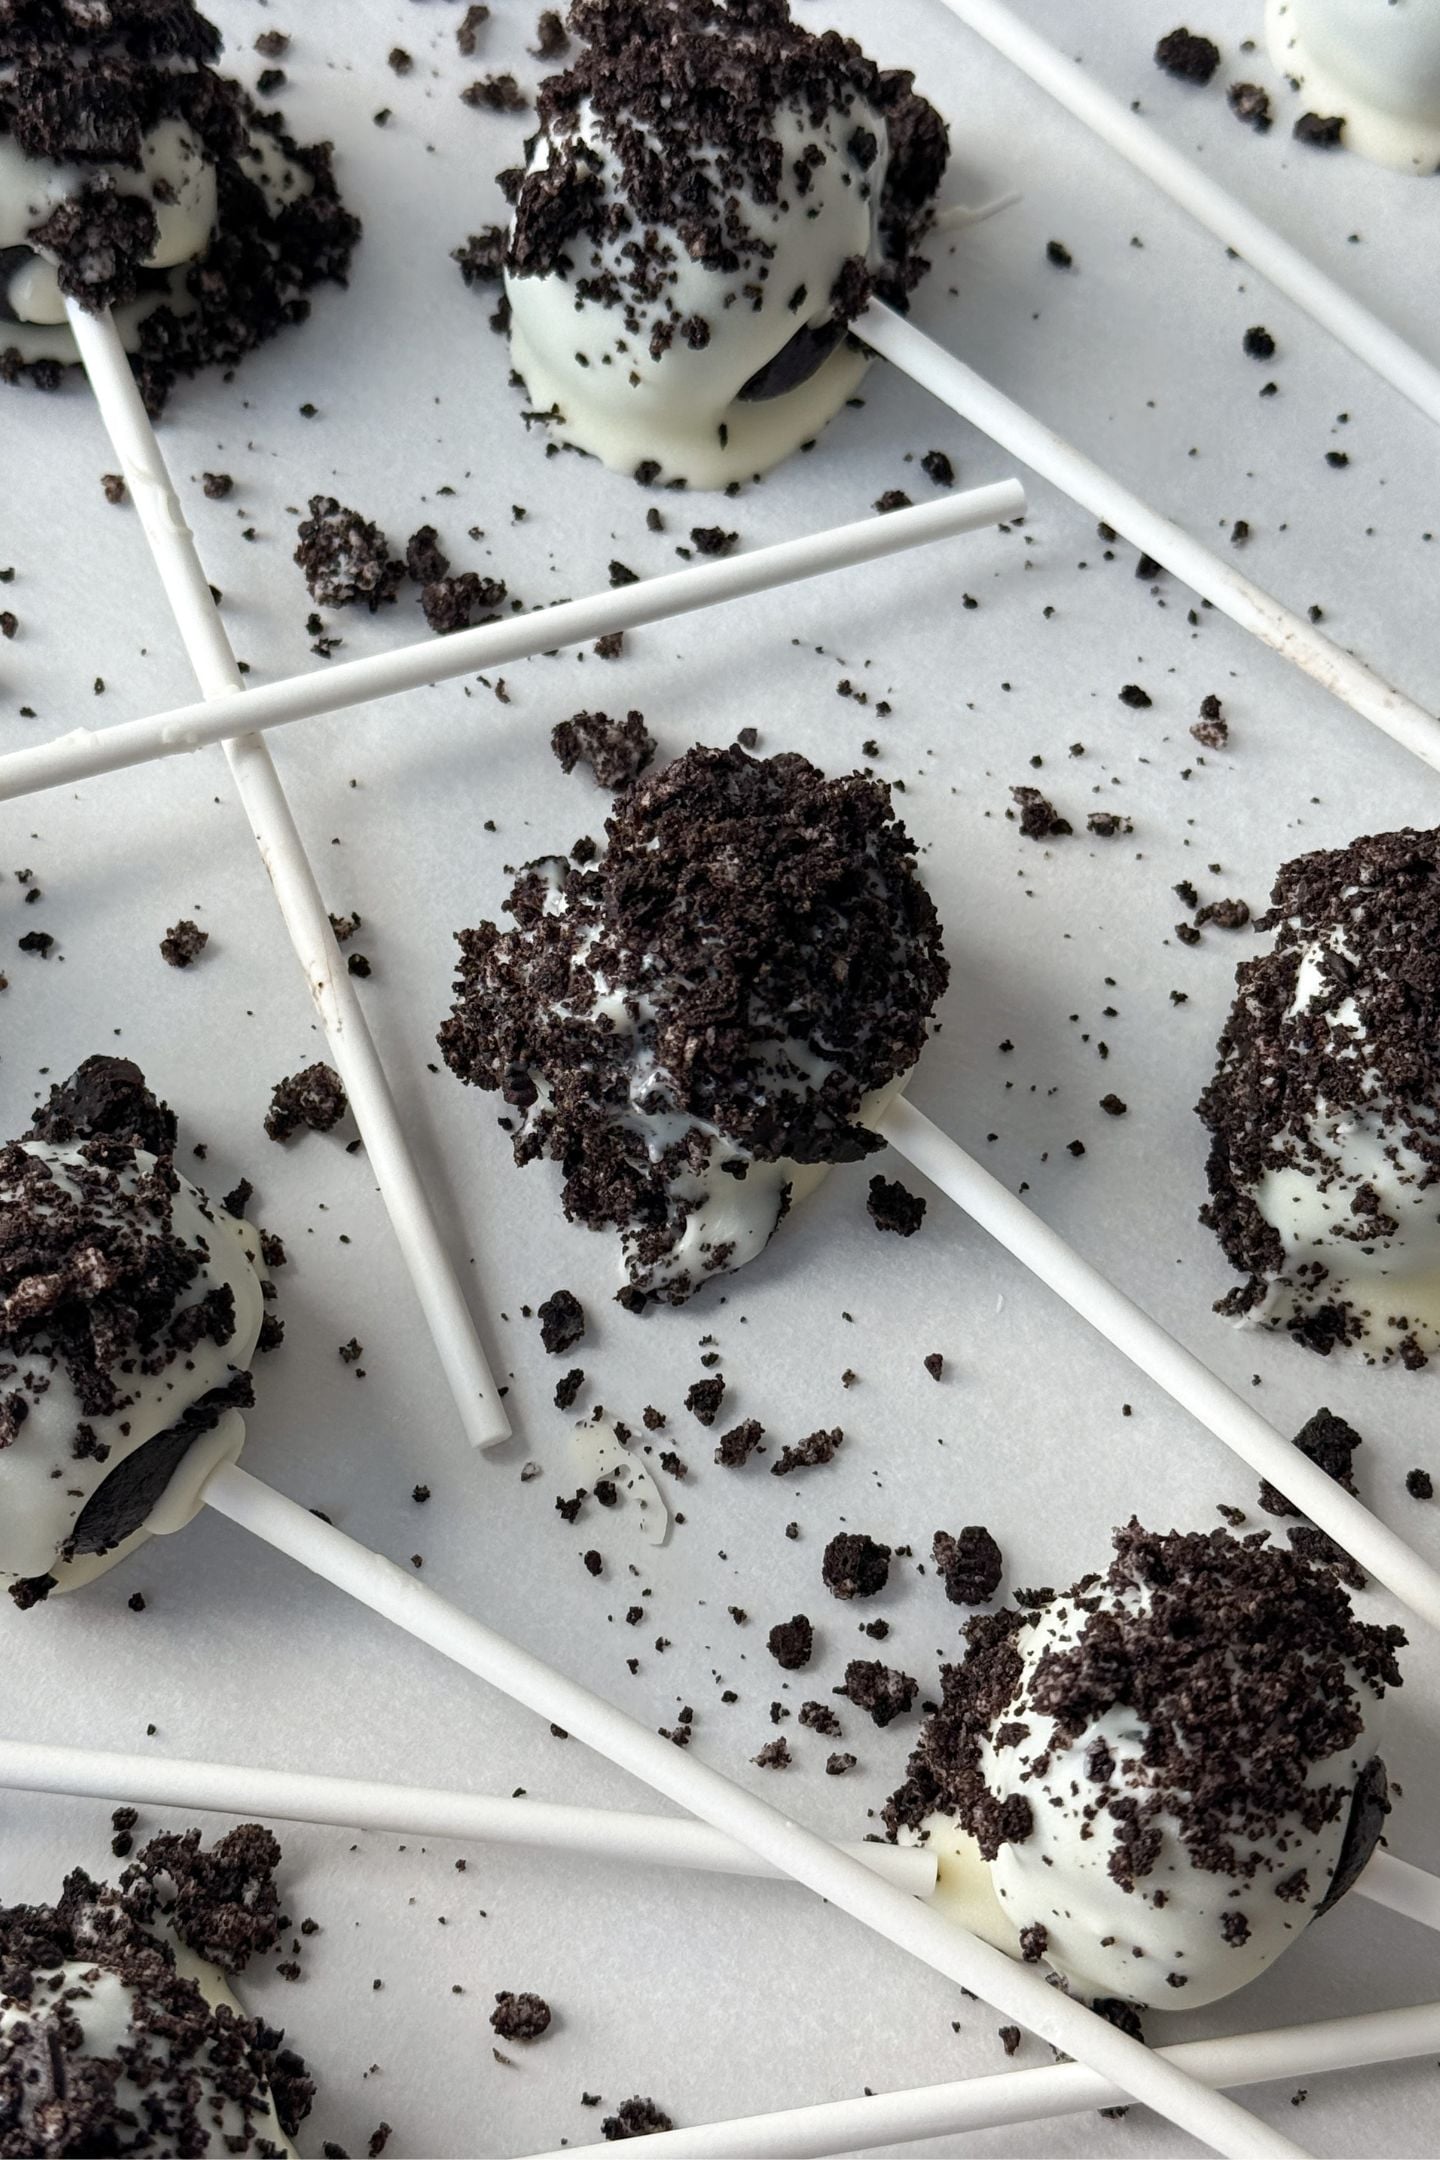
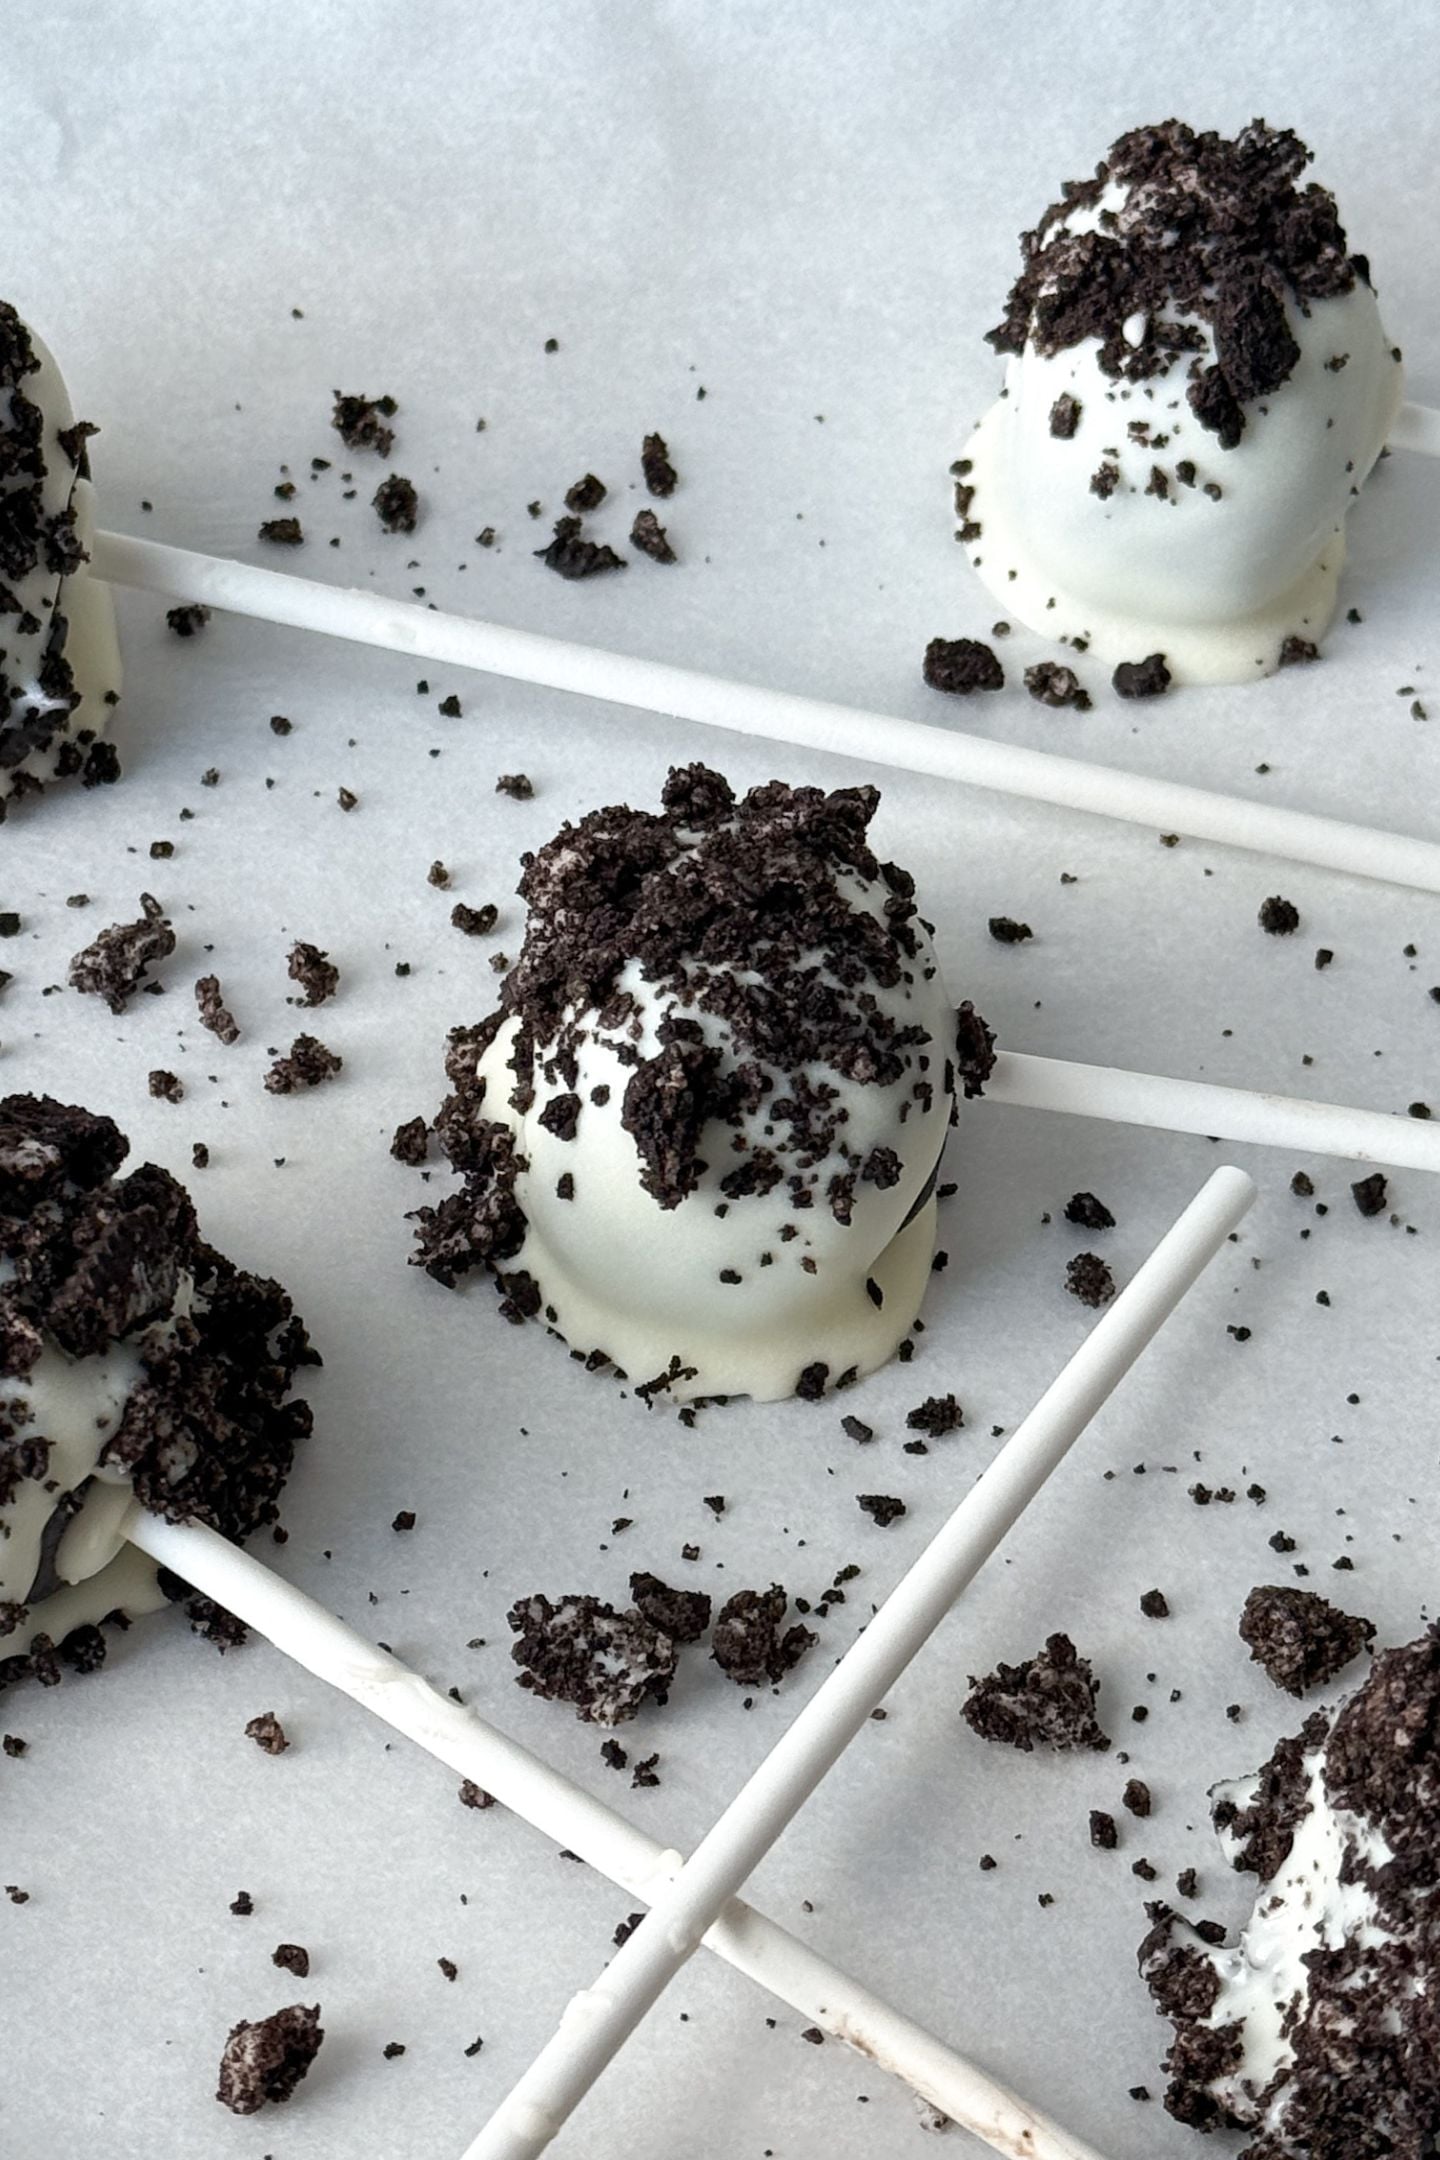
- Coat each cake pop stick in the melted white chocolate wafers
- Decorate
- Chill to set the chocolate and enjoy!
Frequently Asked Questions
The main ingredients to make cake pops are baked cake and frosting. The best coating for cake pops, in my opinion, are chocolate wafers. They dry quickly and create a nice crunchy texture.
Cake pops are set when the chocolate coating is completely dry, matte to the touch and releases easily from the parchment paper. This usually takes 10-15 minutes at room temperature and can be as short as 5 minutes in the fridge.
In my opinion, the best way to store cake pops is to ensure they have dried completely after dipping. Next, wrap each one individually in a plastic treat bag, plastic wrap, or wax paper. Place them inside a sealed airtight container or Ziplock bag. Store in the fridge for 2 to 4 weeks.
Oreo Cake Pops
Ingredients
- 13.25 oz Chocolate Cake Mix , plus the ingredients required to make the cake
- 1 cup Frosting
- 16 oz White Chocolate Wafers
- 10 Oreo Cookies, crushed, reserve about 1/4 cup for decorating
- Sprinkles, optional, for decorating
Equipment
- 1 Stand Mixer or Electric Hand Mixer
- 32 Cake Pop Sticks
Instructions
- Prepare and bake the cake mix according to package instructions.
- Once the cake is baked, let cool completely in the pan before transferring to a cooling rack.
- Add the cooled cake pieces into a large mixing bowl.
- Also add the 1 cup of frosting to the bowl. Use an electric hand mixer or stand mixer to combine the cake and frosting.
- Next add in the crushed Oreo cookies and mix until incorporated. If needed, add 1 tbsp of frosting at a time until it reaches a smooth texture that can be rolled into a ball (I used the 1 cup of frosting total but cake mixes can vary).
- Once combined and at the desired texture, chill the bowl of cake pop batter in the fridge for 30 minutes.
- After chilling, scoop about 1.5 tbsp of the cake pop batter and roll into a ball. Then place on a baking sheet lined with parchment paper.
- Repeat until all the dough has been used. Place the baking sheet in the fridge while you melt 1/4 cup of the white chocolate wafers.
- Melt the wafers in a microwave safe dish. Heat in 30 second intervals, mixing in between each until all is melted (you don't want to overheat the chocolate).
- Remove the cake pop balls from the fridge. Dip the end of a cake pop stick into the melted white chocolate wafers then into the cake pop ball. Place back on the parchment paper.
- Repeat until a stick has been placed in each cake pop. Then put the baking sheet back into the fridge to chill for 30 minutes or in the freezer for 20 minutes. This gives plenty of time for the chocolate to harden and ensures the cake pop won't fall off the stick.
- Remove from the fridge/freezer. Melt the white chocolate melts in a deep, microwave-safe dish at 30-second intervals (stirring between each to avoid overheating).
- Dip each cake pop into the melted chocolate until completely coated. Let the excess drip off before placing the cake pop back on the parchment paper.
- If decorating with sprinkles or cookie pieces, add them immediately after placing on the baking sheet. See the decorating section above for other options.
- Let the cake pops set completely at room temperature, or you can also place them in the fridge so that they get a nice crunch on the outside shell.
- Enjoy!